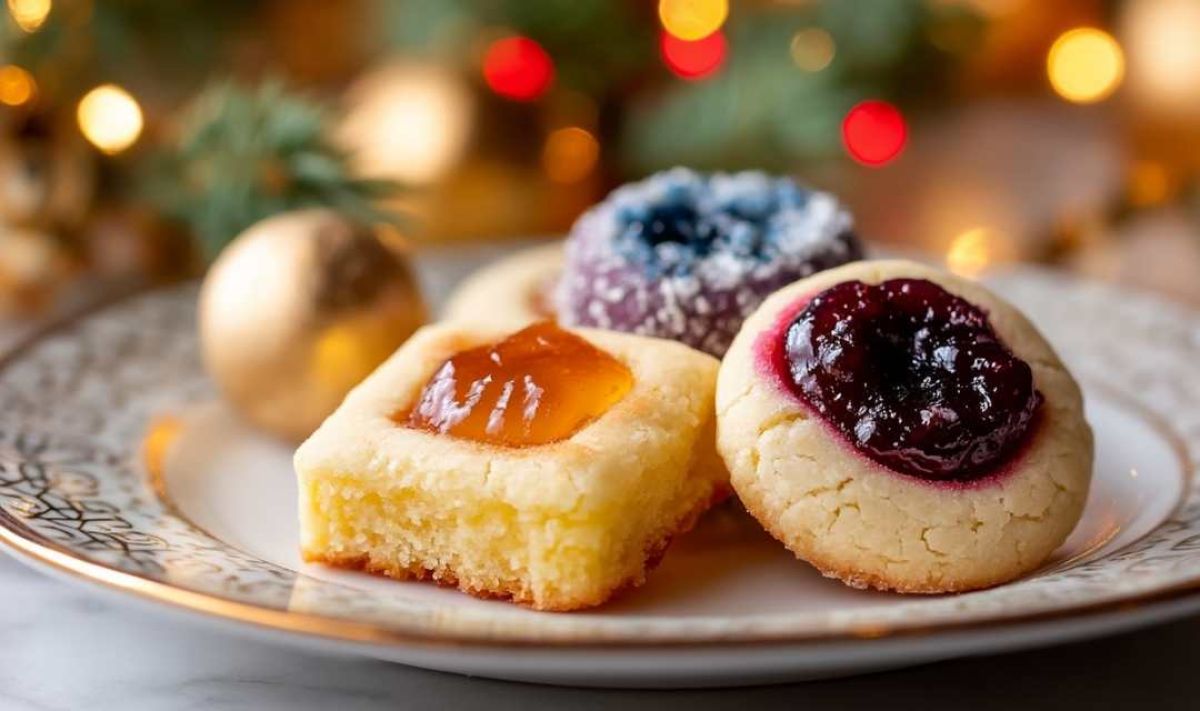
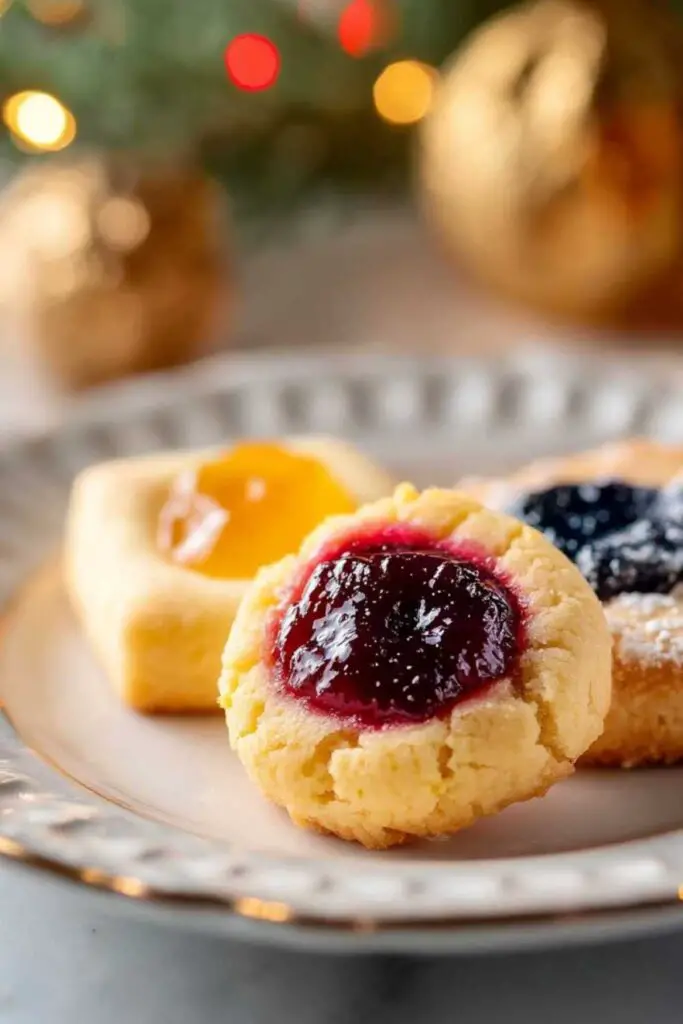
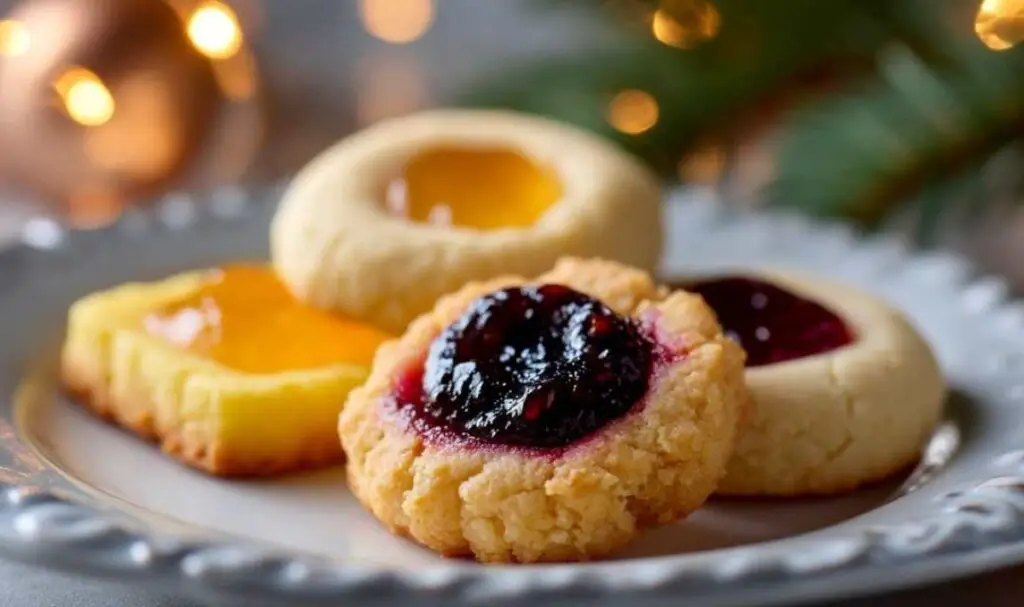
Christmas thumbprint cookies have been gracing holiday tables for generations, and there’s something magical about that perfect little jam-filled center that makes everyone smile. These buttery, tender cookies with their jewel-toned centers are exactly what your cookie platter needs this season.
Every December, I’m transported back to my grandmother’s farmhouse kitchen, where the sweet aroma of baking cookies mixed with the scent of pine from the Christmas tree in the living room. Grandma would line up dozens of these Christmas thumbprint cookies on her old wire cooling racks, each one perfectly golden with a glossy ruby or amber center. The sound of little hands eagerly helping to make those signature thumbprints still echoes in my memory – it was pure joy in cookie form. She’d always say, “Betty, the best cookies are made with love and a little flour on your apron.” Time to get our hands floury and create some holiday magic of our own!
What Makes These Christmas Thumbprint Cookies So Special
These aren’t just any cookies – they’re the kind that bring families together and create lasting memories. After years of perfecting this recipe in my own kitchen, I’ve discovered what makes these Christmas thumbprint cookies truly exceptional.
- Simple pantry ingredients you likely already have in your kitchen
- Quick 40-50 minute total time perfect for busy holiday schedules
- Customizable jam centers to match everyone’s favorite flavors
- Kid-friendly preparation that gets little hands involved in the holiday fun
- Makes 45-50 cookies ideal for cookie swaps and gift giving
- Foolproof technique that delivers consistent, bakery-quality results every time
There’s something deeply satisfying about the contrast between the crisp edges and tender centers, especially when that warm jam creates the perfect sweet surprise in every bite.
Key Players in This Recipe
All-purpose flour forms the foundation of these tender cookies, providing just enough structure without making them tough. I always measure flour by spooning it into the cup and leveling off – never pack it down.
Salted butter at room temperature creates the rich, buttery base that makes these cookies so irresistible. I prefer salted butter because it enhances all the flavors and gives that perfect balance.
White sugar not only sweetens but helps create that lovely golden exterior and tender crumb. The amount here is just right – sweet enough for the holidays without overwhelming the jam centers.
Pure vanilla extract adds warmth and depth that complements the fruity jam beautifully. I never skimp on real vanilla – it makes all the difference in these Christmas thumbprint cookies.
Fresh egg binds everything together and contributes to the tender texture. Room temperature egg mixes more easily, so I always pull mine out about 30 minutes before baking.
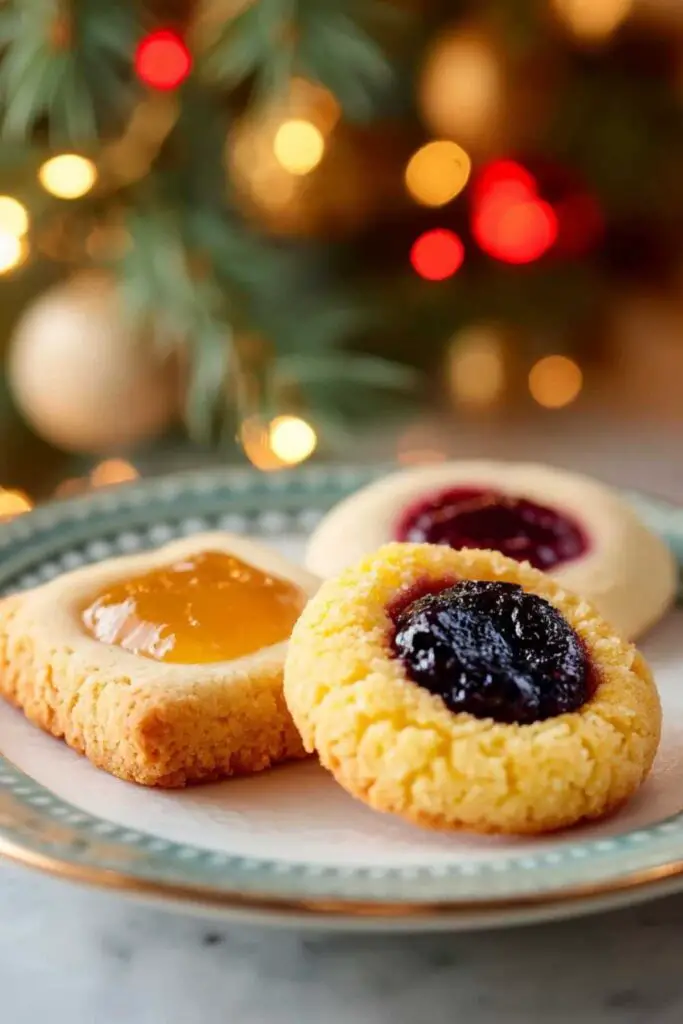
Your favorite jam is where you can get creative – strawberry, raspberry, apricot, or even festive cranberry all work wonderfully. I choose jams that aren’t too runny to prevent spreading during baking.
Betty’s Tested Technique
Step 1. I always start by preheating the oven to 325°F – this moderate temperature ensures the cookies bake evenly without browning too quickly.
Step 2. In my stand mixer, I cream the butter, sugar, and baking powder together for 3-4 minutes until light and fluffy. This step is crucial for creating tender Christmas thumbprint cookies.
Step 3. After scraping down the bowl sides, I add the egg and beat well until fully incorporated – no streaks should remain.
Step 4. I mix in the vanilla extract until everything is beautifully combined and fragrant.
Step 5. With the mixer on low, I gradually add the flour, mixing just until barely combined. Overworking leads to tough cookies, so I stop as soon as I don’t see dry flour.
Step 6. Betty’s secret: I chill the dough for 30 minutes, which prevents spreading and helps maintain those perfect round shapes.
Step 7. I roll the dough into 1-inch balls, placing them at least 1 inch apart on the baking sheet – they need room to spread slightly.
Step 8. Using my thumb, I create that signature indentation about 1/2 inch deep in each cookie center. Press straight down without twisting for the best results.
Step 9. I fill each thumbprint with about 1/2 teaspoon of jam, slightly overfilling since some will spread during baking.
Step 10. Into the oven they go for about 20 minutes, rotating the pan halfway through for even browning. I look for light golden edges while the centers stay pale.
Step 11. I let them cool on the baking sheet for a few minutes before transferring to wire racks – this prevents breaking while they’re still tender.
Keeping These Christmas Thumbprint Cookies Fresh
I typically store these cookies in an airtight container at room temperature, where they’ll stay perfectly soft for up to 5 days. Betty’s tip: add a piece of bread to the container to keep the cookies tender – the bread prevents them from drying out.
For longer storage, these cookies freeze beautifully for up to 3 months. I layer them in a freezer-safe container with parchment paper between layers to prevent the jam from sticking. The dough can also be made up to 2 days ahead and kept refrigerated, which actually makes rolling easier.
When I’m preparing for big holiday gatherings, I often make several batches and freeze them. They thaw quickly at room temperature, tasting just as fresh as the day I baked them.

Best Christmas Thumbprint Cookies Recipe
Ingredients
Equipment
Method
-
Preheat your oven to 325°F (165°C) to ensure it’s ready for baking.
-
In a stand mixer fitted with the paddle attachment, cream together 1 cup of salted butter, 1 cup of white sugar, and ½ teaspoon of baking powder on medium speed until the mixture is light and fluffy, about 3 to 4 minutes.
-
Scrape down the sides of the bowl to ensure even mixing. Add 1 large egg to the butter mixture and beat well until fully incorporated.
-
Add 2 teaspoons of pure vanilla extract and mix until everything is combined.
-
With the mixer on low speed, gradually add 2½ cups of all-purpose flour. Mix until the ingredients are just barely combined to avoid overworking the dough.
-
Chill the dough in the refrigerator for about 30 minutes to prevent spreading.
-
Roll the dough into balls about 1 inch in diameter and place them at least 1 inch apart on a baking sheet to allow room for spreading.
-
Immediately make an indentation in the center of each ball using your thumb or a rounded tool to create a space for the filling, about ½ inch deep.
-
Fill each indentation with your choice of jam, using approximately ½ teaspoon per cookie. Slightly overfill each to accommodate for spreading during baking.
-
Place the cookies in the preheated oven and bake for about 20 minutes. Halfway through the baking time, rotate the baking sheet to ensure even baking.
-
Once baked, allow the cookies to cool for a few minutes on the baking sheet before transferring to a wire rack to cool completely.
Notes
Perfect Partners for Christmas Thumbprint Cookies
These delightful cookies shine brightest when paired with complementary treats and beverages:
- Hot coffee or tea – the warm drinks balance the sweet jam centers beautifully
- Vanilla sponge cake – creates an elegant dessert spread when served alongside
- Fresh fruit – sliced apples or pears add a crisp contrast to the tender cookies
- Holiday punch – the festive flavors complement each other perfectly
- Easy homemade focaccia bread – mild breads create a sophisticated sweet-savory combination
- Other holiday cookies – they look stunning on mixed cookie platters with berry crumble bars and gingerbread
FAQs
Absolutely! I love creating variety by using strawberry, raspberry, and apricot jam in the same batch – it makes the cookie platter look like a jewel box.
This happens when the dough is too warm or the indentations aren’t deep enough. I press them down gently while the cookies are still hot from the oven to restore the shape.
Yes! The dough can be made up to 2 days in advance and refrigerated. Cold dough is actually easier to roll and holds its shape better.
I recommend using thick jams rather than runny preserves – they hold their shape better and don’t spread beyond the thumbprint during baking.