This Christmas sugar cookie recipe turns holiday baking into pure joy with soft, puffy snowflake cookies and three simple decorating methods that even kids can master. I remember the December my granddaughter first helped me decorate cookies. We used buttercream frosting instead of fussy royal icing, and suddenly what used to take all afternoon became our favorite morning tradition.
Walking into my kitchen on a December morning always feels special, but there’s something magical about the day we make snowflake sugar cookies. The smell of butter and vanilla filling the house, flour dusting the countertops, and little hands reaching for sprinkles… these are the moments that make Christmas feel like home. My grandmother taught me that the best holiday cookies don’t need to be perfect; they just need to bring people together. She’d roll out dough on her old farmhouse table while I’d press the snowflake cutters, and we’d talk about everything under the sun. That’s what this recipe is all about: making beautiful cookies without the stress, using buttercream that’s forgiving and fun, and creating memories that stick around long after the last cookie crumbs are swept away. Time to get our hands floury!
What Makes This Christmas Sugar Cookie Recipe So Special
I’ve been making Christmas cookies for more decades than I care to count, and I can tell you that this Christmas sugar cookie recipe has earned its permanent spot in my recipe box for good reason. After years of wrestling with royal icing that cracked, cookies that spread too thin, and decorating sessions that left my kitchen looking like a flour bomb exploded, I finally landed on this approach that makes holiday baking something to look forward to rather than stress about.
Here’s why these snowflake sugar cookies work every time:
- Buttercream frosting instead of royal icing means no waiting for crusting, no rock-hard cookies, and frosting that actually tastes delicious
- Big, soft, puffy texture that stays tender for days (these aren’t thin, crispy wafers but substantial cookies with real bite)
- Three decoration difficulty levels so everyone from your five-year-old to your perfectionist sister-in-law can participate and feel successful
- Dough that chills and freezes beautifully, letting you prep ahead when you’re not overwhelmed with holiday chaos
- Ingredients you likely have in your pantry (no hunting for specialty items or making emergency grocery runs)
- Cleaner decorating process with less mess and easier cleanup than traditional methods
The real magic happens when you pull these from the oven and they’re thick and pillowy, holding their snowflake shape perfectly. That freezer trick before baking? That’s what keeps these beauties from spreading into shapeless blobs.
Ingredient Spotlight
Powdered sugar (in the cookie dough) creates that tender, melt-in-your-mouth crumb that makes these cookies so different from regular sugar cookies made with granulated sugar. It’s the secret to their soft, delicate texture.
Unsalted butter gives you complete control over the saltiness and provides rich flavor that’s essential in a simple cookie where every ingredient matters. I always choose European-style butter when I’m feeling fancy because the higher fat content makes them even more tender.
Almond extract adds a subtle depth that makes people ask “what’s that flavor I’m tasting?” without being able to pinpoint it. You can swap it for lemon, orange, or even peppermint extract depending on your Christmas cookie mood.
Baking powder is what gives these Christmas sugar cookies their signature puff and lift, creating that soft, cake-like texture instead of a flat, crispy result.
Shortening (in the buttercream) might seem old-fashioned, but it’s what keeps the frosting stable at room temperature and gives you that bright white color that makes your decorations pop. Butter-based frosting yellows and can get greasy.
Clear vanilla extract maintains that pristine white color in your frosting, though I’ll be honest and tell you that regular vanilla works just fine if you don’t mind an off-white tint.
Wilton Color Right food coloring gives you true, vibrant colors with fewer drops and no chemical aftertaste. After testing dozens of food colorings over the years, this is the one that consistently delivers the pale blue I want for snowflake cookies.
How to Make Christmas Sugar Cookie Recipe
Step 1. Start by beating the butter and powdered sugar together until the mixture looks light and fluffy. Cover your mixer with a damp kitchen towel during this step or you’ll be finding powdered sugar in every corner of your kitchen for days.
Step 2. Add the vanilla, almond extract, and egg to the butter mixture and beat until everything is completely combined and you can’t see any streaks of egg.
Step 3. In a separate bowl, whisk together your flour and baking powder, then gradually stir the dry ingredients into the wet ingredients until you have a soft dough that pulls away from the sides of the bowl.
Step 4. Divide the dough into three equal portions and wrap each in plastic wrap before refrigerating for at least 2 hours or overnight. This makes rolling and cutting so much easier than working with one big mass of dough.
Step 5. Roll the chilled dough to exactly ⅓ inch thickness on a lightly floured surface or silicone mat. This gives you that perfect balance of structural integrity and soft texture.
Step 6. Cut out your snowflake shapes and place them on a parchment-lined cookie sheet, then pop the whole sheet into the freezer for 20 minutes before baking. This step is essential if you want cookies that hold their intricate snowflake details.
Step 7. Bake at 350°F for 10-12 minutes depending on size. The cookies should look set with edges just barely starting to turn golden, but the centers should still appear slightly soft. Let them sit on the baking sheet for 2 minutes before transferring to a wire rack so they firm up enough not to break.
Step 8. For the buttercream, cream the shortening and vanilla extract in your stand mixer, then gradually alternate adding the powdered sugar and milk until you reach a thick, spreadable consistency that holds its shape. The frosting should be thick enough that a spoon stands up in it.
Step 9. Divide your buttercream in half. Keep one portion white and color the other half with your pale blue food coloring (I use 1 drop blue and ½ drop brown with the Wilton Color Right system for that perfect winter sky color).
Step 10. Prepare multiple piping bags with different consistencies. For bags fitted with small tips (No. 3), thin the buttercream with an extra tablespoon of milk for detail work. For bags with larger tips (No. 18 and No. 22), use the thicker buttercream straight from the bowl for spreading and piping shells.
Decorating Your Snowflake Sugar Cookies
The beauty of this Christmas sugar cookie recipe is that you can match the decorating complexity to your skill level and patience that particular day. I’ve used all three methods depending on who’s helping me and how much time we have.
Easy Method (Perfect for Kids): Pipe thick buttercream onto a cookie using the No. 18 or No. 22 tip, then use an offset spatula to spread it smoothly across the surface like you’re frosting a tiny cake. While the frosting is still wet, sprinkle with decorative sugars, pearls, or sprinkles. I pour small amounts of sprinkles into jar lids for the grandkids so they can’t accidentally dump the entire container. Place your cookies on a cookie sheet while decorating to catch the excess sprinkles that inevitably rain down.
Moderate Method (Great for Beginners): Using the thin buttercream in a piping bag with a No. 3 tip, pipe delicate snowflake designs directly onto the cookie surface. Simple lines radiating from the center with small branches coming off work beautifully. Immediately press pearl decorations and coarse sugar into the wet frosting while it’s still tacky. Press firmly to ensure your decorations stay put once the buttercream crusts over.
Advanced Method (For the Detail-Oriented): If you’re comfortable piping shells (that classic scalloped border technique), use the thicker frosting with the No. 18 or No. 22 star tip to pipe decorative shells along the edges and points of each snowflake. Use tweezers to place pearl decorations exactly where you want them. This tool makes the difference between “homemade looking” and “could-be-from-a-bakery” results. Add sparkling sugar to the piped lines for that fresh-snow shimmer.
The buttercream will develop a light crust after 30 minutes but stays soft underneath, giving you cookies that taste as good as they look. These decorated cookies can be gently stacked once fully set, though they’ll never be as sturdy as royal-icing cookies for shipping or extensive handling.
Keeping This Christmas Sugar Cookie Recipe Fresh
I typically store these decorated snowflake sugar cookies in an airtight container at room temperature, where they’ll stay soft and delicious for up to 5 days, though in my house, they rarely last that long. The buttercream frosting holds up beautifully at room temperature and actually tastes better than when chilled, staying soft and creamy rather than hardening into a shell like royal icing does.
Layer the cookies between sheets of parchment paper to keep the decorations from smudging against each other. These cookies travel best when kept in a single layer in a flat container; they’re stunning enough that they don’t need to be stacked high on a platter anyway.
The unbaked dough freezes exceptionally well wrapped tightly in plastic wrap and placed in a freezer bag for up to 3 months. Label each packet with the date and “snowflake dough” so you don’t confuse it with other cookie doughs during your December baking marathon. Thaw overnight in the refrigerator before rolling and cutting.
For the best texture when working ahead, I prefer to bake the cookies and freeze them unfrosted, then thaw and decorate them the day before serving. The leftover buttercream freezes beautifully too. Just thaw it in the refrigerator overnight and rewhip it in your mixer to restore the fluffy texture before using.
What to Serve with Christmas Sugar Cookie Recipe
These snowflake sugar cookies shine on any Christmas cookie platter, but I love building a complete holiday dessert spread that offers variety in flavors and textures.
Slow cooker hot chocolate is the classic pairing that every kid (and kid at heart) requests. The rich chocolate beverage contrasts beautifully with the sweet vanilla cookies, and there’s something magical about dunking a snowflake into your mug.
White Christmas Margarita offers a festive adult beverage option that pairs surprisingly well with these sweet cookies. The coconut rim and tequila create an elegant contrast for holiday entertaining.
Christmas Spritz Cookies bring buttery richness to your cookie platter that contrasts nicely with the soft, cake-like texture of these sugar cookies. Having both varieties gives guests beautiful options.
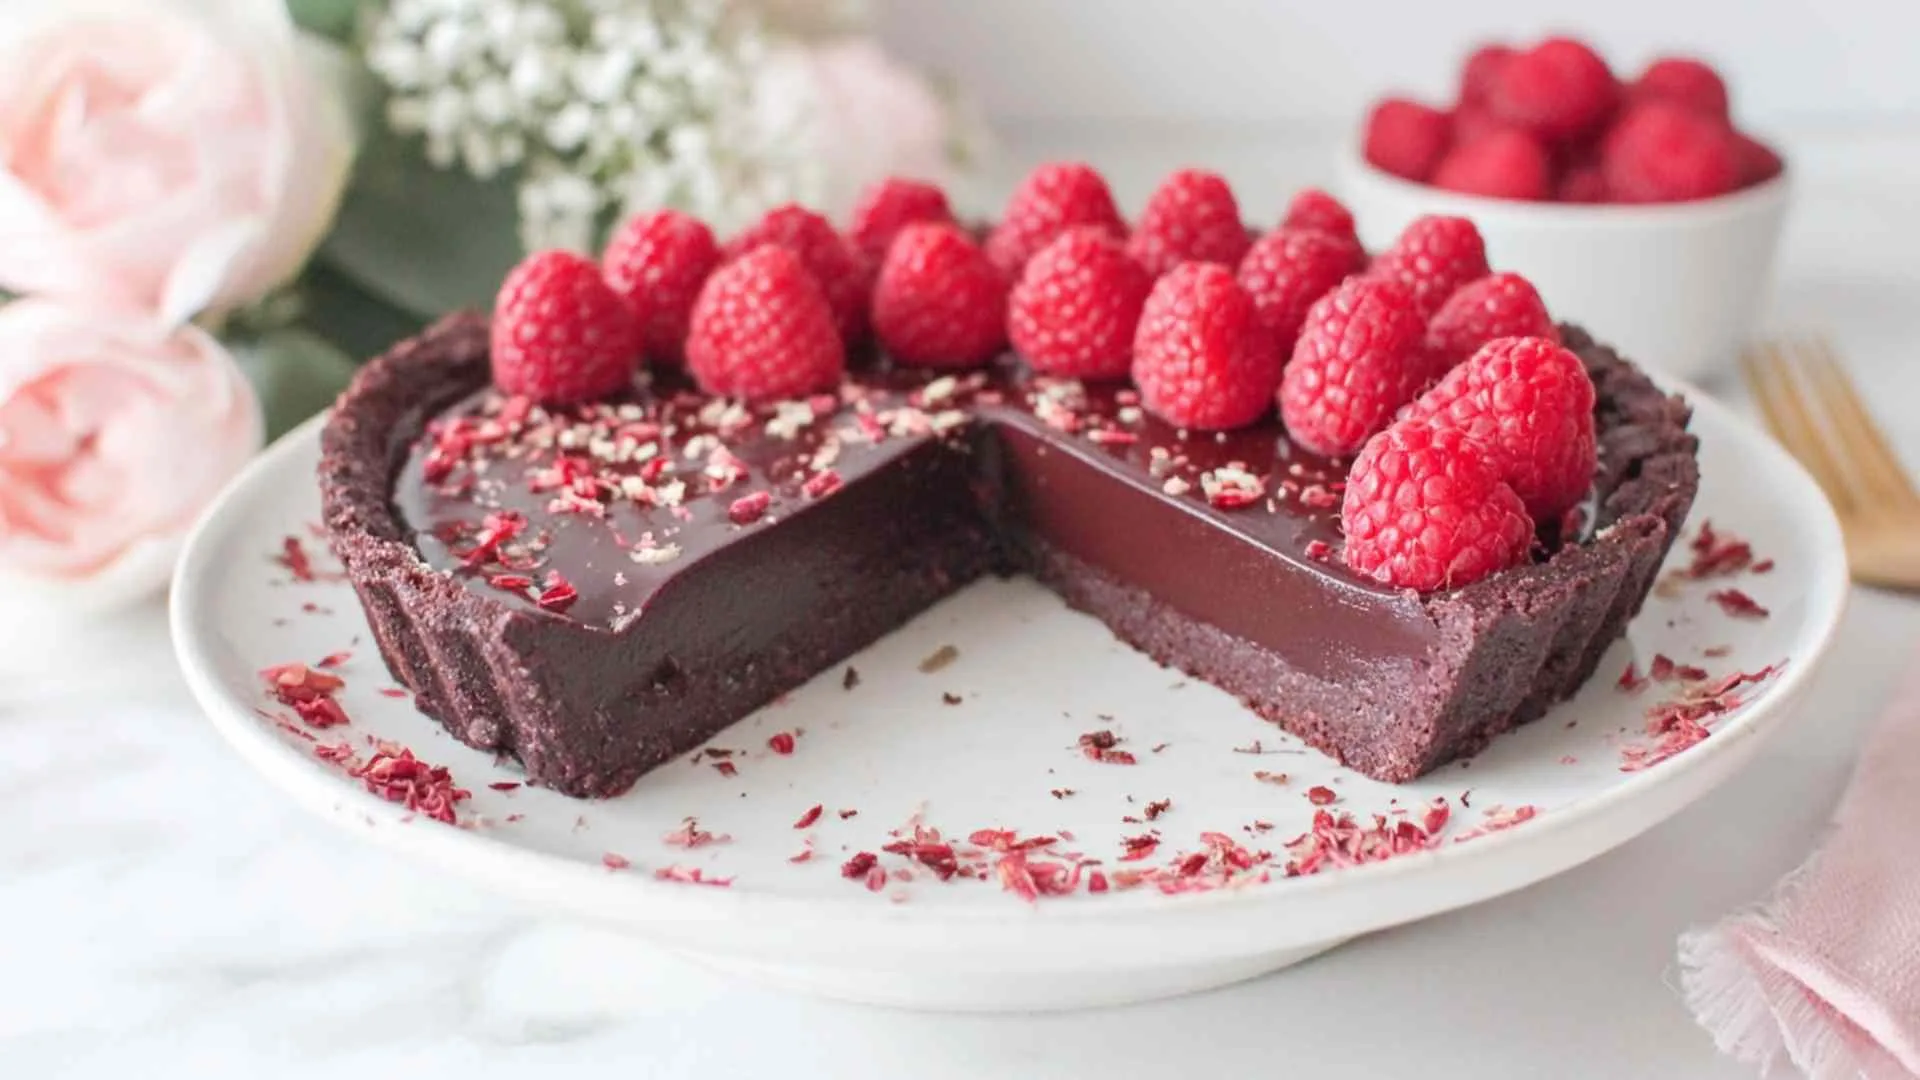
Raspberry Linzer Cookies create stunning color contrast on your platter. The red jam against the pale blue snowflakes looks like a winter wonderland, plus the almond and raspberry flavors offer completely different taste profiles.
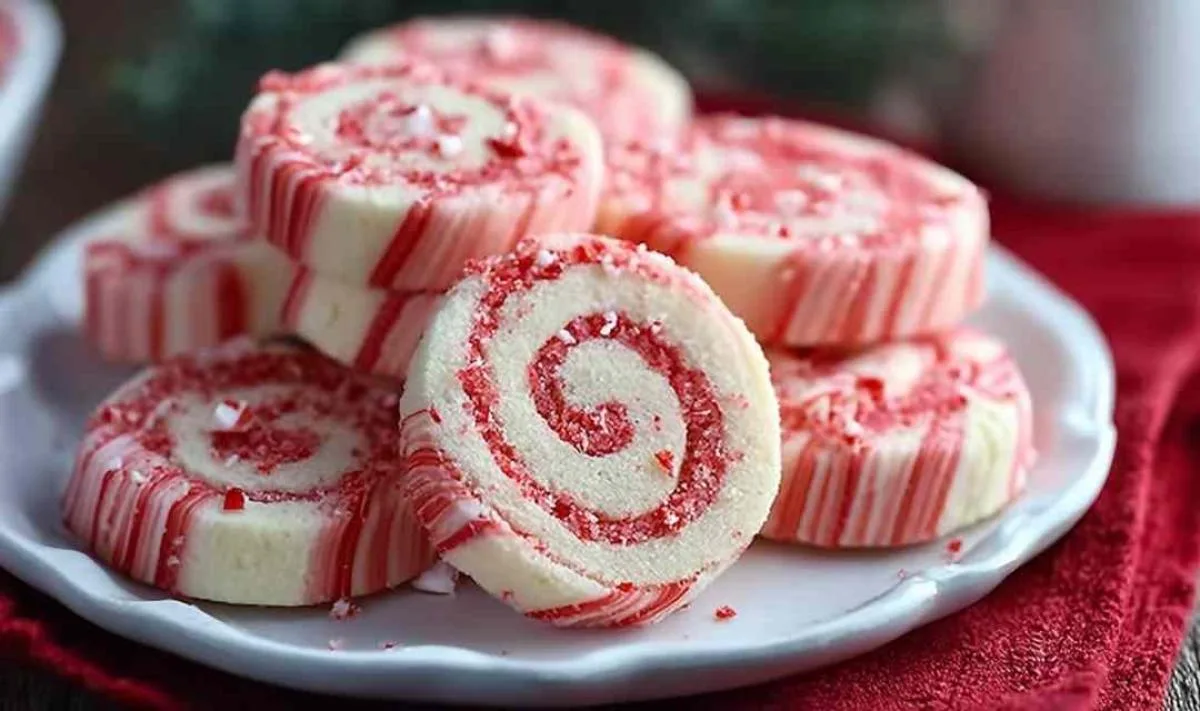
Peppermint bark brings chocolate and mint to your spread, flavors that complement vanilla beautifully while giving guests variety. The red, white, and blue combination is visually stunning.
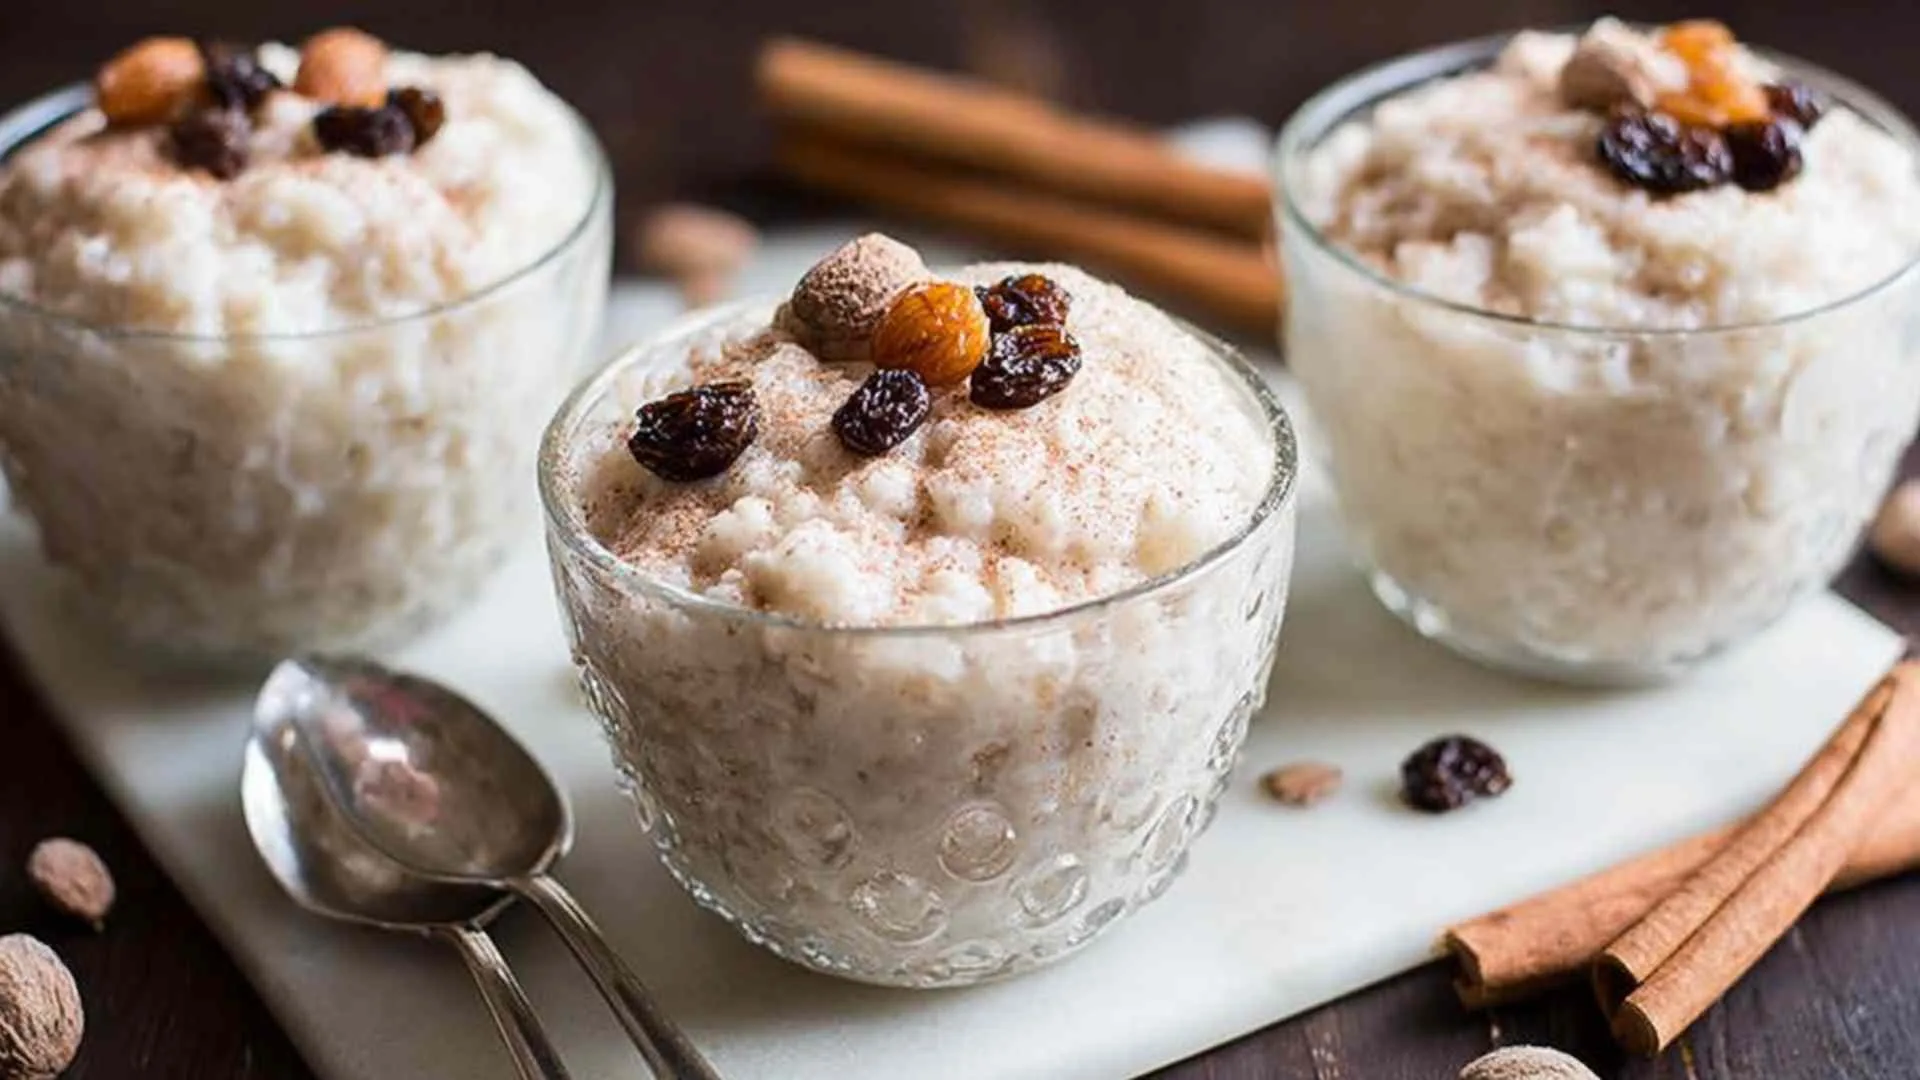
Christmas pudding turns your cookie display into a full British-inspired Christmas dessert spread. The warm spices and rich fruit flavors contrast perfectly with simple sugar cookies.
Fresh strawberries and whipped cream might seem like a summer pairing, but the bright red berries against white cream and pale blue cookies create a stunning presentation, and the fresh fruit cuts through all that holiday richness beautifully.
FAQs
Can I use butter instead of shortening in the buttercream frosting? You can substitute half the shortening with butter if you want more flavor, but your frosting will be slightly softer and more prone to melting in warm rooms. Shortening provides stability and that bright white color.
Why do I need to freeze the cut cookies before baking? That 20-minute freezer rest firms up the butter so the cookies hold their shape beautifully and prevents the intricate snowflake details from spreading and blobbing in the oven.
Can I make these cookies ahead for a Christmas party? Bake the cookies up to a week ahead and store them unfrosted in an airtight container, then decorate them 1-2 days before your event so they look and taste their freshest.
What if my buttercream is too thick or too thin? Add milk one teaspoon at a time if it’s too thick to spread or pipe, and add powdered sugar a tablespoon at a time if it’s too thin to hold its shape. Buttercream is very forgiving and easy to adjust.
Can I use cookie cutters other than snowflakes? Absolutely! This Christmas sugar cookie recipe works perfectly with any shape including stars, Christmas trees, bells, or gingerbread people. Just make sure your cutters aren’t smaller than 2 inches or the cookies become too delicate.
How do I prevent the dough from sticking when rolling? Roll the dough between two sheets of parchment paper or on a silicone mat dusted lightly with flour. I prefer the silicone mat because cleanup is a breeze and you use less flour that can make your cookies dry.
Will these cookies work for shipping to distant family? I recommend against shipping these particular cookies because the buttercream stays soft and decorations can crack or smudge during transit. If you need to ship, consider making them with royal icing instead or shipping the unbaked dough with decorating instructions.
How many cookies does this recipe make? This recipe yields approximately 24 large (3-inch) snowflake cookies or 48 small (1.5-inch) cookies, depending on your cutter size and how thick you roll the dough.
Christmas Sugar Cookie Recipe (Snowflake Sugar Cookies)
Ingredients
Equipment
Method
-
Beat butter and powdered sugar until smooth using a stand mixer or electric mixer. Cover your mixer with a damp towel to keep powder from covering your surrounding area.
-
Add vanilla extract, almond extract, and egg to the butter mixture and beat until completely combined with no streaks of egg visible.
-
In a separate bowl, whisk together flour and baking powder, then gradually stir into the wet ingredients until a soft dough forms that pulls away from the sides of the bowl.
-
Divide dough into 3 equal portions. Wrap each portion in plastic wrap and refrigerate for 2 hours or overnight. Dough can also be frozen for up to 3 months.
-
Preheat oven to 350°F. Line cookie sheets with parchment paper or silicone baking mats.
-
Roll out one portion of chilled dough on a lightly floured surface or silicone mat to exactly ⅓ inch thickness. Cut snowflake shapes and place on prepared cookie sheet.
-
Place cookie sheet with cut cookies in freezer for 20 minutes before baking. This prevents spreading and helps cookies hold their shape.
-
Bake for 10-12 minutes depending on size, until cookies are set with edges just barely starting to turn golden. Centers should still appear slightly soft. Let sit on baking sheet for 2 minutes, then transfer to wire rack to cool completely.
-
For buttercream: Cream shortening and vanilla extract in stand mixer. Gradually alternate adding powdered sugar and milk until thick frosting consistency is reached. The frosting should be thick enough that a spoon stands up in it.
-
Divide buttercream in half. Keep one half white. Add 1 tablespoon milk to half of the white frosting to thin it, then transfer to piping bag fitted with Wilton No. 3 tip. Transfer remaining thick white frosting to piping bag fitted with Wilton No. 18 tip.
-
Color remaining buttercream pale blue using Wilton Color Right system (1 drop blue and 0.5 drop brown) or your preferred food coloring. Add 1 tablespoon milk to half of blue frosting to thin it, then transfer to piping bag fitted with No. 3 tip. Transfer remaining thick blue frosting to piping bag fitted with No. 22 tip.
-
Easy decoration method: Pipe thick frosting on cookie and spread with offset spatula. Add sprinkles while frosting is wet.
-
Moderate decoration method: Pipe snowflake design with thin buttercream and add pearls and sugar decorations, pressing firmly into frosting to ensure they stick.
-
Advanced decoration method: Pipe shells on snowflake tips with thick frosting using No. 18 or No. 22 tip. Add pearls and sprinkles using tweezers for precise placement.