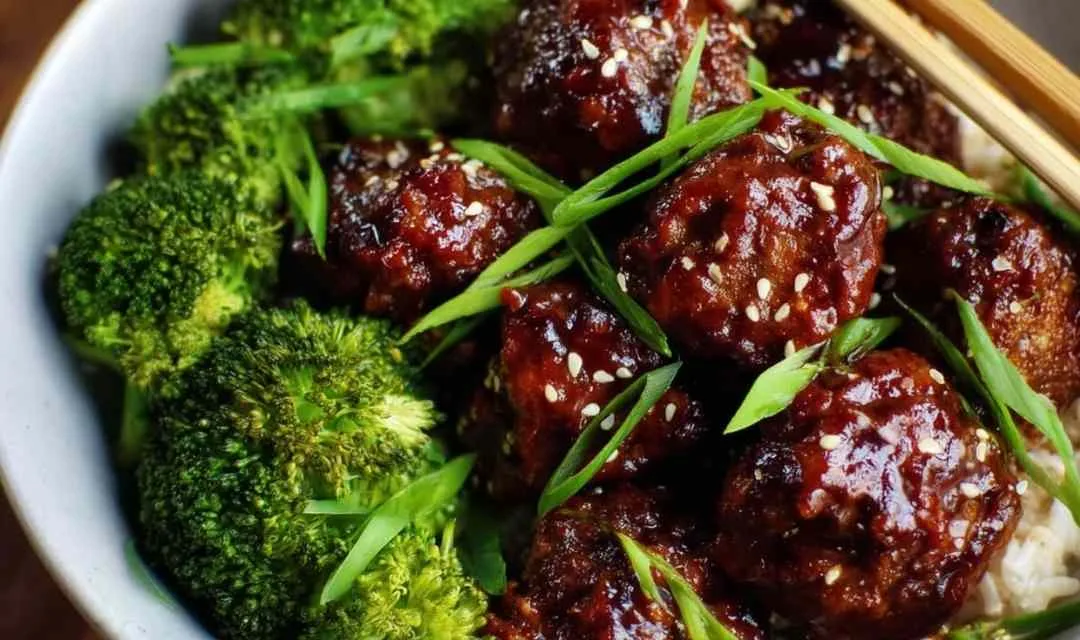
Mongolian Beef Meatballs deliver restaurant-quality sticky, sweet flavors right from your home oven. In my kitchen, this recipe solved the problem of wanting bold Asian flavors without standing over a hot wok or dealing with messy frying.
I developed this recipe on a hectic Wednesday when my three kids were all asking for something different for dinner. The moment those meatballs started baking alongside the broccoli on one simple sheet pan, the aroma of ginger, garlic, and that incredible sweet-savory Mongolian sauce filled every corner of the house. When I tossed those tender meatballs in that thick, glossy sauce and served them over fluffy rice, every single person at the table was happy. The best part was washing just one baking sheet instead of multiple pans. Now these Mongolian Beef Meatballs appear on our weekly menu rotation. Your kitchen is about to smell like your favorite takeout spot.
The Secret Behind This Recipe
These Mongolian Beef Meatballs combine everything I value in weeknight cooking. Through years of perfecting this method, I have learned exactly what makes this recipe reliable and delicious every single time.
- Comes together in under 30 minutes from start to finish
- Uses one baking sheet for both meatballs and broccoli, making cleanup effortless
- Skips the frying step that creates kitchen mess and extra calories
- Delivers that perfect sweet, tangy, and slightly spicy sauce everyone craves
- Works beautifully over rice, noodles, or even cauliflower rice
- Doubles easily as an appetizer or main dish for any occasion
What Goes Into This Recipe
Ground beef forms the base of these tender meatballs. I always use 80/20 ground beef because it provides enough fat to keep the meatballs juicy without being greasy after baking.
Fresh ginger adds that essential warm, slightly spicy flavor that defines Mongolian dishes. In my kitchen, I grate a 2-inch piece of fresh ginger root because it makes such a noticeable difference compared to ground ginger.
Green onions provide mild onion flavor and color both in the meatballs and as garnish. Betty always chops extra green onions for topping because they add freshness to the finished dish.
Garlic contributes sharp, pungent flavor that mellows beautifully as it cooks. I prefer using 6 cloves of fresh minced garlic in the meatballs for robust flavor throughout.
Brown sugar creates that signature sticky sweetness in the Mongolian sauce. When I use a full cup of brown sugar, it balances perfectly with the salty soy sauce.
Low-sodium soy sauce delivers the essential salty, umami base for the sauce. I always choose low-sodium because regular soy sauce can make these Mongolian Beef Meatballs too salty.
Rice wine vinegar adds gentle acidity that brightens all the other flavors. Just one tablespoon makes the sauce taste more complex and balanced.
Cornstarch slurry thickens the sauce to that perfect glossy, clingy consistency. Through trial and error, I learned that whisking 2 tablespoons cornstarch with half a cup of water prevents lumps completely.
Cooking This Recipe Step by Step
Step 1. I have found that preheating your oven to 450°F before you start ensures even cooking. Line a baking sheet with foil or parchment paper for the easiest cleanup.
Step 2. Betty’s tip: add the ground beef, green onions, ginger, and garlic to a bowl. Season with salt and pepper and mix until just combined. Overmixing makes tough meatballs, so stop as soon as everything is incorporated.
Step 3. After years of making these, I learned to roll the mixture into tablespoon-size balls for consistent cooking. Place them on one side of the prepared baking sheet, leaving space between each one.
Step 4. Through trial and error, I discovered that adding broccoli florets to the other side of the baking sheet and tossing with oil, salt, and pepper creates a complete meal on one pan.
Step 5. Transfer to the oven and bake for 15 minutes or until the meatballs are cooked through. The key I found is checking that the internal temperature reaches 160°F for food safety.
Step 6. Meanwhile, in a large skillet, combine oil, soy sauce, brown sugar, garlic, ginger, water, rice wine vinegar, and red pepper flakes. My family prefers when I stir and cook this over medium-high heat for about 10 minutes until it reduces slightly.
Step 7. Whisk together cornstarch with half a cup of water and add to your sauce. Continue to cook until the sauce thickens to that perfect sticky consistency, then remove from heat.
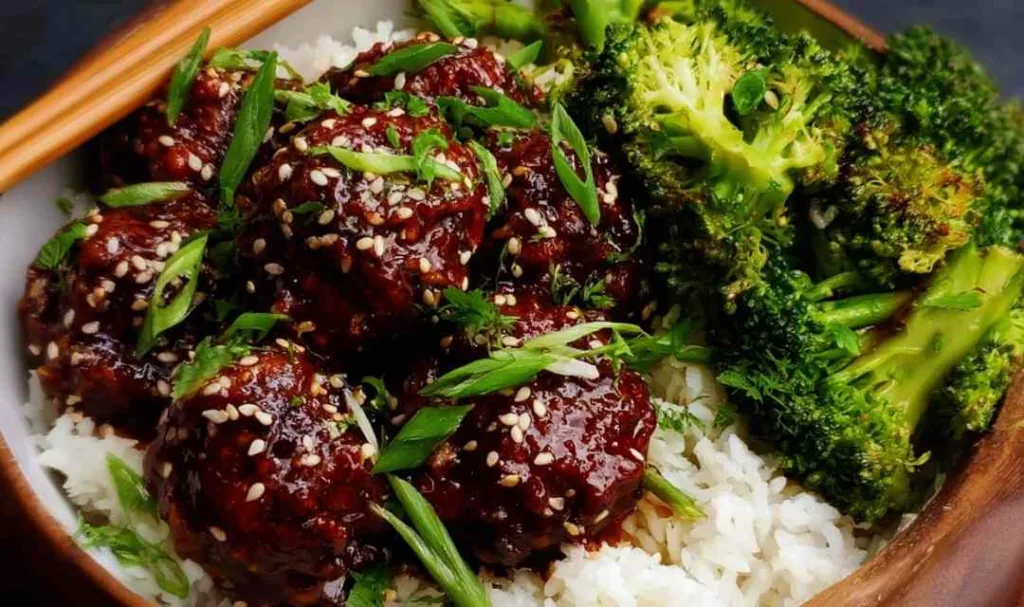
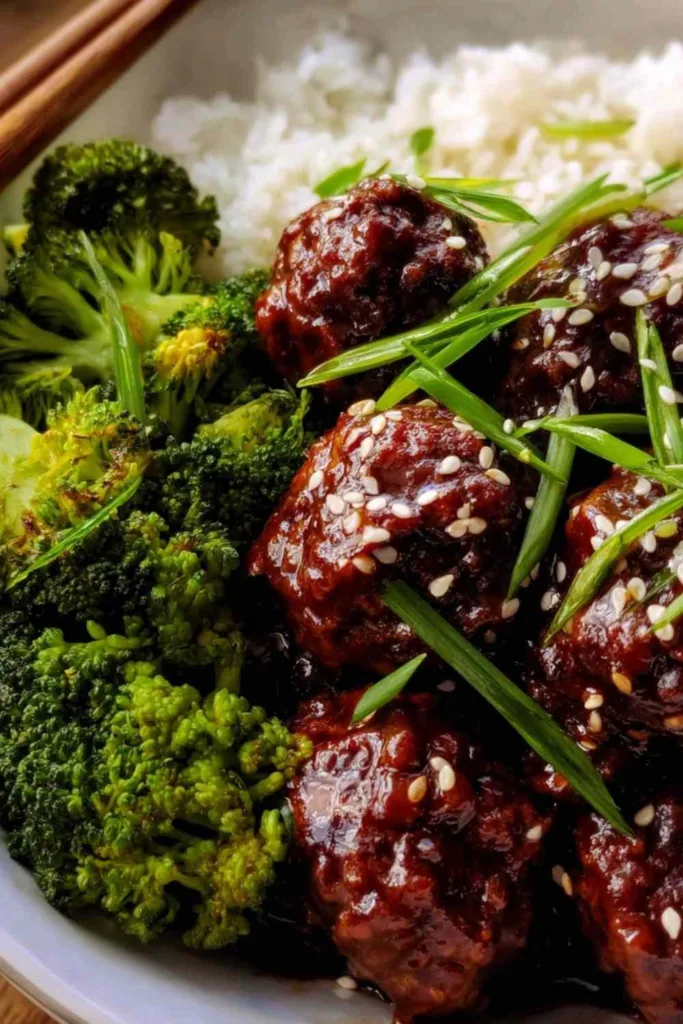
Step 8. Add the cooked meatballs to the skillet of sauce and toss until the sauce coats every meatball completely. Serve the Mongolian Beef Meatballs and remaining sauce over bowls of rice, topped with additional green onions and sesame seeds, with the broccoli on the side.
How to Store and Enjoy Later
I typically store Mongolian Beef Meatballs in airtight containers in the refrigerator for up to 4 days. The sauce actually thickens more as it sits, creating an even more intensely flavored dish the next day.
Betty’s freezing method works wonderfully if you freeze the meatballs and sauce separately. Place cooled meatballs in freezer bags, remove as much air as possible, and freeze flat for up to 3 months. Freeze the sauce in separate containers for the same duration.
For the best texture, I reheat portions in a skillet over medium-low heat, adding a splash of water or beef broth to loosen the sauce. The microwave works if you are in a hurry, but use 50% power and stir every minute to prevent the meatballs from drying out.
Building the Perfect Plate
- High Protein Garlic Chicken Rice pairs beautifully as a side when you want even more protein on your plate
- Crispy Chilli Beef Fried Rice complements the sweet Mongolian sauce with savory rice perfectly
- Korean Ground Beef Bowl offers similar Asian flavors when you want a different preparation
- Chinese Beef and Broccoli works wonderfully alongside these meatballs for a complete Chinese feast
- Sticky Garlic Chicken Noodles serves as an excellent alternative when you want chicken instead of beef
- High Protein Easy Saucy Ramen Noodles makes a perfect side that soaks up extra sauce
FAQs
I recommend using 85/15 ground turkey to maintain moisture. Add an extra tablespoon of oil to the mixture to prevent dry meatballs.
Betty’s solution is mixing the ingredients until just combined and making sure not to skip the egg that acts as a binder. Chilling the formed meatballs for 15 minutes before baking also helps.
Many home cooks find success reducing the brown sugar to three-quarters cup and adding an extra tablespoon of soy sauce to maintain the flavor balance.

Sticky Mongolian Beef Meatballs
Ingredients
Equipment
Method
-
Preheat the oven to 450°F. Line a baking sheet with foil or parchment paper.
-
Add the ground beef, green onions, ginger, and garlic to a bowl. Season with salt and pepper. Mix until just combined. Roll into tablespoon-size balls, placing them on one side of the prepared baking sheet.
-
Add the broccoli to the other side of the baking sheet and toss with 1 tablespoon oil, salt, and pepper.
-
Transfer to the oven and bake for 15 minutes or until the meatballs are cooked through.
-
Meanwhile, in a large skillet add the oil, soy sauce, brown sugar, garlic, ginger, water, rice wine vinegar, and red pepper flakes. Stir and cook over medium-high heat for about 10 minutes.
-
Whisk together cornstarch with 1/2 cup water and add to your sauce. Continue to cook until the sauce thickens. Remove from the heat.
-
Add the cooked meatballs to the skillet of sauce and toss until the sauce coats the meatballs.
-
Serve the meatballs and remaining sauce over bowls of rice topped with additional green onions and sesame seeds. Serve the broccoli on the side.


