Poached chicken is one of those life skills that once you learn it right, you will wonder how you ever cooked chicken any other way. I’m Nonna Betty Harper, and in over forty years of feeding a houseful of hungry kids and grandkids, poaching has become my most-trusted method for keeping chicken breast juicy every single time.
I still remember the first time my grandmother pulled a glistening poached chicken from a pot on her old farmhouse stove in rural Ohio. The kitchen smelled of lemon and bay leaf, the steam rising in soft curls while Sunday sunlight streamed through the window. She didn’t fuss over it. She just slid it into boiling water, put on the lid, and walked away to set the table. When she came back twenty minutes later and sliced into that breast, the juices ran clear and the meat practically melted. I was twelve years old, and I never forgot that moment. That image, simple, confident, unhurried cooking, is exactly the spirit behind this recipe.
Why This Poached Chicken Belongs in Your Recipe Box
After years of testing every chicken cooking method imaginable, I keep coming back to this one. It’s not just the result, it’s the sheer reliability of it. Whether I’m prepping for a week of lunches or pulling together a last-minute dinner salad, this poached chicken delivers without fail.
Foolproof method with a huge margin for error, even up to an hour in the water Incredibly juicy and tender breast, guaranteed every time No special equipment needed, just a pot and a lid Versatile: use in sandwiches, salads, soups, pasta, and more Hands-off cooking after the initial boil High-protein: 53 grams per breast, only 285 calories Meal-prep friendly, stays perfect in the fridge for up to 4 days Ready in just 35 minutes, start to finish
Key Players in This Recipe
What I love most about this recipe is that there’s almost nothing to it. Let me walk you through what goes into the pot and why each element matters.
Main Ingredients
Chicken breasts (2, 8.5 oz / 250g each): The star of the show. Boneless, skinless breasts work best here. I always reach for breasts as close to 8.5 oz each as possible, because size directly affects cooking time. Oversized breasts are harder to cook evenly, so stick near that guideline.
Water (enough to submerge): The cooking medium, as simple as it gets. The key insight is that water always boils at 212 degrees Fahrenheit at sea level, which gives us a precise, consistent starting temperature every time, no matter what stove or pot you use.
Optional Flavorings
1 lemon, quartered: Squeeze the juice in and drop the rinds into the water. The lemon adds a subtle brightness that lifts the whole dish, especially beautiful if you’re serving the chicken simply sliced with a sauce.
1 bay leaf, dried or fresh: In my kitchen, I prefer a fresh bay leaf when I can get one. It adds a quiet, herbal depth that plays beautifully with the lemon. Dried works just as well.
2 garlic cloves, minced: A gentle background savoriness. I always choose fresh garlic over powder here. It perfumes the poaching liquid in a way that quietly seasons the meat without overpowering it.
Important: Do NOT add salt or any salted ingredients such as sauces, powders, or stock cubes to the poaching water. Salt affects the boiling point and cooling rate of water, which can prevent the chicken from cooking through properly using this method.
How to Make Poached Chicken Step by Step
Step 1: Rest the chicken at room temperature. Take the chicken out of the fridge 30 minutes before cooking. This helps the breast cook more evenly from edge to center.
Step 2: Fill your saucepan with water. Use a pot large enough for the chicken breasts to lie in a single layer. Fill with enough water so the chicken will be submerged with at least 2 inches of water above it.
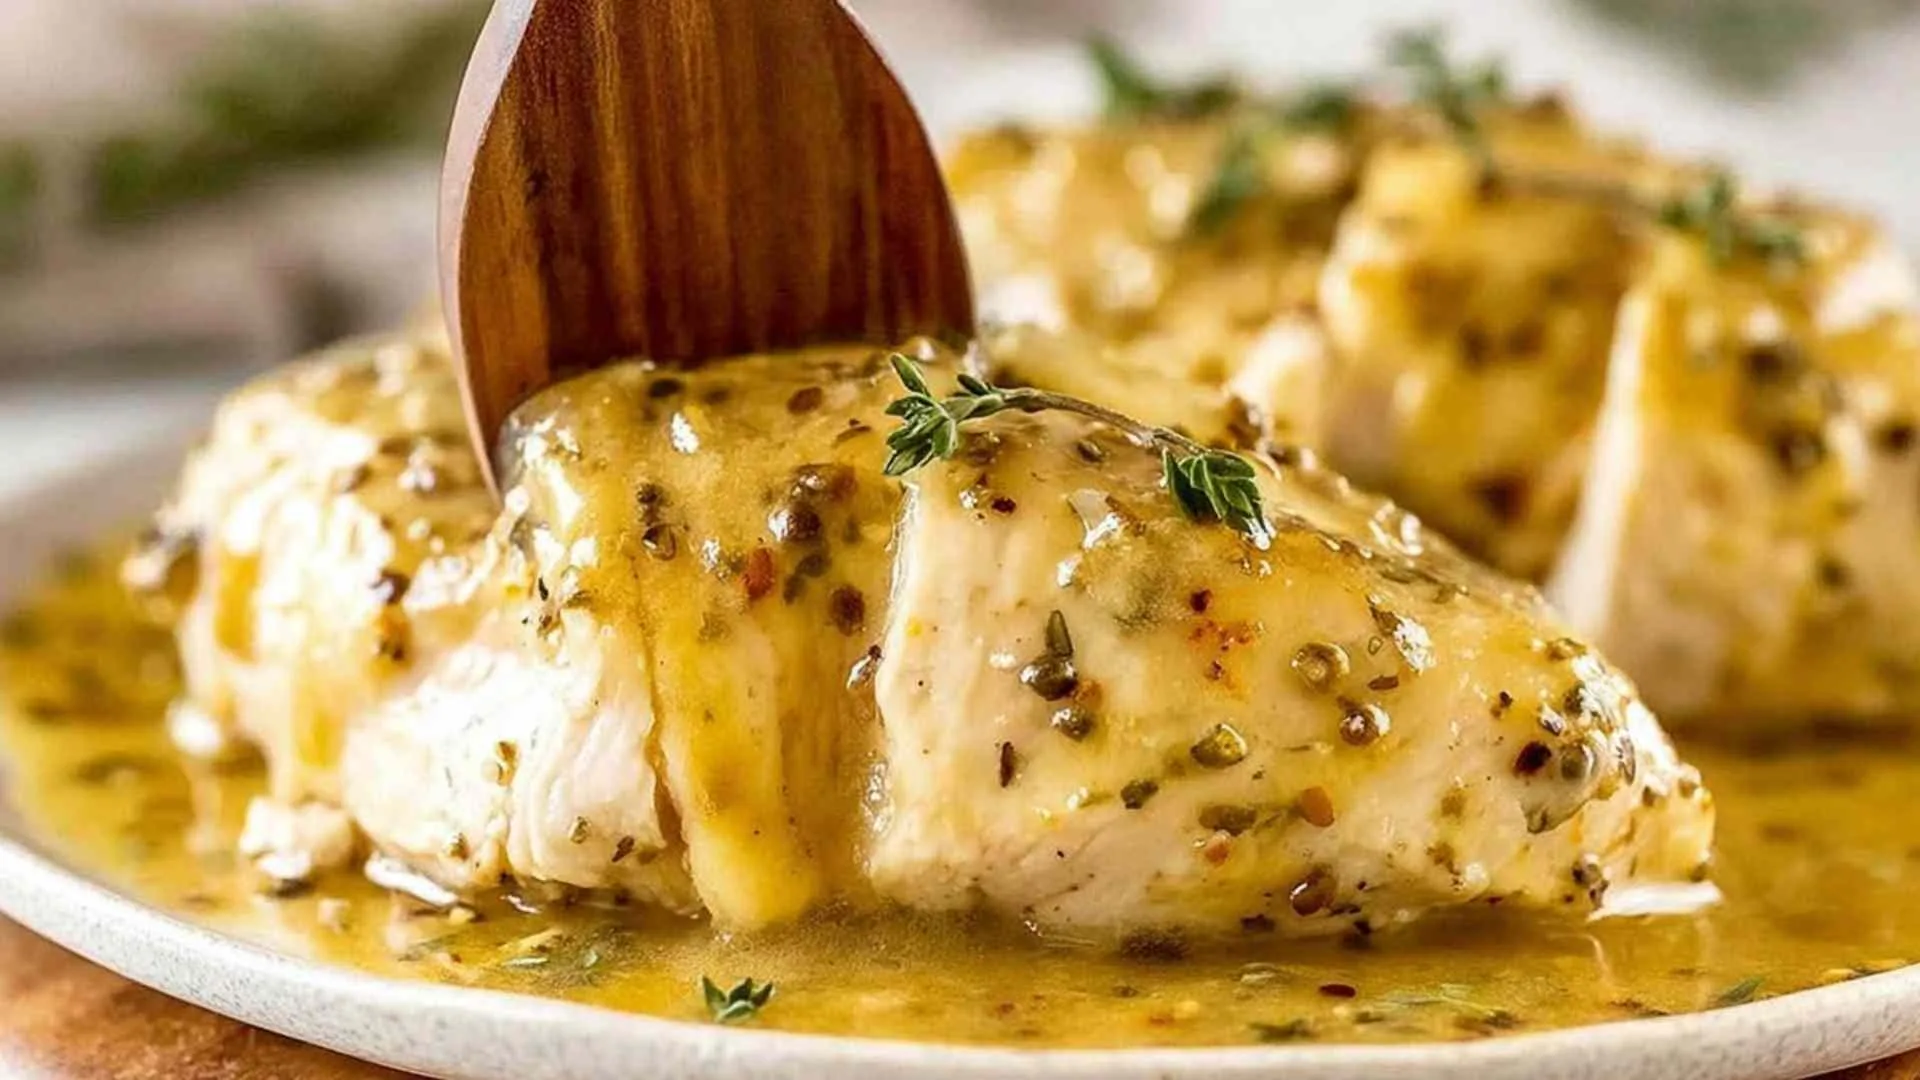
Step 3: Add your flavorings. Squeeze the lemon quarters into the water, drop in the used rinds, add the bay leaf and minced garlic. Even subtle seasoning in the water perfumes the meat beautifully.
Step 4: Bring the water to a full boil. You want a rolling boil before the chicken goes in. This is the key to the whole method working reliably.
Step 5: Add the chicken, cover, and remove from heat immediately. Place the breasts in the boiling water, put the lid on, bring it back to the boil, then immediately take the saucepan off the stove and set it aside. The water starts at 212 degrees Fahrenheit, well above the 151 degrees needed to cook chicken. As it cools off the heat, the chicken cooks gently and stops naturally without overcooking.
Step 6: Leave it and don’t peek. Set a timer for 20 minutes and walk away. The chicken is safe in there for up to 45 minutes to 1 hour without overcooking. My family has been known to forget about it for a full hour and it still turns out beautifully.
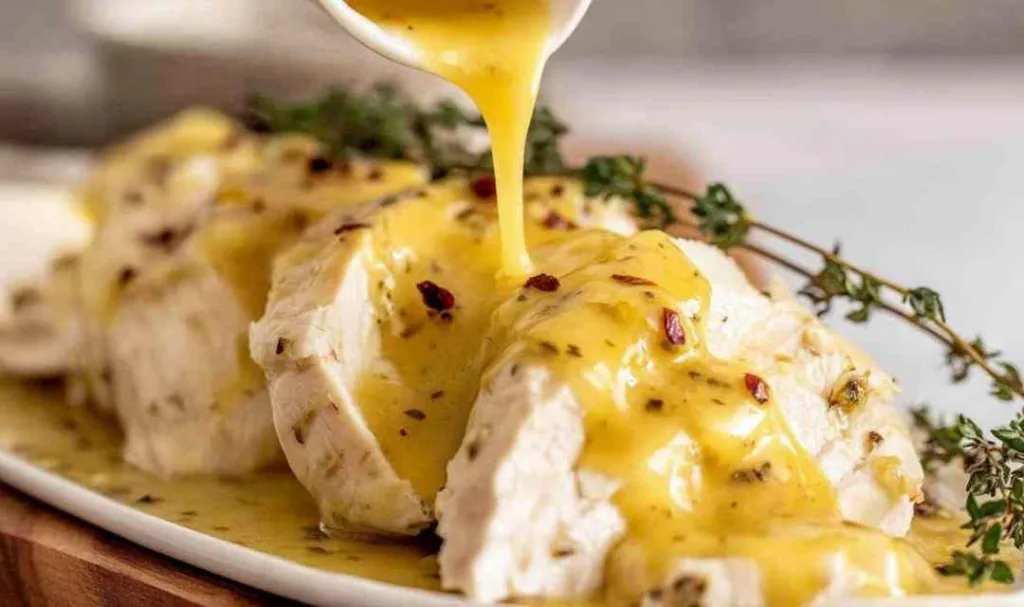
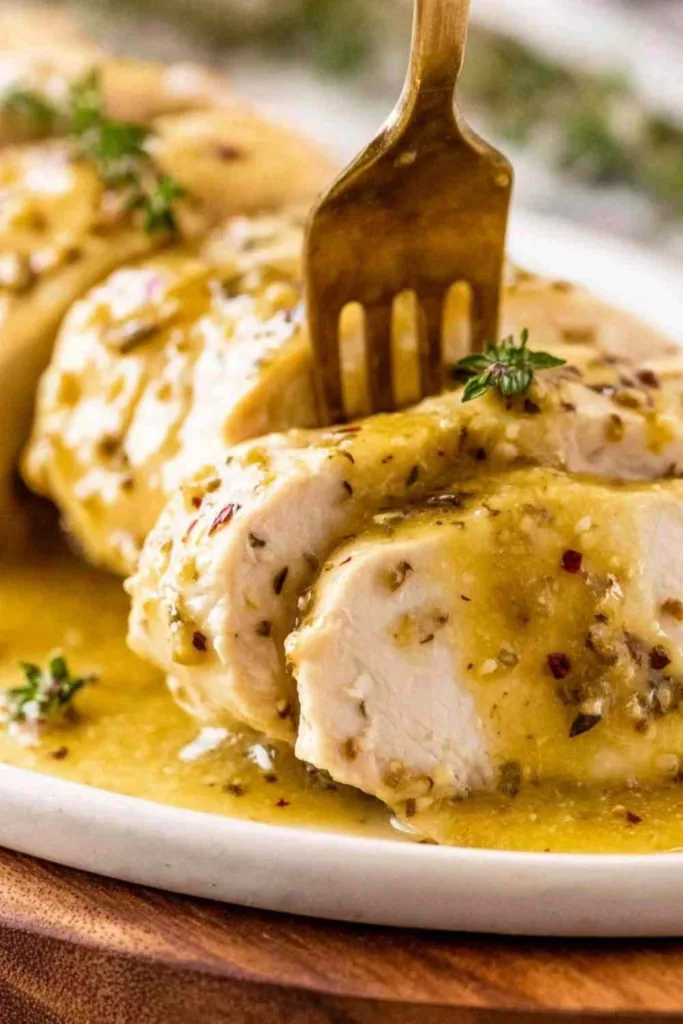
Step 7: Remove and slice. Lift the chicken out and slice, dice, or shred as needed. For the most tender bite, find the direction of the grain and cut 90 degrees across it. This shortens the muscle fibers and makes every slice melt in the mouth.
High Altitude Note: If you live at high elevation, water boils at a lower temperature, which means the standard method may not cook the chicken through. Instead, keep the chicken in the boiling water for 1 full minute before removing from the stove, then let it sit for 20 minutes. Use a meat thermometer to confirm: cooked chicken should read 151 degrees Fahrenheit (66 degrees Celsius).
Betty’s Tips for Perfect Results
Weigh your chicken: Size is everything here. A 10 oz breast needs 25 to 30 minutes; an 8.5 oz breast is perfect at 20 minutes. When in doubt, use a kitchen scale.
Add flavorings only if serving simply: If you’re tossing the chicken into a heavily dressed salad or a saucy pasta, plain water is fine. Save the lemon and bay leaf for dishes where the chicken takes center stage.
Store whole for best texture: Keeping the chicken uncut in the fridge preserves its moisture far better than storing it sliced.
Single layer only: Never stack breasts. If cooking 4 or more, use a larger pot. The breasts need to sit in a single layer so the water temperature around each one stays consistent.
Keeping Your Poached Chicken Fresh
One of the best things about this recipe is how well the chicken keeps, making it a meal-prep hero in my kitchen. On Sunday evenings I often make a double batch and set myself up for a whole week of easy lunches.
Refrigerator: Store whole (uncut) in an airtight container for up to 4 days. It’s incredible how tender it is even eaten cold straight from the fridge.
Freezer: Can be frozen for up to 3 months. Wrap tightly before freezing. It will be slightly less juicy after thawing, but still far better than most other cooking methods.
Reheating: For sliced or diced chicken, gentle reheating in a covered pan with a splash of water works well. Or simply enjoy it cold, it’s genuinely delicious that way.
What Goes Well with This Poached Chicken
This is where the real magic of poached chicken shines. Because it is so mild and tender, it plays beautifully with bold dressings, rich sauces, and all kinds of textures. Here is how my family loves it most:
Added to chicken noodle soup or a corn chowder. My Creamy Chicken Noodle Soup is the perfect cozy pairing.
Sliced in sandwiches or stuffed into wraps with avocado and mustard. For a complete wrap meal, try this Sweet Chili Chicken Wrap for inspiration on flavor combinations.
Shredded into a chicken Caesar or Thai-style salad. My Healthy Chicken Salad is a perfect use for leftover poached chicken.
Diced into chicken pot pie or a creamy chicken pasta. This Creamy Chicken Pot Pie Orzo is one of my favorites to make with it.
Served over rice with a honey mustard or ginger shallot sauce. Try it over this Garlic Butter Rice as a simple base.
Tucked into enchiladas, tacos, or burritos. This Easy Chicken Enchiladas recipe works wonderfully with poached chicken instead of rotisserie.
FAQs
I recommend thawing completely before using. Frozen chicken won’t allow the water temperature to remain consistent enough for this off-heat method to cook the breast safely all the way through.
Salt changes the boiling point and the cooling rate of water, both of which this method relies on precisely. The simple solution is to season the chicken after it’s cooked, or use it in a recipe that provides its own seasoning.
This method is specifically designed for boneless, skinless chicken breasts. Thighs have more fat and a different density, so cooking times would need to be adjusted. I recommend using a meat thermometer if you experiment with thighs.

Poached Chicken – Foolproof, Juicy, Guaranteed
Ingredients
Equipment
Method
-
Take chicken out of the fridge 30 minutes before cooking.
-
Fill a saucepan with enough water so the chicken will be submerged with at least 2 inches of water above it, in a single layer.
-
Add optional flavorings: squeeze in lemon juice, add used lemon pieces, bay leaf, and garlic.
-
Bring water to a full rolling boil.
-
Place chicken breasts in the boiling water and put the lid on. Bring back up to the boil, then immediately remove saucepan from stove.
-
Set aside for 20 minutes. Chicken is safe in the water for up to 45 minutes to 1 hour without overcooking.
-
Remove chicken from water. Slice 90 degrees across the grain, dice, or shred as desired. Serve immediately or store.


