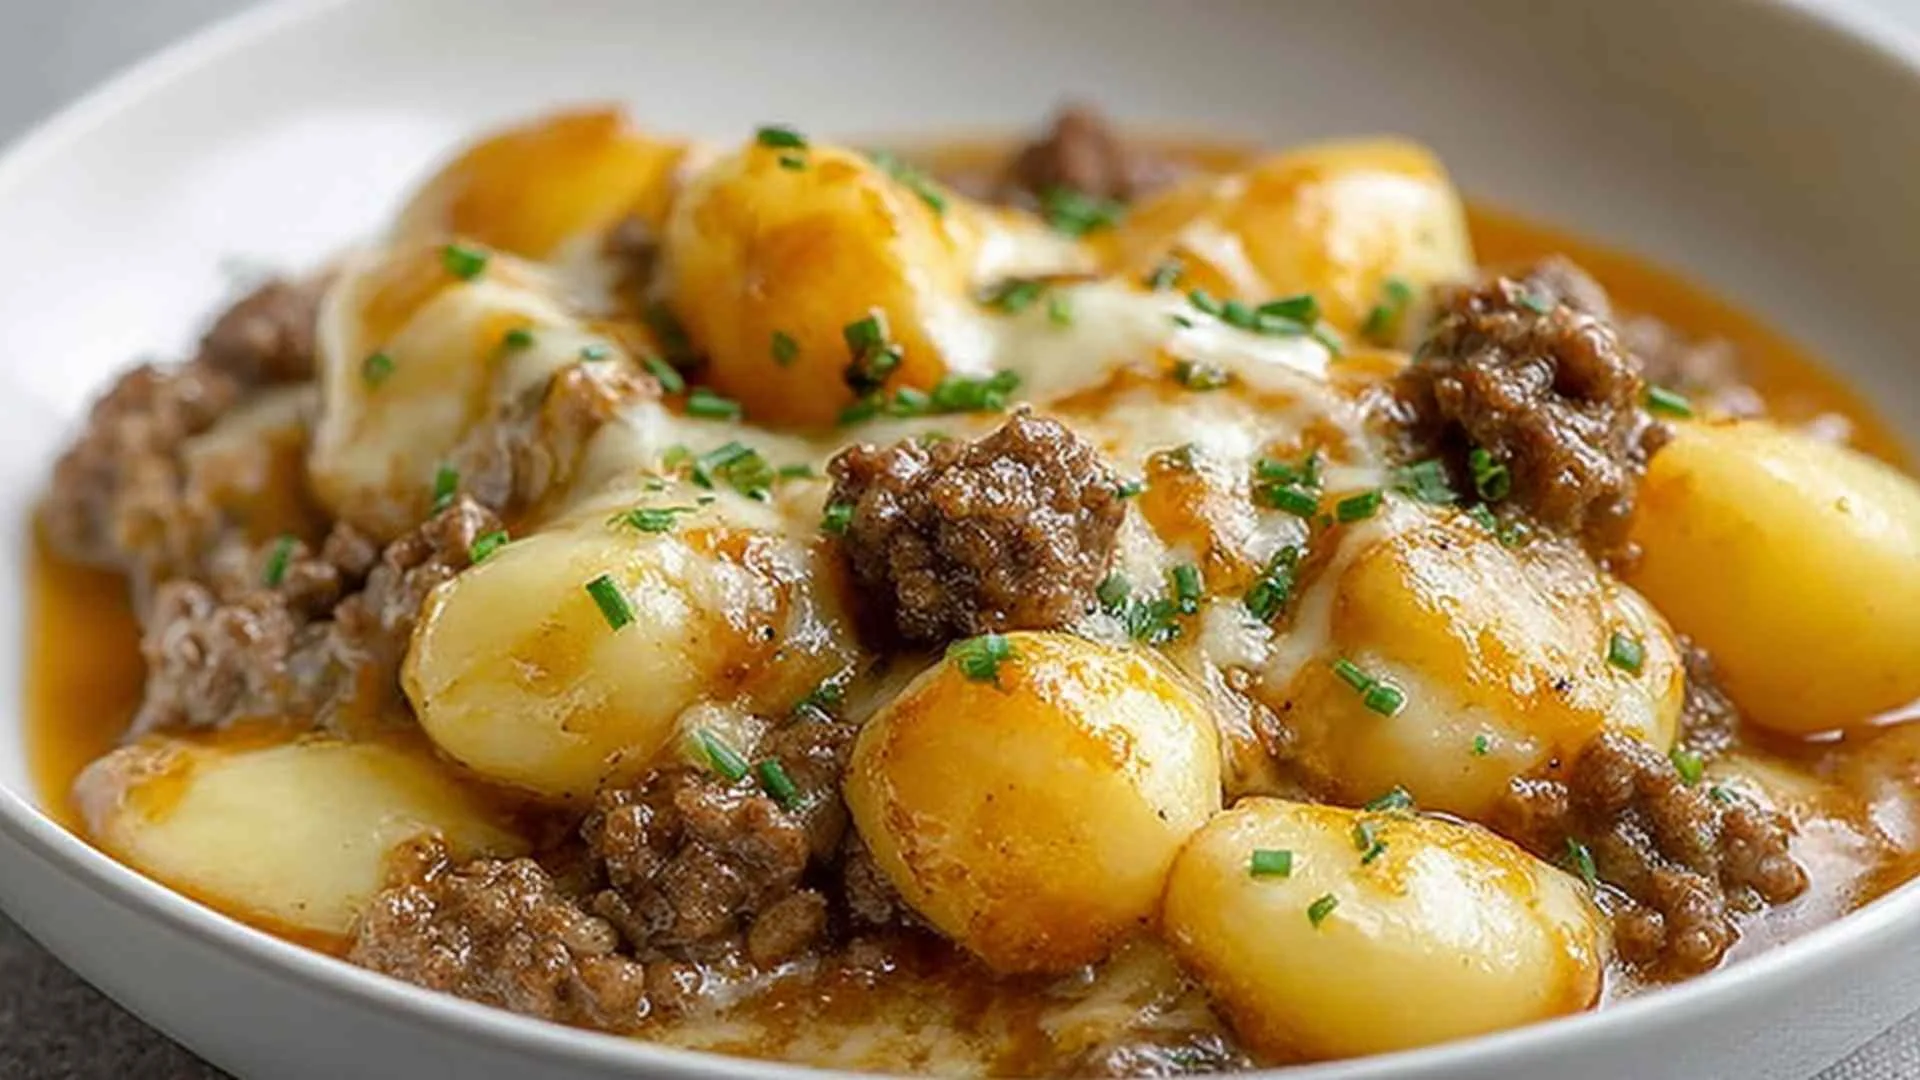
Cast Iron Skillet Chicken Pot Pie brings all the cozy comfort of a classic pot pie without the fuss of multiple dishes. This one-pan wonder delivers tender chicken, savory vegetables, and a stunning puff pastry top that looks like you spent hours in the kitchen.
I remember the first time my grandmother taught me to make pot pie in her well-seasoned cast iron skillet on a chilly October evening. The way that heavy pan held the heat and created the most incredible golden crust on the bottom still amazes me today. She’d always say, “Betty, everything tastes better when it’s made in cast iron,” and after making this Cast Iron Skillet Chicken Pot Pie dozens of times for my own family, I couldn’t agree more. The rosette pattern on top looks impressive, but I promise it’s just twisted strips of puff pastry arranged in a circle. Your kitchen’s about to smell incredible!
What Makes This Cast Iron Chicken Pot Pie So Special
This recipe has earned its place in my weekly rotation because it solves that eternal weeknight question: how do I make something special without spending all evening in the kitchen? The cast iron skillet does double duty as both cooking vessel and serving dish, which means less cleanup and better heat distribution for that perfectly golden puff pastry crust.
- One pan from start to finish means minimal cleanup on busy evenings
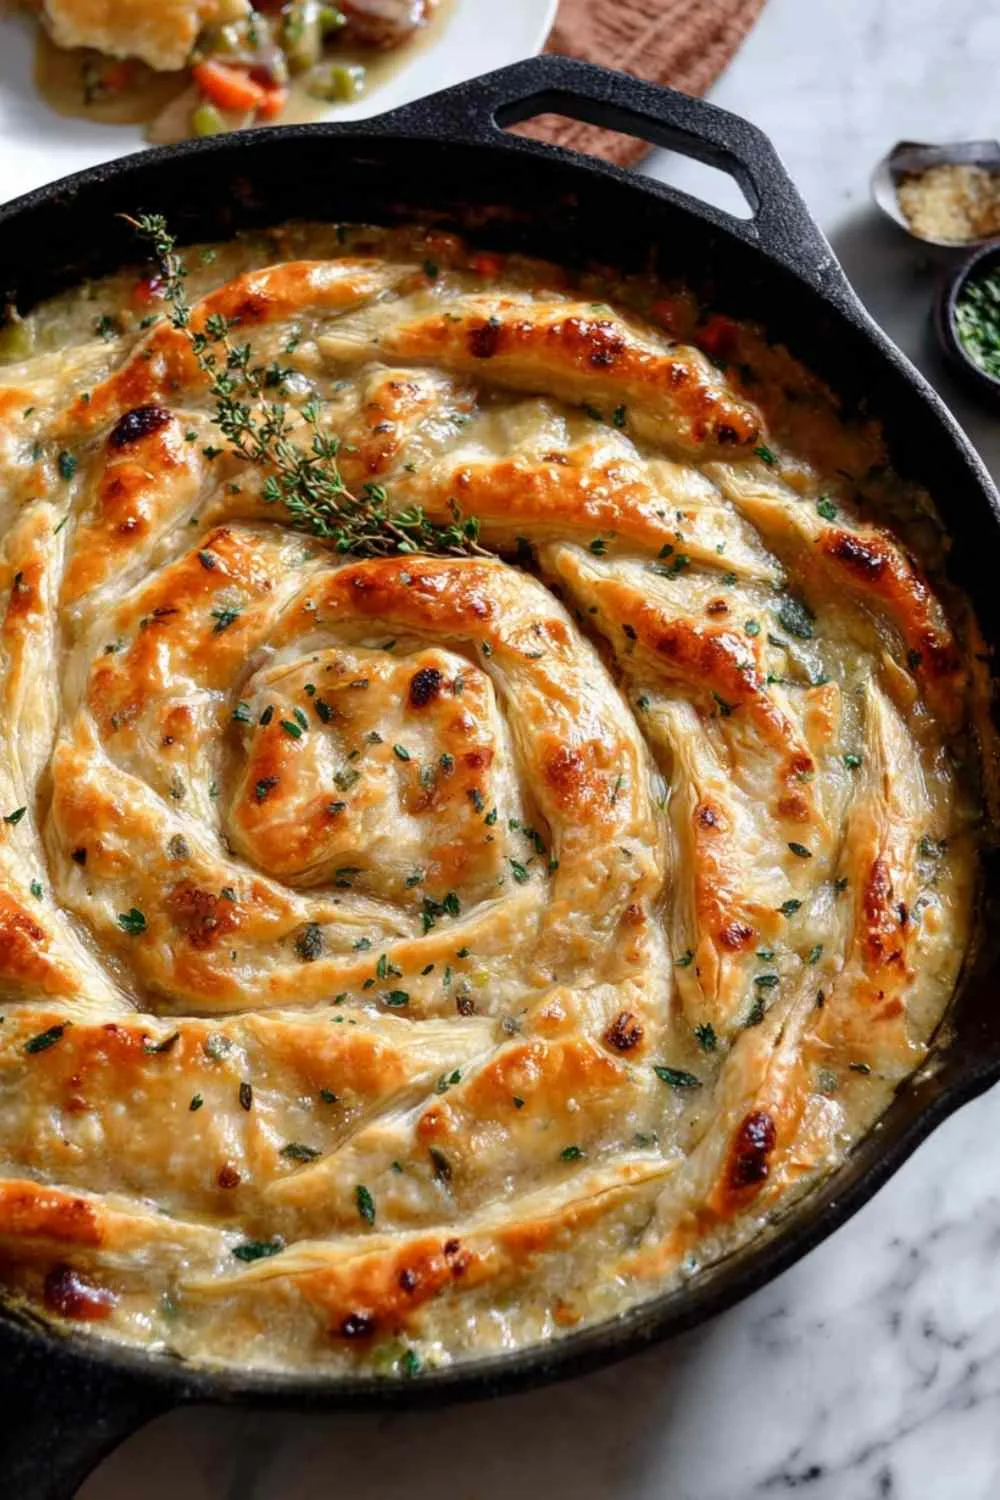
- Buttery puff pastry rosette crust looks difficult but takes just minutes to arrange
- Uses simple pantry staples you likely already have on hand
- Ready in about 50 minutes from prep to table
- Rotisserie chicken option cuts prep time in half when you’re really pressed
- Perfect for cooler weather when comfort food cravings hit hard
After years of making this recipe, I’ve learned that the combination of chicken breasts and thighs gives you the best flavor and texture. The breasts stay tender while the thighs add richness to the creamy filling.
Ingredient Spotlight
Chicken breasts and thighs: Using both cuts creates the perfect balance of lean protein and rich flavor that makes this Cast Iron Skillet Chicken Pot Pie so satisfying.
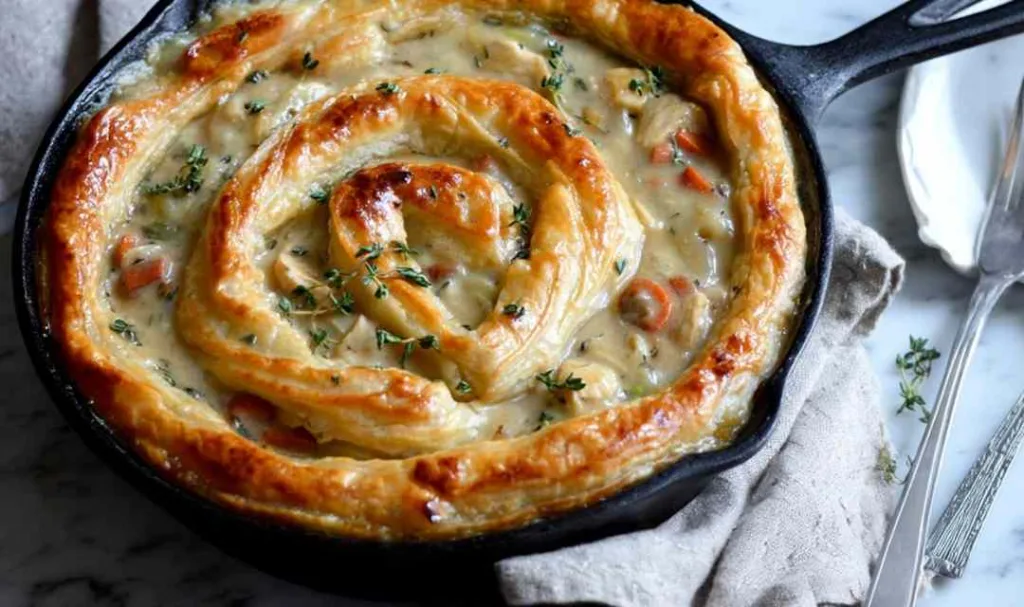
Cast iron skillet: I always reach for my 12-inch skillet because it distributes heat evenly and goes seamlessly from stovetop to oven, plus it creates a beautiful presentation at the table.
Baby cremini mushrooms: These earthy mushrooms add depth and a meaty texture to the filling that complements the chicken beautifully.
Heavy whipping cream: This ingredient transforms the sauce into a luxuriously creamy base that coats every bite of chicken and vegetables.
Pepperidge Farm Puff Pastry: In my kitchen, I prefer this brand because it’s reliably flaky and buttery, and the pre-rolled sheets make creating that impressive rosette pattern effortless.
Fresh thyme: This herb brings a subtle earthiness that ties all the flavors together without overpowering the dish.
Frozen green peas: I’ve found that adding these at the end keeps them bright green and perfectly tender rather than mushy.
Chicken stock: Quality stock makes a real difference here, it becomes the foundation of your creamy sauce and adds rich, savory notes throughout.
How to Make Cast Iron Skillet Chicken Pot Pie
Step 1. Betty always starts by preheating the oven to 400°F and seasoning the chicken generously with kosher salt and black pepper on both sides before cooking.
Step 2. I’ve learned that heating your cast iron skillet over medium-high heat with olive oil until it shimmers ensures the chicken develops a beautiful golden crust in 4-5 minutes per side, then slice and set aside.
Step 3. In the same skillet, melt the butter and add your chopped carrots, onions, and sliced mushrooms, sautéing for 6-7 minutes until the vegetables soften and start to caramelize.
Step 4. After years of making this, I reduce the heat to medium before adding garlic, thyme, salt, pepper, and flour, stirring for just 30 seconds to cook off the raw flour taste without burning the garlic.
Step 5. The key I discovered is slowly whisking in the chicken stock to prevent lumps, then adding the cream and letting everything simmer until thickened, about 3-5 minutes.
Step 6. Remove the skillet from heat and stir in the frozen peas and sliced chicken, then let it cool slightly while you prepare the puff pastry.
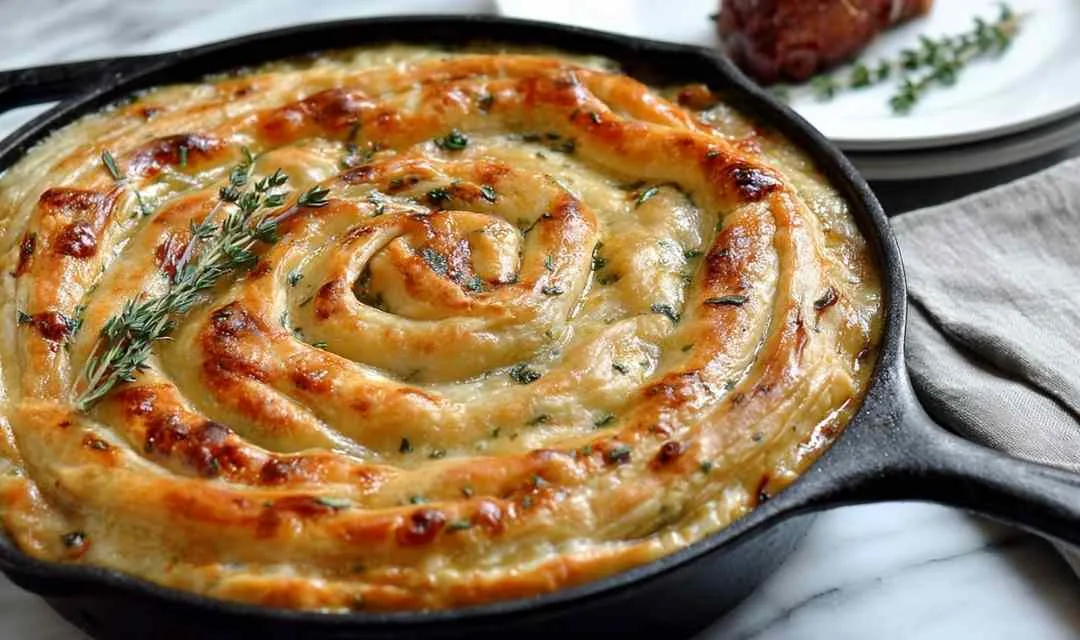
Step 7. Betty’s tip: Cut each puff pastry sheet into ½-inch strips, twist them, and arrange in a circular pattern from the outside edge working toward the center, overlapping slightly so they bake together beautifully.
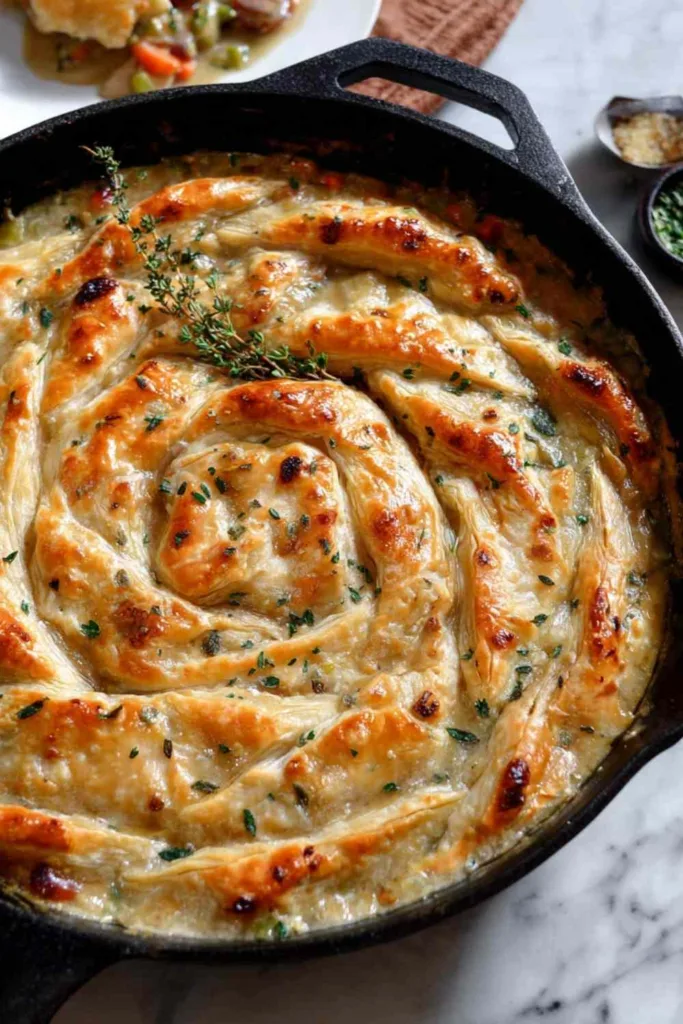
Step 8. I always brush the twisted pastry with whisked egg for that glossy, golden finish that makes this Cast Iron Skillet Chicken Pot Pie look bakery-worthy.
Step 9. Bake for 35-40 minutes until the puff pastry turns deep golden brown and flaky, then let it rest for 5-10 minutes before serving so the filling sets up properly.
Keeping This Pot Pie Fresh
I typically store leftover Cast Iron Skillet Chicken Pot Pie in an airtight container in the refrigerator for up to 3 days. The filling stays delicious, though the puff pastry will soften a bit as it sits. For the best results, transfer portions to individual containers rather than storing in the cast iron, which needs to be cleaned and re-seasoned.
Betty’s freezing method works well for the filling alone, prepare everything through step 6, let it cool completely, then freeze in a freezer-safe container for up to 2 months. When you’re ready to enjoy it, thaw overnight in the refrigerator and top with fresh puff pastry before baking.
For the best texture, I reheat by placing individual portions in a 350°F oven for about 15 minutes until warmed through. The microwave works in a pinch for the filling, but the pastry won’t crisp back up. If you have leftover slices with the pastry still attached, a quick stint under the broiler for the last minute helps revive some of that crispness.
Perfect Partners for Cast Iron Chicken Pot Pie
Simple green salad: A crisp salad with a light vinaigrette cuts through the richness of the creamy pot pie filling and adds fresh contrast to every bite.
Roasted Brussels sprouts: These caramelized vegetables bring a slightly bitter, nutty flavor that balances the buttery pastry beautifully.
Garlic bread or crusty baguette: Perfect for soaking up every drop of that creamy sauce left in your bowl.
Cranberry sauce: The tart-sweet flavor provides a lovely counterpoint to the savory filling, especially during fall and winter months.
Steamed green beans: Their crisp texture and mild flavor make them an easy, classic side that doesn’t compete with the main dish.
Apple cider or white wine: A chilled glass of buttery Chardonnay or warm apple cider complements this comfort food perfectly on cooler evenings.
FAQs
I recommend using about 3-4 cups of shredded rotisserie chicken to save significant prep time, just add it in step 6 with the peas and you’ll have dinner on the table even faster.
Many home cooks find success with half-and-half, though the sauce will be slightly thinner, or you can use whole milk mixed with 2 tablespoons of flour for a similar consistency.
Betty’s solution is to prepare the filling completely, refrigerate it in the skillet covered with plastic wrap, then add the puff pastry and bake when you’re ready to serve for the freshest results.
Ingredients
Equipment
Method
- Preheat oven to 400°F. Season chicken breasts and thighs with kosher salt and ground black pepper on both sides.
- Heat olive oil in a large 12-inch cast iron skillet over medium-high heat. Cook chicken for 4-5 minutes per side until golden. Remove to a cutting board, slice into strips, and set aside.
- Add butter, chopped carrots, onions, and sliced mushrooms to the skillet. Sauté until vegetables are tender, about 6-7 minutes.
- Reduce heat to medium and add garlic, thyme, salt, pepper, and flour. Stir to combine and cook for about 30 seconds.
- While stirring, slowly add chicken stock to combine. Add cream and simmer until thickened, about 3-5 minutes.
- Remove from heat. Stir in frozen peas and reserved sliced chicken. Set skillet aside to cool slightly while you work on the puff pastry.
- Lay out each sheet of puff pastry on a cutting board and cut into ½-inch strips. Twist each strip and arrange in a circular pattern from the outside of the skillet to the inside, overlapping pieces so they bake together. Continue to the center until surface is covered.
- Use a pastry brush to lightly brush whisked egg over the top of the puff pastry.
- Bake in the oven for 35-40 minutes until the puff pastry is golden brown. Remove and allow to sit for 5-10 minutes before serving.