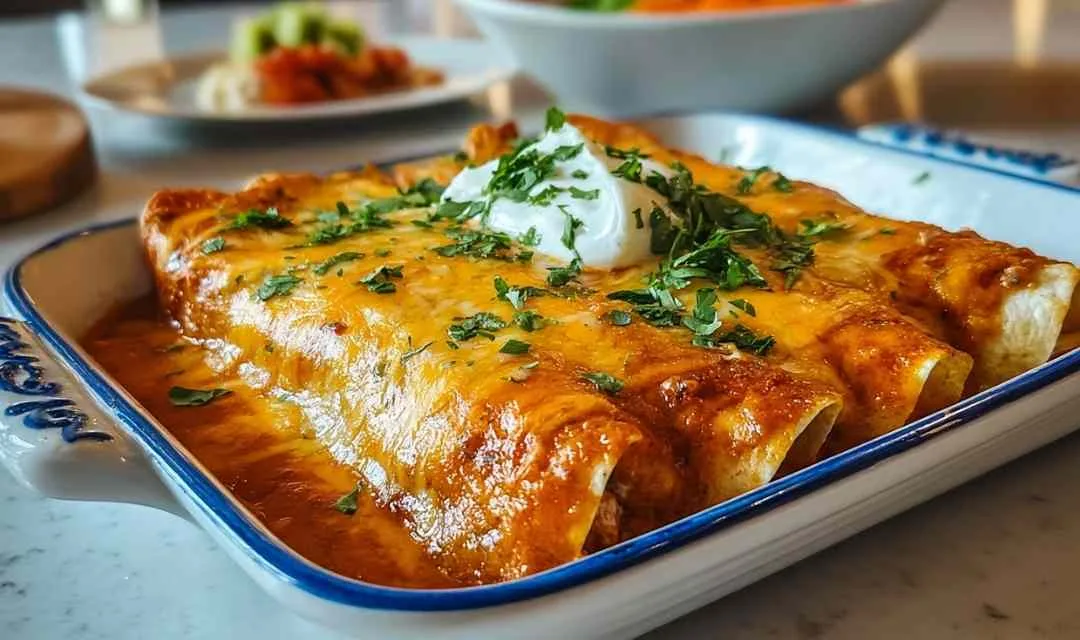
Chicken enchiladas bring restaurant-quality flavor right to your family dinner table with minimal effort. I remember the first time Betty made these on a busy Tuesday evening; the whole house filled with that irresistible aroma of melted cheese and zesty enchilada sauce, and my kids came running to the kitchen asking when dinner would be ready.
There’s something magical about pulling a pan of bubbling, golden-brown enchiladas from the oven. Betty discovered this recipe during a family trip to the Southwest, where a kind woman at a small cafe shared her technique for achieving that perfect balance of tender chicken, flavorful spices, and gooey cheese. Back in her Midwest kitchen, Betty adapted it to work with ingredients she could grab at any grocery store, making it a weeknight staple that never fails to bring everyone to the table with smiles. The beauty of homemade chicken enchiladas is that they taste indulgent but come together faster than ordering takeout. Time to get our hands cooking!
What Makes These Chicken Enchiladas So Special
These chicken enchiladas have earned their place in Betty’s recipe box for good reason; they’ve fed countless family gatherings and solved many “what’s for dinner?” dilemmas over the years. What started as an experiment has become one of the most requested meals in our home.
Here’s why this easy chicken enchiladas recipe works every time:
- Uses ingredients you probably have – No hunting for specialty items; everything’s available at your regular grocery store
- Comes together in under 45 minutes – Perfect for busy weeknights when you need dinner fast
- Delivers crowd-pleasing results consistently – Even picky eaters ask for seconds
- Adapts easily to your preferences – Swap proteins, adjust spice levels, or add your favorite vegetables
- Makes excellent leftovers – Actually tastes better the next day when flavors have melded together
- Creates that perfect comfort food combination – Tender chicken, gooey cheese, and zesty sauce in every bite
Betty always says the secret to great enchiladas isn’t complicated technique; it’s about layering simple flavors thoughtfully and not overthinking the process.
Ingredient Spotlight
Cooked and shredded chicken forms the heart of these enchiladas, providing protein and a tender texture that soaks up all those wonderful spices. I always choose rotisserie chicken from the store when I’m short on time, or use leftover chicken from Sunday’s roast.
Red enchilada sauce delivers that signature tangy, slightly spicy flavor that makes enchiladas irresistible. In my kitchen, I prefer canned sauce for consistency, though Betty sometimes makes her own when she has extra time.
Monterey Jack cheese melts beautifully and creates that gooey, stretchy texture everyone loves in chicken enchiladas. Betty’s tip: shred it yourself rather than buying pre-shredded; it melts much smoother.
Flour tortillas provide a soft, pliable wrapper that becomes tender in the oven without falling apart. I’ve learned that letting them come to room temperature before rolling prevents tearing.
Cumin and chili powder work together to build that authentic Southwestern flavor profile without overwhelming heat. After years of making this, I’ve found that toasting the spices briefly in the pan deepens their flavor significantly.
Fresh garlic and onion create an aromatic base that infuses the chicken filling with savory depth. Betty always starts by sauteing these until fragrant; it makes all the difference.
Fresh cilantro adds a bright, herbaceous note that cuts through the richness when you’re ready to serve. My family prefers when I garnish generously right before bringing the pan to the table.
How to Make Chicken Enchiladas
Step 1. Betty always starts by preheating the oven to 375°F so it’s ready when you need it; this ensures even cooking and that perfect golden-brown cheese topping.
Step 2. Heat the vegetable oil in a large skillet over medium heat, then saute the chopped onions and minced garlic until they’re soft and fragrant, about 3-4 minutes.
Step 3. I’ve learned that adding the shredded chicken, cumin, chili powder, salt, and pepper to the aromatic base and cooking for 3-5 minutes allows the spices to bloom and coat every piece of meat.
Step 4. Pour a thin layer of enchilada sauce into the bottom of your baking dish; this prevents sticking and adds flavor to the bottom of each enchilada.
Step 5. Betty’s tip: place about 1/3 cup of chicken mixture and a sprinkle of cheese down the center of each tortilla, then roll tightly and place seam-side down in the prepared dish.
Step 6. Through trial and error, I discovered that pouring the remaining sauce evenly over all the enchiladas, then topping with the rest of the cheese, creates that restaurant-quality appearance.
Step 7. Cover the baking dish with aluminum foil and bake for 20-25 minutes, which allows the enchiladas to heat through and the flavors to meld together.
Step 8. The key I discovered is removing the foil for the final 5-10 minutes of baking; this creates that irresistible golden, bubbly cheese topping everyone fights over.
Step 9. Let the enchiladas rest for about 5 minutes before serving; this helps them hold together when you’re plating them and prevents anyone from burning their mouth on molten cheese.
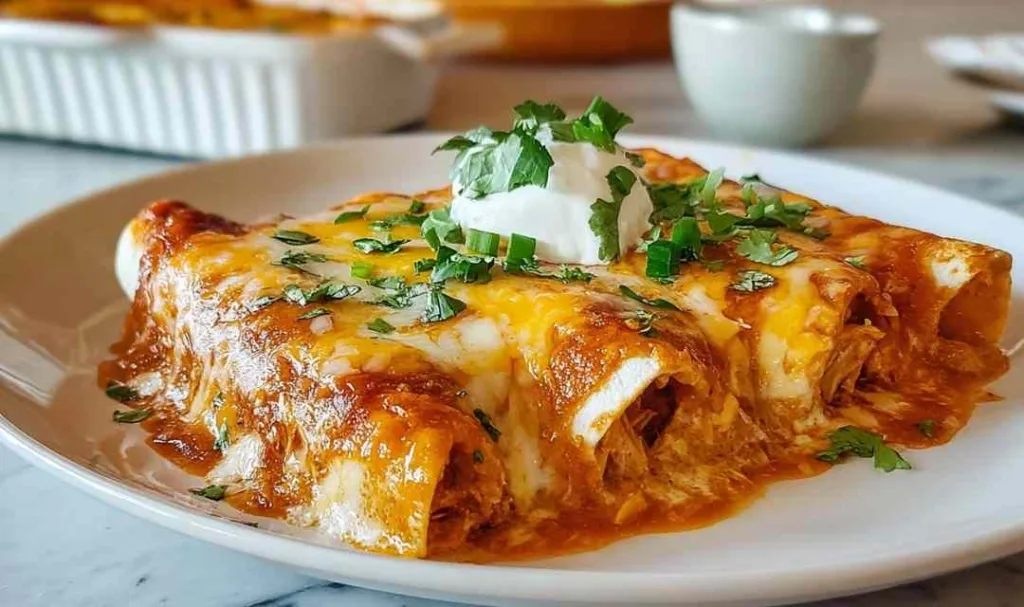
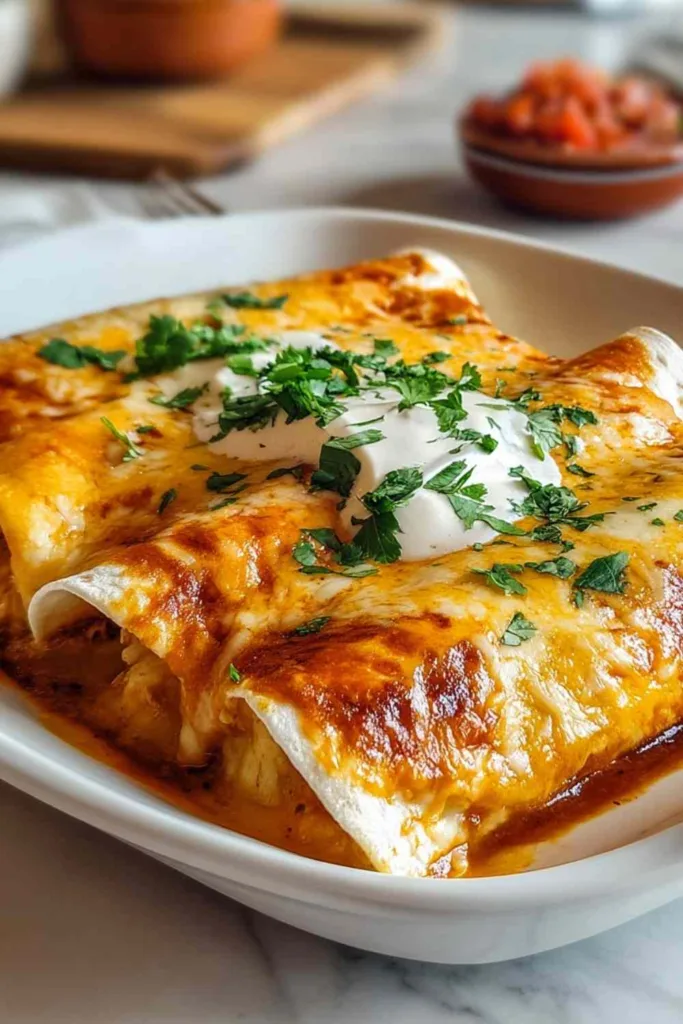
Step 10. I always garnish with fresh chopped cilantro and serve with dollops of cool sour cream; the contrast of temperatures and flavors is absolutely perfect.
Keeping These Chicken Enchiladas Fresh
I typically store leftover enchiladas in an airtight container in the refrigerator for up to 4 days. Betty’s method is to let them cool completely first, then cover the baking dish tightly with plastic wrap or transfer individual portions to meal prep containers. The sauce keeps the tortillas moist, and honestly, the flavors deepen overnight, making day-two enchiladas even more delicious.
Betty’s freezing method works well for this recipe; I often make a double batch. Wrap individual enchiladas or the entire dish tightly in plastic wrap, then cover with aluminum foil before freezing for up to 3 months. When I know I have a busy week ahead, having these in the freezer feels like a gift to my future self. Thaw overnight in the refrigerator before reheating.
For the best texture, I reheat enchiladas in a 350°F oven for about 15-20 minutes if refrigerated, or 30-35 minutes if frozen (thawed first). Cover with foil to prevent the cheese from over-browning, then remove it for the last 5 minutes to crisp things up. The microwave works in a pinch; about 2-3 minutes on medium power per portion, though the tortillas won’t have that same slightly crispy edge that makes oven-reheated enchiladas so satisfying.
Perfect Partners for Chicken Enchiladas
Mexican rice or cilantro lime rice – The fluffy texture and subtle flavors provide the perfect base to soak up extra enchilada sauce without competing with the main dish.
Refried beans or black beans – These add protein and create a more filling meal while complementing the Southwestern flavors with their creamy, earthy taste.
Simple green salad with avocado – The cool, crisp lettuce and buttery avocado offer a refreshing contrast to the warm, cheesy enchiladas and help balance the richness.
Mexican street corn (elote) – Whether on the cob or cut into a salad, the sweet corn with tangy lime and cotija cheese echoes the Mexican flavors beautifully.
Tortilla chips with fresh salsa or guacamole – Perfect for munching while the enchiladas bake, plus they extend the meal into a more festive experience.
Seasoned roasted vegetables – Bell peppers, zucchini, or poblano peppers roasted with chili powder add color, nutrition, and a slightly smoky flavor that pairs wonderfully with enchiladas. If you’re looking for a hearty soup to start your meal, try this easy chicken taco soup or this creamy chicken enchilada soup.
Betty’s family always requests rice and beans alongside these enchiladas; it’s the classic combination that turns a simple dinner into a complete, satisfying feast. For another quick Mexican-inspired dinner, check out these easy 10 minute chicken enchiladas or this chicken enchilada rice casserole.
Keeping This Recipe Fresh
I recommend sticking with flour tortillas for this recipe because they’re more pliable and less likely to crack when rolling. If you prefer corn tortillas, warm them briefly in the microwave wrapped in damp paper towels to make them flexible.
Betty’s solution is to add diced jalapenos or green chiles to the chicken filling, use a spicier enchilada sauce, or sprinkle red pepper flakes into the mixture. Many home cooks find success with adding a few dashes of hot sauce directly into the chicken mixture.
To prevent this common concern, assemble the enchiladas completely, cover tightly with plastic wrap, and refrigerate for up to 24 hours before baking. Add an extra 5-10 minutes to the covered baking time since they’re starting cold.

Chicken Enchiladas
Ingredients
Equipment
Method
- Preheat oven to 375°F (190°C).
- Heat oil in a large skillet over medium heat. Saute onions and garlic until soft and fragrant, about 3-4 minutes.
- Add shredded chicken, cumin, chili powder, salt, and pepper to the skillet. Cook for 3-5 minutes, stirring to coat the chicken with spices.
- Pour a thin layer of enchilada sauce into the bottom of a 9×13 inch baking dish.
- Place about 1/3 cup of chicken mixture and a sprinkle of cheese down the center of each tortilla. Roll tightly and place seam-side down in the prepared baking dish.
- Pour remaining enchilada sauce evenly over the rolled enchiladas. Top with remaining shredded cheese.
- Cover the baking dish with aluminum foil and bake for 20-25 minutes.
- Remove foil and bake for an additional 5-10 minutes until cheese is golden and bubbly.
- Let rest for 5 minutes before serving. Garnish with fresh chopped cilantro and serve with sour cream.