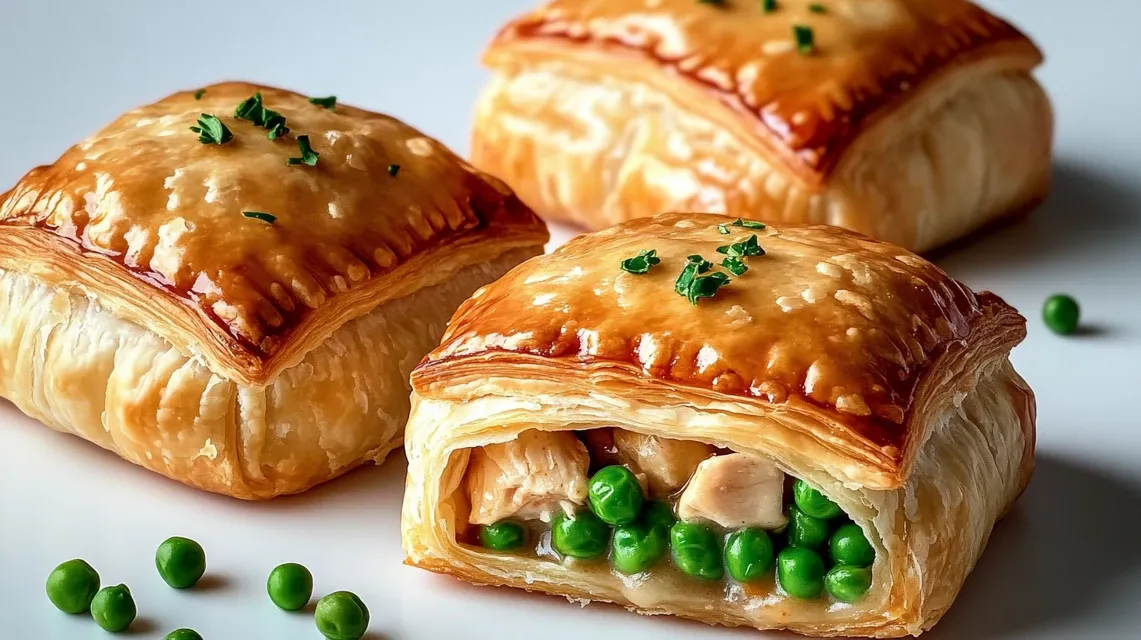
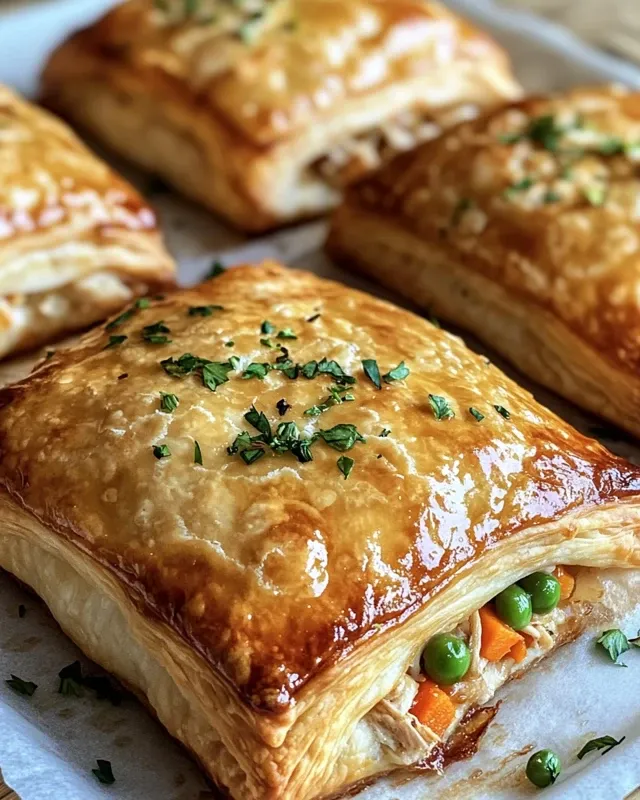
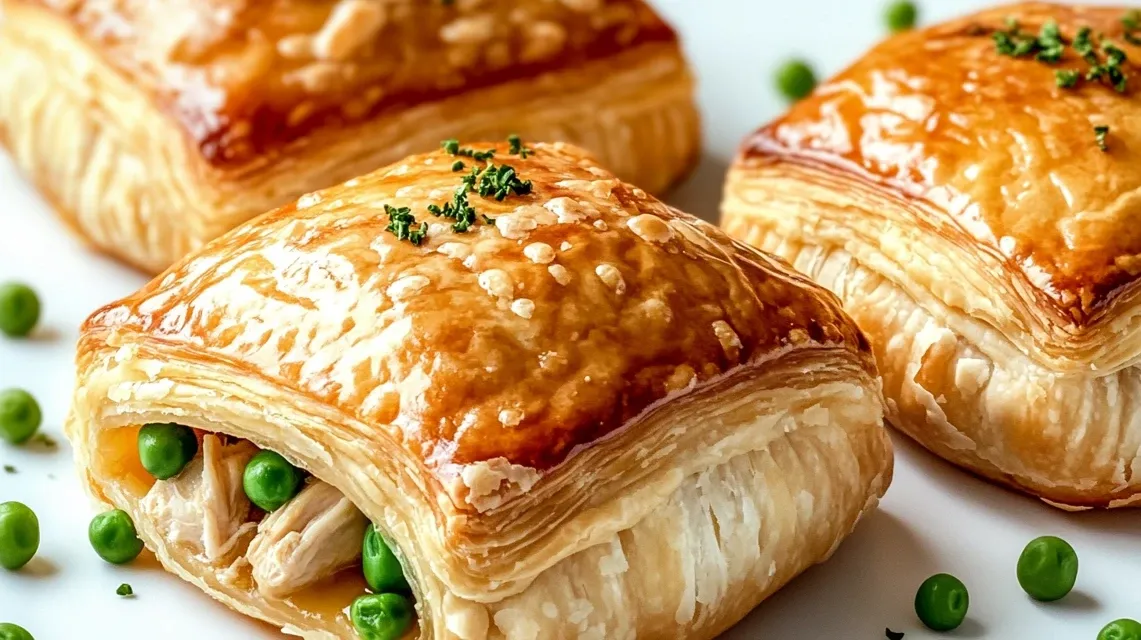
I’ve been making this chicken pastry recipe for years, and it never fails to bring smiles around my dinner table. The combination of tender chicken, vegetables, and buttery pastry creates a comfort food experience that’s both satisfying and impressive.
Growing up, my grandmother would make these delicious chicken pastries for special family gatherings. I can still remember the aroma filling her kitchen as she taught me how to achieve that perfect flaky crust. Over the years, I’ve tweaked her chicken pastry recipe to create my own version that maintains that homemade goodness while being easier to prepare. The magic happens when the savory chicken filling meets that golden, buttery crust – creating a perfect balance of flavors and textures that my family requests time and again.These pastries are versatile enough for a quick lunch, dinner, or even as party appetizers—try pairing them with our Egg Fried Rice with Veggies for a satisfying combo. Let’s get cooking!
Why You’ll Love These Golden Chicken Hand Pies
I’ve been perfecting this recipe for years, and these savory pastries have become a staple in my household. The tradition of making these hand pies started with my grandmother, who taught me that the secret lies in the buttery, flaky crust.
- Family-approved comfort food that combines tender chicken, vegetables, and herbs in a buttery, flaky pastry
- Make-ahead friendly – prepare the filling or even the entire pastries in advance for busy weeknight dinners
- Versatile serving options – perfect as an appetizer, lunch, or main course with a side salad
- Freezer-friendly – make a double batch and freeze some for later, they reheat beautifully
- Customizable filling – easily adapt with seasonal vegetables or leftover turkey instead of chicken, or use leftovers from our Chicken Enchilada Pasta for a fun twist.
As my husband always says, “These aren’t just pastries—they’re little packages of love that warm you from the inside out.”
Ingredient Note List
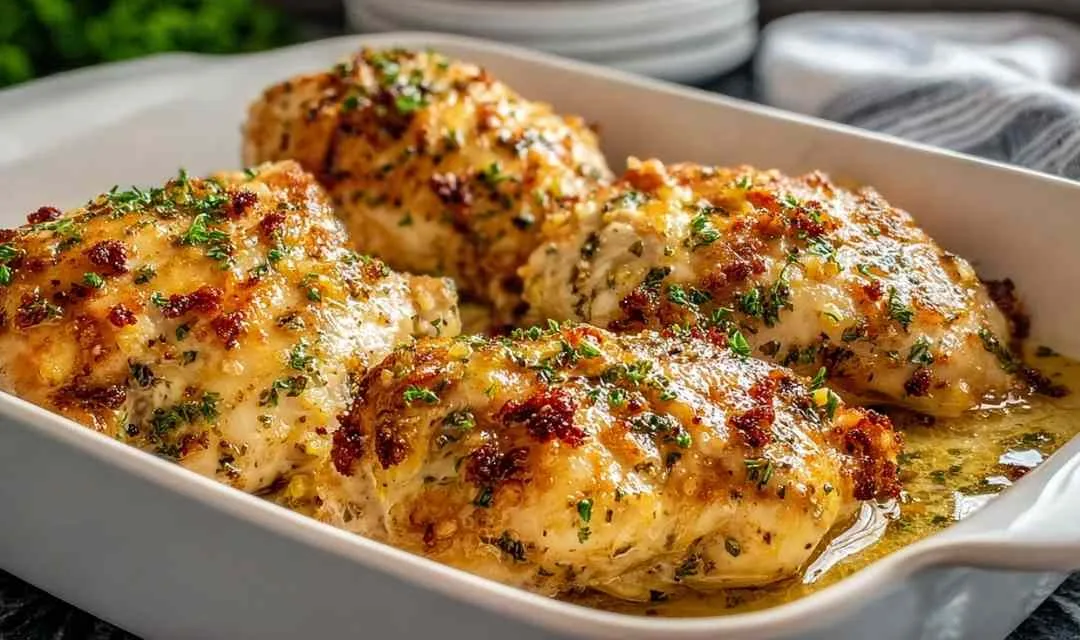
Cooked Chicken: I always use rotisserie chicken for this recipe because it saves time and adds a deeper flavor than plain boiled chicken.
Onion and Carrots: These aromatic vegetables create the flavor foundation for the filling, and I find the sweetness they develop during sautéing complements the savory chicken perfectly.
Peas: I recommend using frozen peas as they maintain their bright color and sweet flavor better than canned alternatives.
Olive Oil: A good quality olive oil helps to sauté the vegetables and adds a subtle fruity note to the chicken pastry filling.
All-Purpose Flour: In the filling, flour acts as a thickening agent for the sauce, while in the pastry, it provides structure and that delightful flakiness we love.
Chicken Broth: I prefer using low-sodium chicken broth so I can control the saltiness of the filling myself.
Herbs and Seasonings: The combination of garlic powder, onion powder, thyme, and parsley gives these chicken pastries their signature homestyle flavor that reminds me of Sunday dinners.
Unsalted Butter: Cold butter is essential for creating those beautiful, flaky layers in the pastry—I always cube it and return it to the refrigerator until the last possible moment.
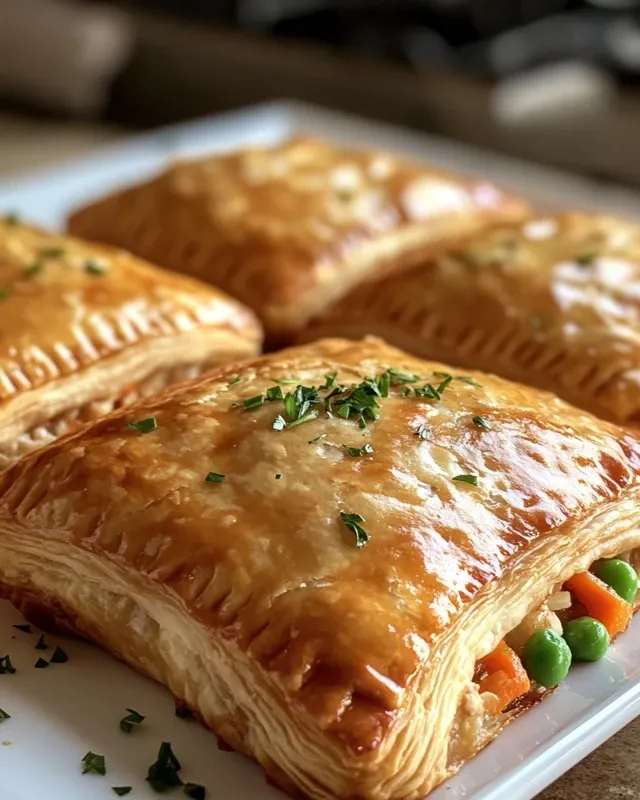
Egg Wash: Don’t skip this step! The beaten egg creates that gorgeous golden-brown finish that makes these chicken pastries irresistible.
How to Cook Homemade Chicken Pastries?
Step 1. I start by heating olive oil in a large skillet over medium heat, then add my finely chopped onions and cook until they become translucent and aromatic, usually about 3-4 minutes.
Step 2. Next, I add the diced carrots and peas to the skillet, cooking for another 5 minutes until the vegetables soften but still maintain some texture.
Step 3. I’ve found that sprinkling flour directly over the sautéed vegetables creates the best base for a smooth sauce—I always stir continuously to avoid any lumps forming.
Step 4. My grandmother always taught me to add chicken broth gradually while stirring constantly, which creates that perfect silky texture as the sauce thickens.
Step 5. Once the sauce has thickened, I fold in the shredded chicken along with all the seasonings, making sure everything is well combined and heated through before removing from heat to cool.
Step 6. For the pastry, I combine flour and salt in a large bowl, then work in the cold, cubed butter using my fingertips until the mixture resembles coarse crumbs with small pea-sized butter pieces still visible.
Step 7. I’ve learned through experience to add cold water just one tablespoon at a time, mixing gently until the dough just comes together—overworking leads to tough pastry!
Step 8. After dividing the dough and chilling it for at least 30 minutes, I roll each disc on a lightly floured surface to about 1/8 inch thickness, then cut into my desired shapes.
How to Store & Reheat
I typically store leftover chicken pastries in an airtight container in the refrigerator, where they remain fresh for up to 3 days. For best results, I make sure they’ve cooled completely before storing to prevent condensation from making the pastry soggy.
If you want to freeze these delicious chicken pastries, I recommend arranging them on a baking sheet and freezing them individually first. Once frozen solid, I transfer them to a freezer-safe bag or container with parchment paper between layers. In my experience, they keep well for up to 2 months this way.
For reheating refrigerated pastries, I prefer using the oven at 350°F for about 10-15 minutes to restore that wonderful crispy texture. If reheating from frozen, I add an extra 5-10 minutes to the baking time. While you can use a microwave for about 30 seconds, I’ve found it tends to make the pastry a bit chewy rather than flaky.
What to Serve with Chicken Pastry
Garden Salad with Vinaigrette: I often pair these rich, savory pastries with a light, crisp garden salad like our Quinoa Salad with Lemon Dressing to balance the meal and add freshness.
Roasted Vegetables: The sweet, caramelized flavors of roasted vegetables like Brussels sprouts or butternut squash complement the savory chicken pastry perfectly while adding nutritional balance.
Creamy Mashed Potatoes: When I’m serving these pastries as a main course for dinner, creamy mashed potatoes make the meal feel complete and provide a soft texture contrast to the flaky pastry.
Cranberry Sauce: The sweet-tart flavor of cranberry sauce pairs surprisingly well with chicken pastry, cutting through the richness and adding a bright pop of flavor.
Simple Tomato Soup: On chilly evenings, I love serving these chicken pastries alongside a bowl of simple tomato soup or even Egg Fried Rice with Veggies for a cozy, nourishing dinner.
FAQs
Can I make the pastry dough ahead of time?
Yes! I often make the dough up to 2 days in advance and keep it tightly wrapped in the refrigerator until I’m ready to roll and fill it.
What’s the best way to prevent a soggy bottom crust?
I recommend letting the filling cool completely before assembling the pastries and using a preheated baking sheet to help the bottom crust cook properly.
Can I use puff pastry instead of making my own dough?
Absolutely! When I’m short on time, I substitute store-bought puff pastry—it creates a different texture but is still delicious with the chicken filling.
How do I know when the pastries are done baking?
Look for a golden-brown color on top and bottom—I sometimes lift one carefully to check that the bottom is fully cooked and not pale.
Can I add different vegetables to the filling?
Definitely! I’ve successfully added diced potatoes, corn, or even spinach to the chicken filling—just make sure any additional vegetables are cooked properly.
Chicken Pastry
Ingredients
Equipment
Method
- In a large skillet, heat olive oil over medium heat. Add the chopped onion and cook until translucent, about 3-4 minutes. Add the diced carrots and peas, cooking for an additional 5 minutes until tender.
- Sprinkle the flour over the sautéed vegetables and stir well to combine. Gradually pour in the chicken broth, stirring constantly until the mixture thickens. Add the shredded chicken, garlic powder, onion powder, thyme, parsley, salt, and pepper. Mix until well combined and heated through. Remove from heat and let cool.
- In a large bowl, combine the flour and salt. Add the chilled, cubed butter and mix with a pastry cutter or your fingers until the mixture resembles coarse crumbs. Gradually add cold water, one tablespoon at a time, mixing until the dough comes together. Divide the dough into two equal parts, shape into discs, wrap in plastic wrap, and refrigerate for at least 30 minutes.
- Preheat your oven to 400°F (200°C).
- On a lightly floured surface, roll out one disc of dough to about 1/8 inch thick. Cut into circles or squares, depending on your preference.
- Place a spoonful of the chicken filling in the center of each pastry cut-out. Fold the dough over to create a pocket and seal the edges by pressing with a fork or your fingers.
- Place the filled pastries on a baking sheet lined with parchment paper. Brush the tops with the beaten egg for a golden finish.
- Bake in the preheated oven for 20-25 minutes, or until the pastries are golden brown and flaky. Remove from the oven and let cool slightly before serving.