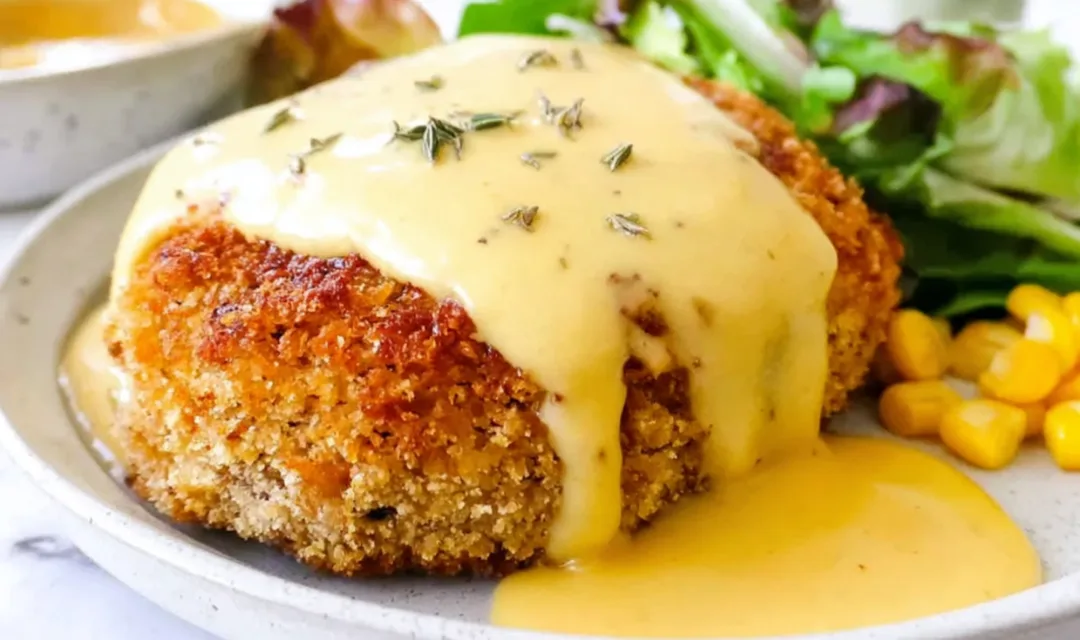
Chicken Pillows wrap tender, creamy chicken filling in golden crescent dough for the kind of dinner that makes everyone ask for seconds. I still remember the first time I pulled these out of my oven – the flaky layers, that savory aroma filling my kitchen, and my grandchildren practically dancing around the table. This recipe became a Tuesday night staple in my house because it delivers big comfort with ingredients I always have on hand.
Growing up in the Midwest, we learned that good food doesn’t have to be complicated. My mother would wrap leftover chicken in biscuit dough for quick suppers after long farm days, and those simple meals taught me that love shows up in the steam rising from a golden-brown crust. These Chicken Pillows carry that same spirit – they’re what I make when I want my kitchen to feel like a hug. The cream cheese makes the filling luxurious, the crescent dough bakes up impossibly tender, and that homemade gravy? It ties everything together like Sunday dinner in a weeknight package. Time to get our hands floury!
What Makes These Chicken Pillows So Special
There’s a reason this recipe has earned its permanent spot in my kitchen rotation. After years of making quick dinners for my family, I’ve learned what actually works on busy evenings, and these pillows deliver every single time. The combination of readily available ingredients and foolproof technique means you’re just 40 minutes away from a meal that tastes like you spent hours in the kitchen.
Here’s what you’ll love:
- Ready in 40 minutes from start to finish, perfect for hectic weeknights
- Uses pantry staples like cream cheese, crescent dough, and rotisserie chicken
- Delivers restaurant-quality results with minimal cooking experience required
- Family-friendly comfort food that appeals to picky eaters and adventurous palates alike
- Packs 30 grams of protein per serving to keep everyone satisfied
- Adapts easily to your preferences – add vegetables, switch up seasonings, or make them ahead
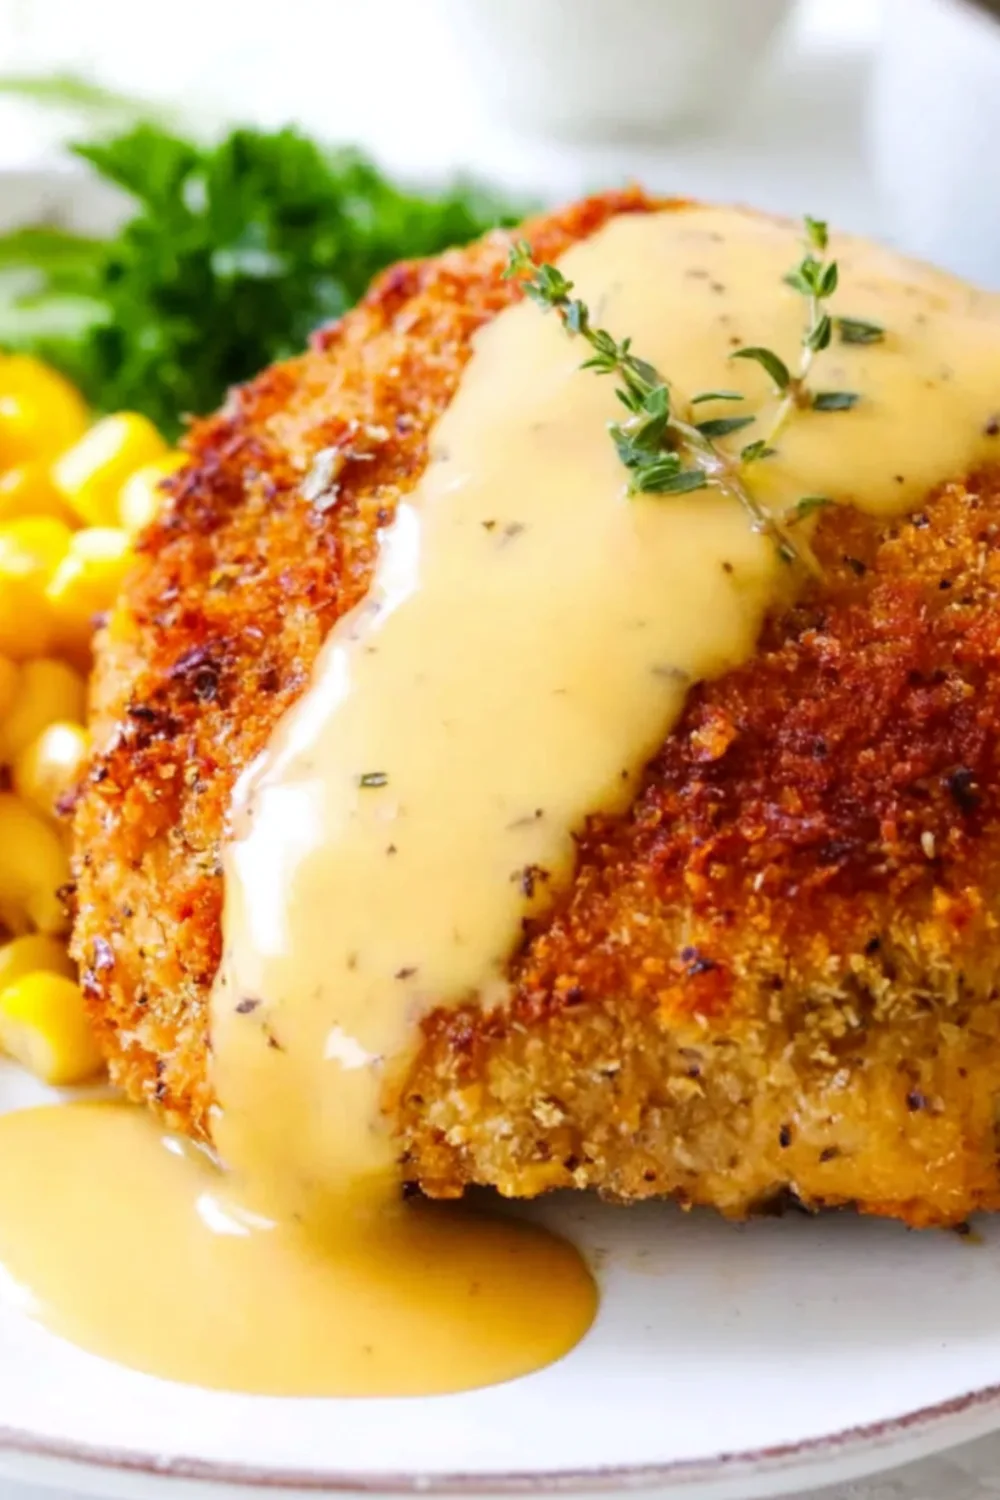
In my kitchen, I’ve found that recipes like this one become family favorites because they’re forgiving. The crescent dough handles beautifully, the filling stays moist and creamy, and that breadcrumb coating gives you that satisfying golden crunch we all crave.
Ingredient Spotlight
Cooked, shredded chicken breast forms the hearty foundation of your filling. I always use rotisserie chicken from the store to save time, and the seasoning in that pre-cooked chicken adds extra flavor depth.
Cream cheese creates the luxurious, creamy texture that holds the filling together and makes each bite feel indulgent without being heavy.
Dried chives and dried minced onion provide aromatic flavor without the prep work of fresh ingredients. In my experience, these dried herbs distribute more evenly throughout the filling.
Pillsbury crescent roll dough bakes into those impossibly flaky layers that make Chicken Pillows so special. I prefer the original variety for its buttery flavor and reliable texture.
Italian breadcrumbs create a golden, crunchy coating that contrasts beautifully with the tender filling inside. I’ve tested plain breadcrumbs, but the Italian seasoning adds welcome depth.
Cream of chicken soup and chicken gravy mix combine to make a rich, savory gravy in minutes. This shortcut delivers homemade taste without the time investment of making gravy from scratch.
Melted butter serves double duty, helping the breadcrumbs adhere while adding richness to the exterior as the pillows bake.
How to Make Chicken Pillows Step by Step
Step 1. Preheat your oven to 350°F and lightly grease a baking sheet. I’ve learned that starting with a properly heated oven ensures even browning and prevents soggy bottoms.
Step 2. Mix the softened cream cheese and 1 tablespoon butter together until smooth, then fold in the shredded chicken, chives, minced onion, salt, and pepper. Betty always emphasizes that softened cream cheese blends more easily and creates a smoother filling.
Step 3. Unroll the crescent dough and press two triangles together to form rectangles, making sure to seal those perforations completely. Through trial and error, I learned that well-sealed seams prevent filling from leaking during baking.
Step 4. Divide the chicken mixture evenly among the 4 rectangles, placing filling in the center of each. I’ve found that keeping the filling centered makes folding easier and creates more uniform pillows.
Step 5. Fold each corner of the dough over the filling toward the center, pressing firmly to seal completely, then gently shape into a smooth ball. The key I discovered is making sure all edges meet in the middle with no gaps.
Step 6. Dip each formed pillow into melted butter, then roll in Italian breadcrumbs, shaking off any excess before placing on your prepared baking sheet. Betty’s tip: don’t skip shaking off excess breadcrumbs, as too much coating can prevent proper browning.
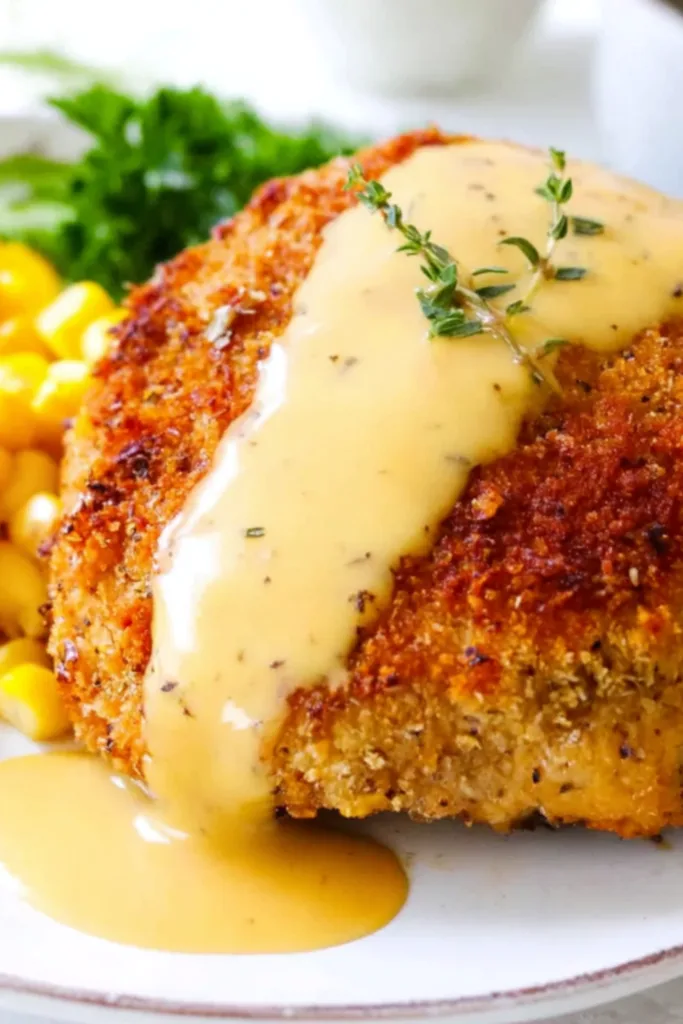
Step 7. Bake for 22 to 25 minutes until the pillows turn deep golden brown. I always check at 22 minutes since ovens vary, and you want that perfect golden color without over-baking.
Step 8. While the pillows bake, combine cream of chicken soup, gravy mix, and water in a small saucepan, bring to a boil, then reduce heat and simmer until the pillows finish baking. Making gravy simultaneously saves precious time on busy evenings.
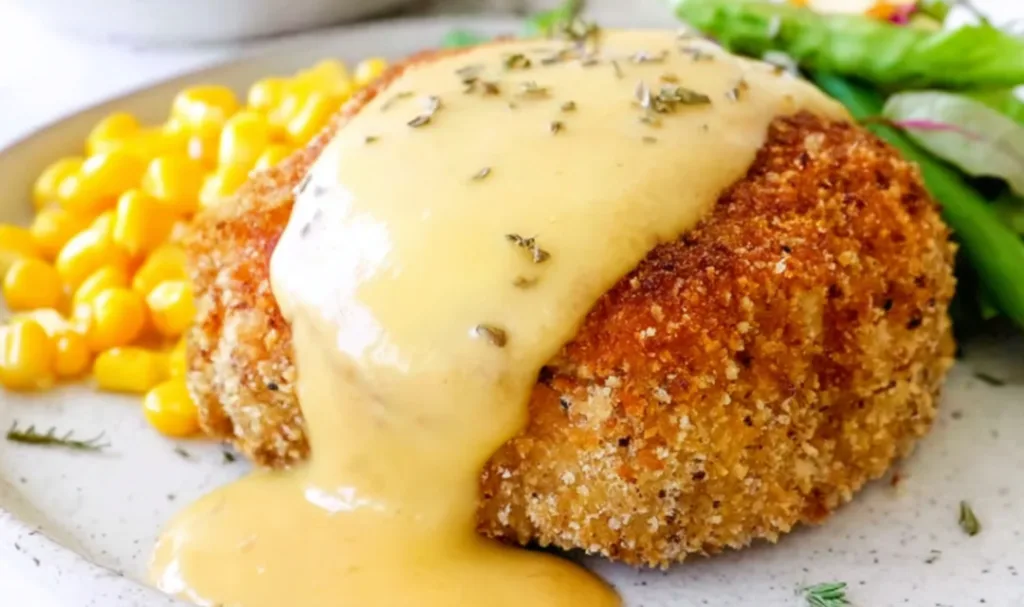
Step 9. Pour warm gravy generously over each baked Chicken Pillow just before serving. In my family, we like plenty of gravy, so everyone can enjoy that perfect sauce-to-pillow ratio.
Chicken Pillows Recipe
Prep Time: 15 minutes
Cook Time: 25 minutes
Total Time: 40 minutes
Servings: 4 portions
Calories: 450 per serving
Ingredients
For the Chicken Pillows:
- 10 ounces cooked, shredded chicken breast (about 2 cups)
- 4 ounces cream cheese (softened)
- 1 tablespoon salted butter (softened)
- 1/2 tablespoon dried chives
- 1/2 tablespoon dried minced onion
- Salt and pepper to taste
- 1 can (8 ounces) refrigerated Pillsbury crescent roll dough
- 1/4 cup salted butter (melted)
- 1/2 cup Italian breadcrumbs
For the Gravy:
- 1 can (10 ounces) cream of chicken soup
- 1 packet (1 ounce) chicken gravy mix
- 3/4 cup water
Equipment
- Oven
- Baking sheet
- Small saucepan
- Mixing bowl
Instructions
- Preheat the oven to 350°F. Lightly grease a baking sheet with non-stick spray and set aside.
- Mix the softened cream cheese and 1 tablespoon butter together until smooth. Add the shredded chicken, chives, minced onion, salt, and pepper. Stir until well combined.
- Unroll crescent dough and press together two triangles to create one rectangle. Make sure to press the perforations together well so your filling won’t seep out. You will have 4 rectangles total.
- Divide the chicken mixture evenly among the 4 crescent rectangles, placing chicken in the center of each rectangle.
- Fold each corner over the center of the filling. Press together to cover filling entirely and shape into a ball. Repeat with all rectangles.
- Once all pillows are formed, dip each of them into the melted butter, then coat in breadcrumbs. Shake off excess.
- Place each coated chicken pillow onto the greased baking sheet. Bake for 22 to 25 minutes or until golden brown.
- Meanwhile, make the chicken gravy. In a small saucepan, mix the cream of chicken soup, gravy packet, and water together. Bring to a boil, then reduce heat to low. Allow the gravy to simmer until chicken pillows are finished baking.
- Pour gravy over each chicken pillow and serve. Enjoy!
Notes
Make sure cream cheese and butter are softened for easy mixing. Press perforations together well to prevent filling from seeping out. Shake off excess breadcrumbs before baking. Use cooked, shredded chicken breast for best results. Rotisserie chicken works perfectly for quick prep.
Nutrition (Per Serving)
- Calories: 450
- Protein: 30g
- Carbohydrates: 28g
- Fat: 24g
- Saturated Fat: 12g
- Cholesterol: 95mg
- Sodium: 980mg
- Fiber: 1g
Keeping These Chicken Pillows Fresh
Refrigerator Storage: I typically store leftover Chicken Pillows in an airtight container in the refrigerator for up to 3 days. The cream cheese filling stays creamy, though the breadcrumb coating will soften slightly – that’s perfectly normal. Betty’s storage method works well because keeping them sealed prevents the pillows from drying out while maintaining food safety.
Freezing Guidelines: These pillows freeze beautifully when you freeze them unbaked, which I do regularly for quick future meals. Assemble the pillows completely through the breadcrumb coating step, then arrange them on a baking sheet and freeze until solid before transferring to freezer bags. They’ll keep for up to 2 months. When you’re ready to bake, place frozen pillows directly on your baking sheet and add 5-10 minutes to the baking time – no thawing needed.
Reheating Methods: For the best texture, I reheat refrigerated Chicken Pillows in a 350°F oven for 10-15 minutes until warmed through. The oven helps restore some crispness to the coating that microwaving can’t achieve. Betty’s preferred approach avoids the microwave entirely for leftovers, as the dry oven heat revives that golden exterior better than any other method.
Perfect Partners for Chicken Pillows
Creamy mashed potatoes create a classic comfort food pairing – the smooth, buttery potatoes complement the flaky pillows and soak up extra gravy beautifully.
Green beans almondine add a fresh, crisp contrast to the rich, creamy pillows while bringing color and nutrition to your plate. I often make them with a simple butter and sliced almond topping.
Simple garden salad with ranch dressing provides a cool, refreshing balance to the warm, savory main dish, especially appreciated during warmer months.
Roasted vegetables like carrots, broccoli, or Brussels sprouts offer caramelized sweetness and satisfying texture that contrasts nicely with the tender chicken filling.
Cranberry sauce might sound unexpected, but that sweet-tart flavor cuts through the richness just like it does with Thanksgiving turkey. My family requests this pairing every time.
Sweet Potato Cranberry Gratin turns this into a truly special Sunday-style dinner, perfect for when company comes calling or when you want to elevate your weeknight meal.
FAQs
I recommend using turkey as a delicious alternative, especially around the holidays. The flavor profile works perfectly, and it’s a wonderful way to use Thanksgiving leftovers.
To prevent this issue, press the perforations in the crescent dough together firmly before adding filling, and make sure all four corners meet completely in the center with no gaps when folding.
Many home cooks find success with assembling the pillows completely, then refrigerating them unbaked for up to 4 hours before baking. Just add 2-3 minutes to the baking time if they go in cold.
Chicken Pillows
Ingredients
Equipment
Method
- Preheat the oven to 350°F. Lightly grease a baking sheet with non-stick spray and set aside.
- Mix the softened cream cheese and 1 tablespoon butter together until smooth. Add the shredded chicken, chives, minced onion, salt, and pepper. Stir until well combined.
- Unroll crescent dough and press together two triangles to create one rectangle. Make sure to press the perforations together well so your filling won’t seep out. You will have 4 rectangles total.
- Divide the chicken mixture evenly among the 4 crescent rectangles, placing chicken in the center of each rectangle.
- Fold each corner over the center of the filling. Press together to cover filling entirely and shape into a ball. Repeat with all rectangles.
- Once all pillows are formed, dip each of them into the melted butter, then coat in breadcrumbs. Shake off excess.
- Place each coated chicken pillow onto the greased baking sheet. Bake for 22 to 25 minutes or until golden brown.
- Meanwhile, make the chicken gravy. In a small saucepan, mix the cream of chicken soup, gravy packet, and water together. Bring to a boil, then reduce heat to low. Allow the gravy to simmer until chicken pillows are finished baking.
- Pour gravy over each chicken pillow and serve. Enjoy!