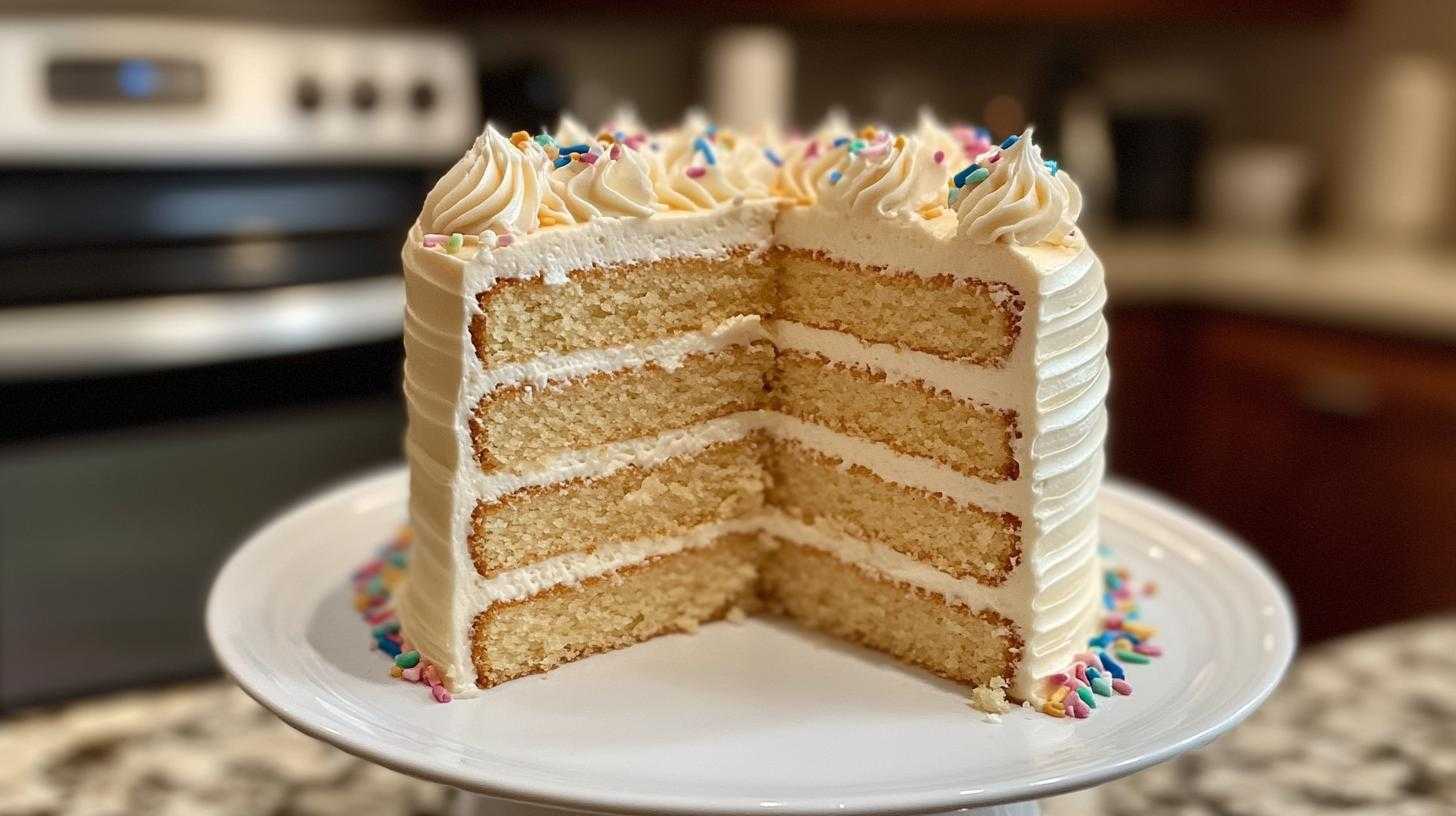
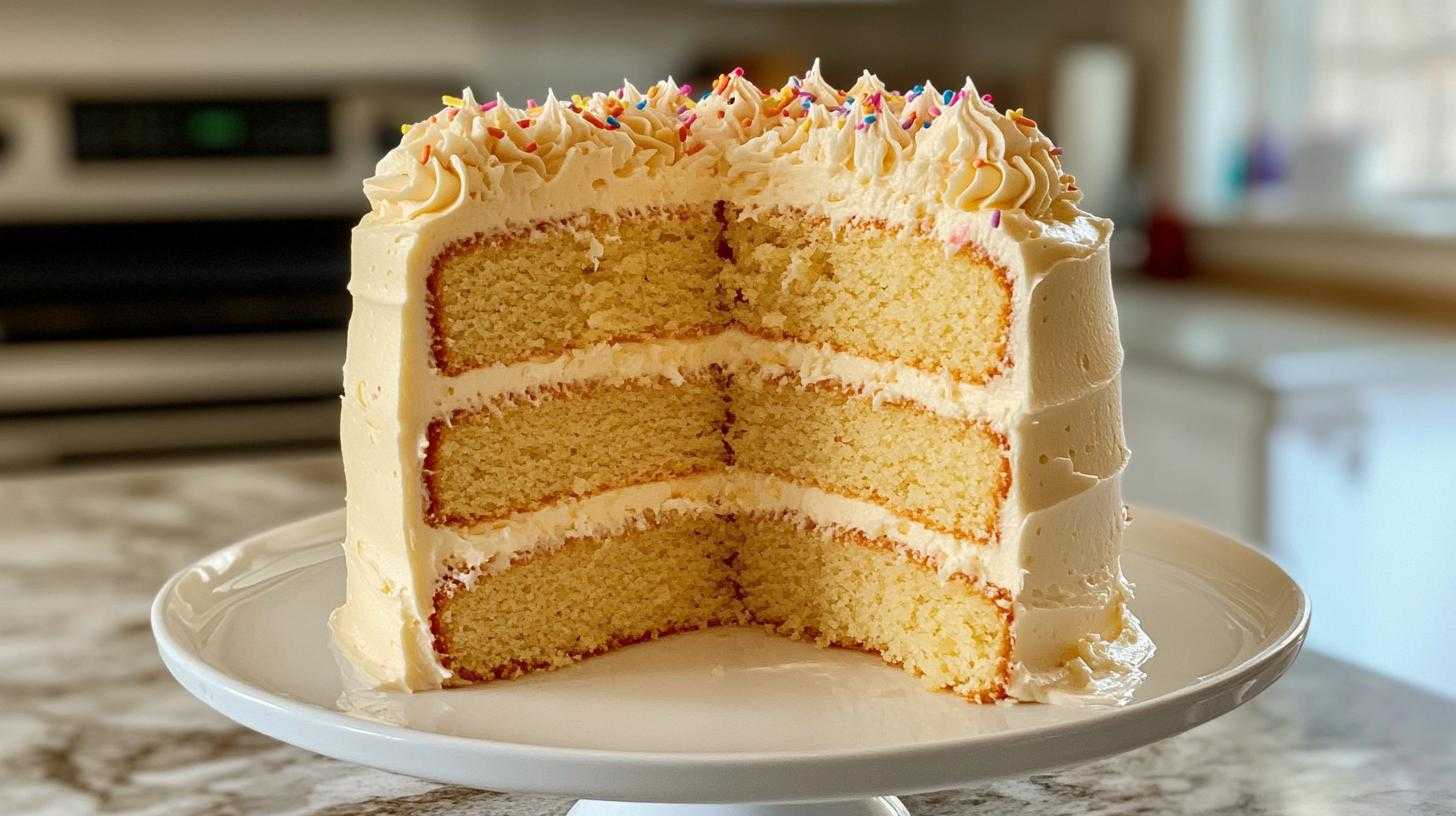
There’s something magical about a Classic Vanilla Cake. It’s like a warm hug on a plate, bringing back memories of family gatherings and celebrations. I remember the first time I baked this cake; the aroma of vanilla wafting through my kitchen felt like a sweet invitation to indulge. This cake is not just a dessert; it’s a canvas for creativity, perfect for birthdays, anniversaries, or even a cozy afternoon tea.
What I love most about this Classic Vanilla Cake is its versatility. You can dress it up with rich buttercream frosting or keep it simple with a dusting of powdered sugar. It pairs beautifully with fresh fruits or a scoop of ice cream, making it a delightful treat for any occasion. Whether you’re celebrating a milestone or just treating yourself, this cake is sure to impress.
Join me on this baking adventure, and let’s create a timeless classic that will become a cherished recipe in your home, just as it has in mine.

Ingredients for Classic Vanilla Cake
- 2 1/2 cups all-purpose flour: This is the foundation of your cake, giving it structure and a light texture. Make sure to spoon the flour into your measuring cup and level it off for accuracy.
- 2 1/2 teaspoons baking powder: This leavening agent helps the cake rise, creating that fluffy texture we all love. Ensure it’s fresh for the best results.
- 1/2 teaspoon salt: A pinch of salt enhances the flavors in your cake, balancing the sweetness beautifully.
- 1 cup unsalted butter, softened: Using unsalted butter allows you to control the saltiness of your cake. Make sure it’s at room temperature for easy creaming with sugar.
- 2 cups granulated sugar: This sweetener not only adds sweetness but also contributes to the cake’s moistness. I prefer to use fine sugar for a smoother batter.
- 4 large eggs: Eggs provide moisture and richness. Bring them to room temperature before mixing for better incorporation.
- 1 tablespoon pure vanilla extract: This is the star of the show! Pure vanilla extract adds that classic flavor that makes this cake so special.
- 1 cup whole milk: Milk adds moisture and helps create a tender crumb. You can substitute with buttermilk for a tangy twist.
How to Prepare Classic Vanilla Cake
Now that we have our ingredients ready, let’s dive into the baking process! Follow these steps closely, and you’ll have a beautiful Classic Vanilla Cake in no time.
- Preheat your oven: Start by preheating your oven to 350°F (175°C). This is crucial for even baking, so don’t skip this step!
- Prepare the cake pans: Grease and flour two 9-inch round cake pans. This will help the cakes release easily once baked. I like to use parchment paper at the bottom for extra assurance.
- Mix the dry ingredients: In a medium bowl, whisk together the all-purpose flour, baking powder, and salt. This step ensures that the leavening agent is evenly distributed throughout the flour.
- Cream the butter and sugar: In a large mixing bowl, beat the softened butter and granulated sugar together until the mixture is light and fluffy, about 3-4 minutes. This is where the magic begins, as the air incorporated will give your cake that lovely rise.
- Add the eggs and vanilla: Add the eggs one at a time, mixing well after each addition. Then, stir in the pure vanilla extract. The batter should look smooth and creamy at this point.
- Combine wet and dry ingredients: Gradually add the dry ingredients to the butter mixture, alternating with the whole milk. Start and end with the dry ingredients, mixing just until combined. Be careful not to overmix; a few lumps are perfectly fine!
- Divide and bake: Pour the batter evenly into the prepared cake pans. Bake in the preheated oven for 25-30 minutes. To check for doneness, insert a toothpick into the center of the cakes; it should come out clean.
- Cool the cakes: Once baked, allow the cakes to cool in the pans for about 10 minutes. Then, carefully transfer them to a wire rack to cool completely. This step is essential for preventing sogginess.
And there you have it! Follow these steps, and you’ll be well on your way to creating a delightful Classic Vanilla Cake that’s sure to impress.
Why You’ll Love This Classic Vanilla Cake
- Quick Preparation: With just 20 minutes of prep time, you can whip up this cake in no time, making it perfect for last-minute gatherings.
- Delicious Flavor: The rich vanilla flavor shines through, making every bite a delightful experience that appeals to both kids and adults.
- Versatile for Any Occasion: Whether it’s a birthday, wedding, or just a cozy family dinner, this cake fits right in, adding a touch of sweetness to any celebration.
- Customizable: You can easily dress it up with your favorite frosting or fillings, or keep it simple with a dusting of powdered sugar.
- Perfect Texture: The combination of butter and eggs creates a moist, tender crumb that melts in your mouth.
- Family Favorite: This cake has a timeless appeal, often becoming a cherished recipe passed down through generations.
Tips for Success with Classic Vanilla Cake
To ensure your Classic Vanilla Cake turns out perfectly every time, here are some tried-and-true tips that I’ve gathered from my own baking adventures:
- Room Temperature Ingredients: Make sure your butter, eggs, and milk are at room temperature. This helps them blend more easily, resulting in a smoother batter.
- Don’t Overmix: When combining the wet and dry ingredients, mix just until combined. Overmixing can lead to a dense cake, and nobody wants that!
- Use Fresh Ingredients: Check the expiration dates on your baking powder and vanilla extract. Fresh ingredients make a noticeable difference in flavor and texture.
- Test for Doneness: Besides the toothpick test, gently press the top of the cake. If it springs back, it’s done. If it leaves an indentation, give it a few more minutes.
- Cool Completely: Allow your cakes to cool completely before frosting. This prevents the frosting from melting and sliding off, ensuring a beautiful presentation.
- Experiment with Flavors: Don’t hesitate to add a twist! A splash of almond extract or a hint of citrus zest can elevate the flavor profile of your cake.
With these tips in your back pocket, you’ll be well on your way to mastering the art of baking a Classic Vanilla Cake that’s not just good, but truly exceptional!
Variations of Classic Vanilla Cake
While the Classic Vanilla Cake is a delightful treat on its own, there are countless ways to put your own spin on this timeless recipe. Here are some fun variations that I’ve tried and loved:
- Chocolate Marble Cake: Swirl in some chocolate batter for a beautiful marbled effect. Just take half of the vanilla batter and mix in cocoa powder to create a rich chocolate layer.
- Almond Vanilla Cake: Substitute half of the vanilla extract with almond extract. This adds a lovely nutty flavor that pairs beautifully with the vanilla.
- Citrus Zest: Add the zest of a lemon or orange to the batter for a refreshing twist. The citrus notes brighten the flavor and make it even more delightful.
- Fruit-Filled Cake: Layer the cake with fresh fruits like strawberries or raspberries, or even a fruit compote. This adds a burst of flavor and a beautiful presentation.
- Spiced Vanilla Cake: Incorporate warm spices like cinnamon or nutmeg into the batter for a cozy, aromatic cake. This is especially nice for fall gatherings.
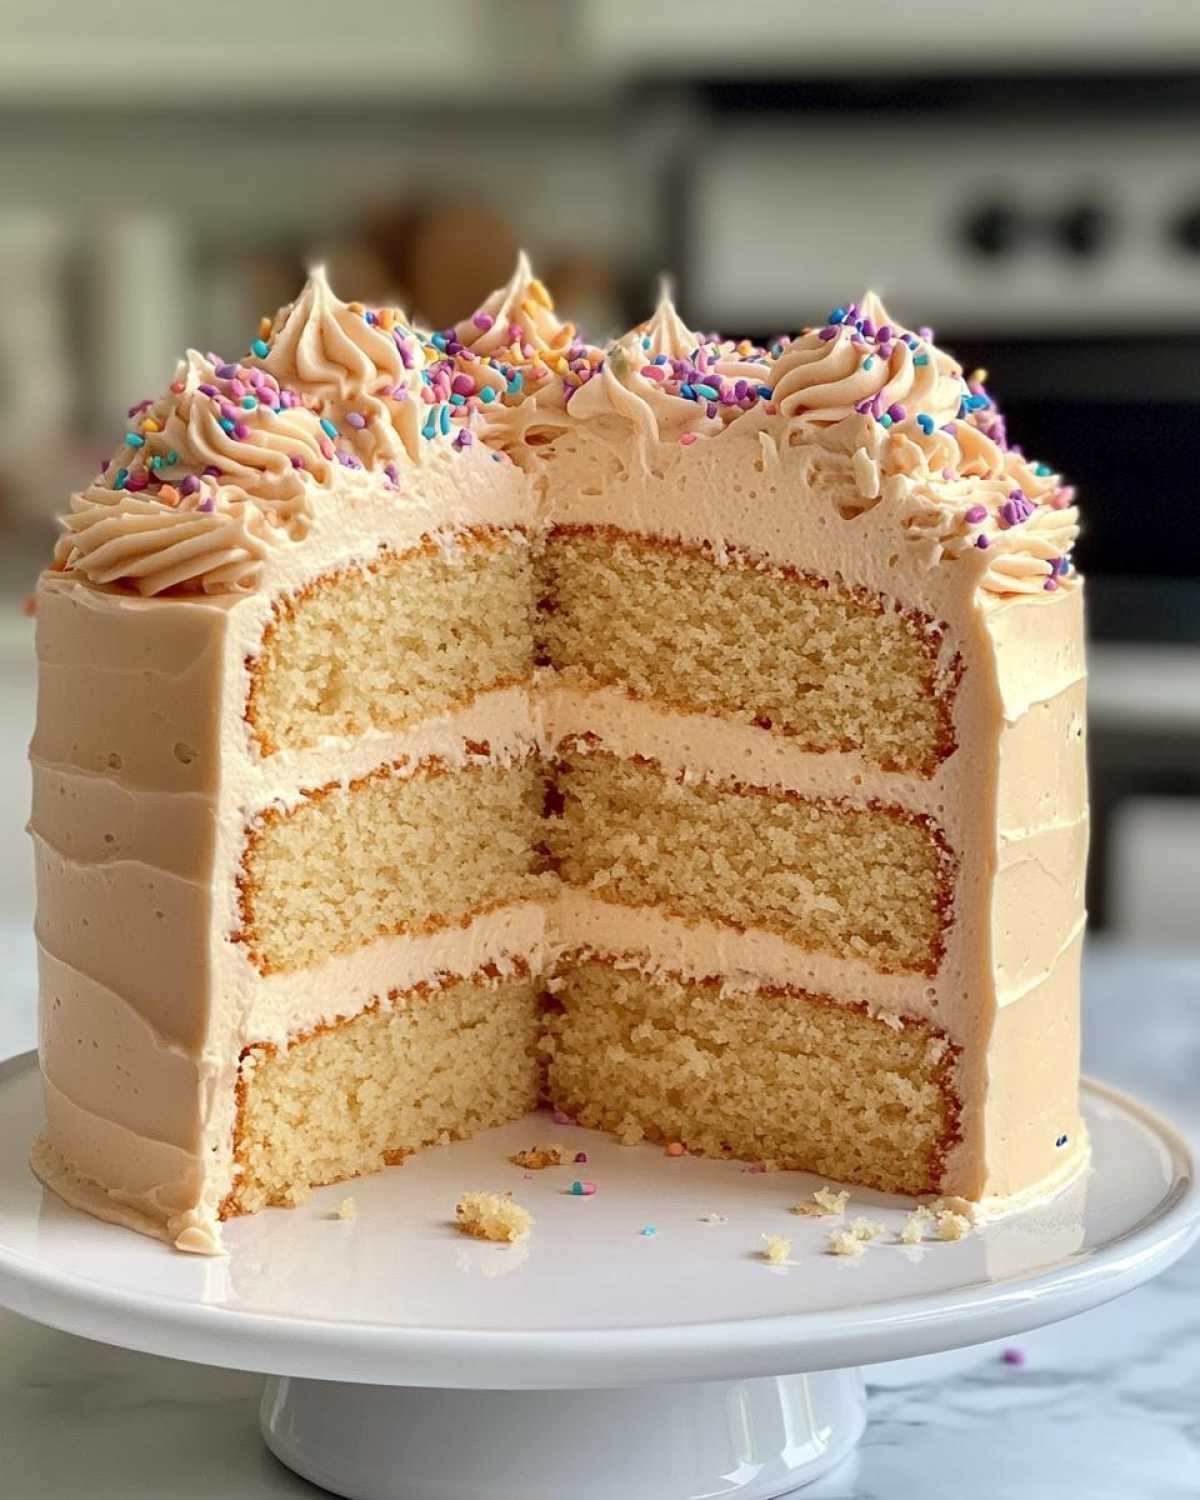
- Layered Cake: Bake the cake in three layers instead of two. This allows for more frosting and filling options, making it a showstopper for any celebration.
These variations not only keep things interesting but also allow you to tailor the cake to suit your taste or the occasion. So, don’t be afraid to get creative and make this Classic Vanilla Cake your own!
Storage & Reheating Instructions for Classic Vanilla Cake
After baking a delicious Classic Vanilla Cake, you might find yourself with some leftovers. Don’t worry! Proper storage will keep your cake fresh and tasty for days. Here’s how I do it:
- Room Temperature Storage: If you plan to enjoy the cake within a couple of days, simply cover it with plastic wrap or place it in an airtight container. This keeps it moist and prevents it from drying out.
- Refrigeration: For longer storage, refrigerate the cake. Wrap it tightly in plastic wrap or aluminum foil to avoid absorbing any odors from the fridge. It can last up to a week this way.
- Freezing: If you want to save your cake for a special occasion later, freezing is a great option. Slice the cake into individual pieces, wrap each slice in plastic wrap, and then place them in a freezer-safe bag. It can be frozen for up to three months.
When you’re ready to enjoy your frozen cake, simply remove it from the freezer and let it thaw in the refrigerator overnight. If you’re in a hurry, you can leave it at room temperature for a couple of hours. For a warm treat, pop a slice in the microwave for about 10-15 seconds.
With these storage and reheating tips, you can savor your Classic Vanilla Cake long after it’s baked, ensuring every bite is just as delightful as the first!
Nutritional Information for Classic Vanilla Cake
Understanding the nutritional content of your Classic Vanilla Cake can help you enjoy it mindfully. Here’s a breakdown of the typical values per slice, keeping in mind that these are estimates and can vary based on specific ingredients and portion sizes:
- Calories: 350
- Fat: 15g
- Saturated Fat: 9g
- Unsaturated Fat: 4g
- Trans Fat: 0g
- Cholesterol: 80mg
- Sodium: 200mg
- Carbohydrates: 50g
- Fiber: 1g
- Sugar: 25g
- Protein: 4g
These values can help you gauge how this delightful treat fits into your dietary preferences. Enjoy your Classic Vanilla Cake, knowing it’s a sweet indulgence that can be part of a balanced diet!
FAQ about Classic Vanilla Cake
As you embark on your baking journey with this Classic Vanilla Cake, you might have a few questions. Here are some common queries I’ve encountered, along with my answers to help you out:
Can I use cake flour instead of all-purpose flour?
Absolutely! Using cake flour will give your Classic Vanilla Cake an even lighter texture. Just remember to adjust the measurements slightly, as cake flour is more delicate.
How can I make my cake more moist?
To enhance moisture, consider adding a bit of sour cream or yogurt to the batter. This not only adds moisture but also a subtle tang that complements the vanilla flavor beautifully.
What frosting pairs best with Classic Vanilla Cake?
While a classic vanilla buttercream is a popular choice, cream cheese frosting or chocolate ganache also work wonderfully. Each adds a unique twist to the cake!
Can I make this cake ahead of time?
Yes! You can bake the cake a day in advance. Just store it properly, as mentioned earlier, and frost it right before serving for the best results.
How do I know when my cake is done baking?
The toothpick test is your best friend! Insert a toothpick into the center of the cake; if it comes out clean or with a few crumbs, your cake is ready. Also, the edges should start to pull away from the pan.
With these answers, you’re all set to create a delicious Classic Vanilla Cake that will surely impress your family and friends!
Classic Vanilla Cake: 7 Steps to Sweet Perfection
- Total Time: 50 minutes
- Yield: 12 servings 1x
- Diet: Vegetarian
Description
Classic Vanilla Cake is a timeless favorite for any occasion.
Ingredients
- 2 1/2 cups all-purpose flour
- 2 1/2 teaspoons baking powder
- 1/2 teaspoon salt
- 1 cup unsalted butter, softened
- 2 cups granulated sugar
- 4 large eggs
- 1 tablespoon pure vanilla extract
- 1 cup whole milk
Instructions
- Preheat your oven to 350°F (175°C) and grease and flour two 9-inch round cake pans.
- In a medium bowl, whisk together the flour, baking powder, and salt. Set aside.
- In a large mixing bowl, beat the softened butter and granulated sugar together until light and fluffy, about 3-4 minutes.
- Add the eggs one at a time, mixing well after each addition, then stir in the vanilla extract.
- Gradually add the dry ingredients to the butter mixture, alternating with the milk, mixing just until combined.
- Divide the batter evenly between the prepared cake pans and bake for 25-30 minutes, or until a toothpick inserted into the center comes out clean.
- Allow the cakes to cool in the pans for 10 minutes before transferring them to a wire rack to cool completely. Frost as desired.
Notes
- Perfect for celebrations and gatherings.
- Can be frosted with vanilla buttercream or enjoyed plain.
- Prep Time: 20 minutes
- Cook Time: 30 minutes
- Category: Dessert
- Method: Baking
- Cuisine: American
Nutrition
- Serving Size: 1 slice
- Calories: 350
- Sugar: 25g
- Sodium: 200mg
- Fat: 15g
- Saturated Fat: 9g
- Unsaturated Fat: 4g
- Trans Fat: 0g
- Carbohydrates: 50g
- Fiber: 1g
- Protein: 4g
- Cholesterol: 80mg