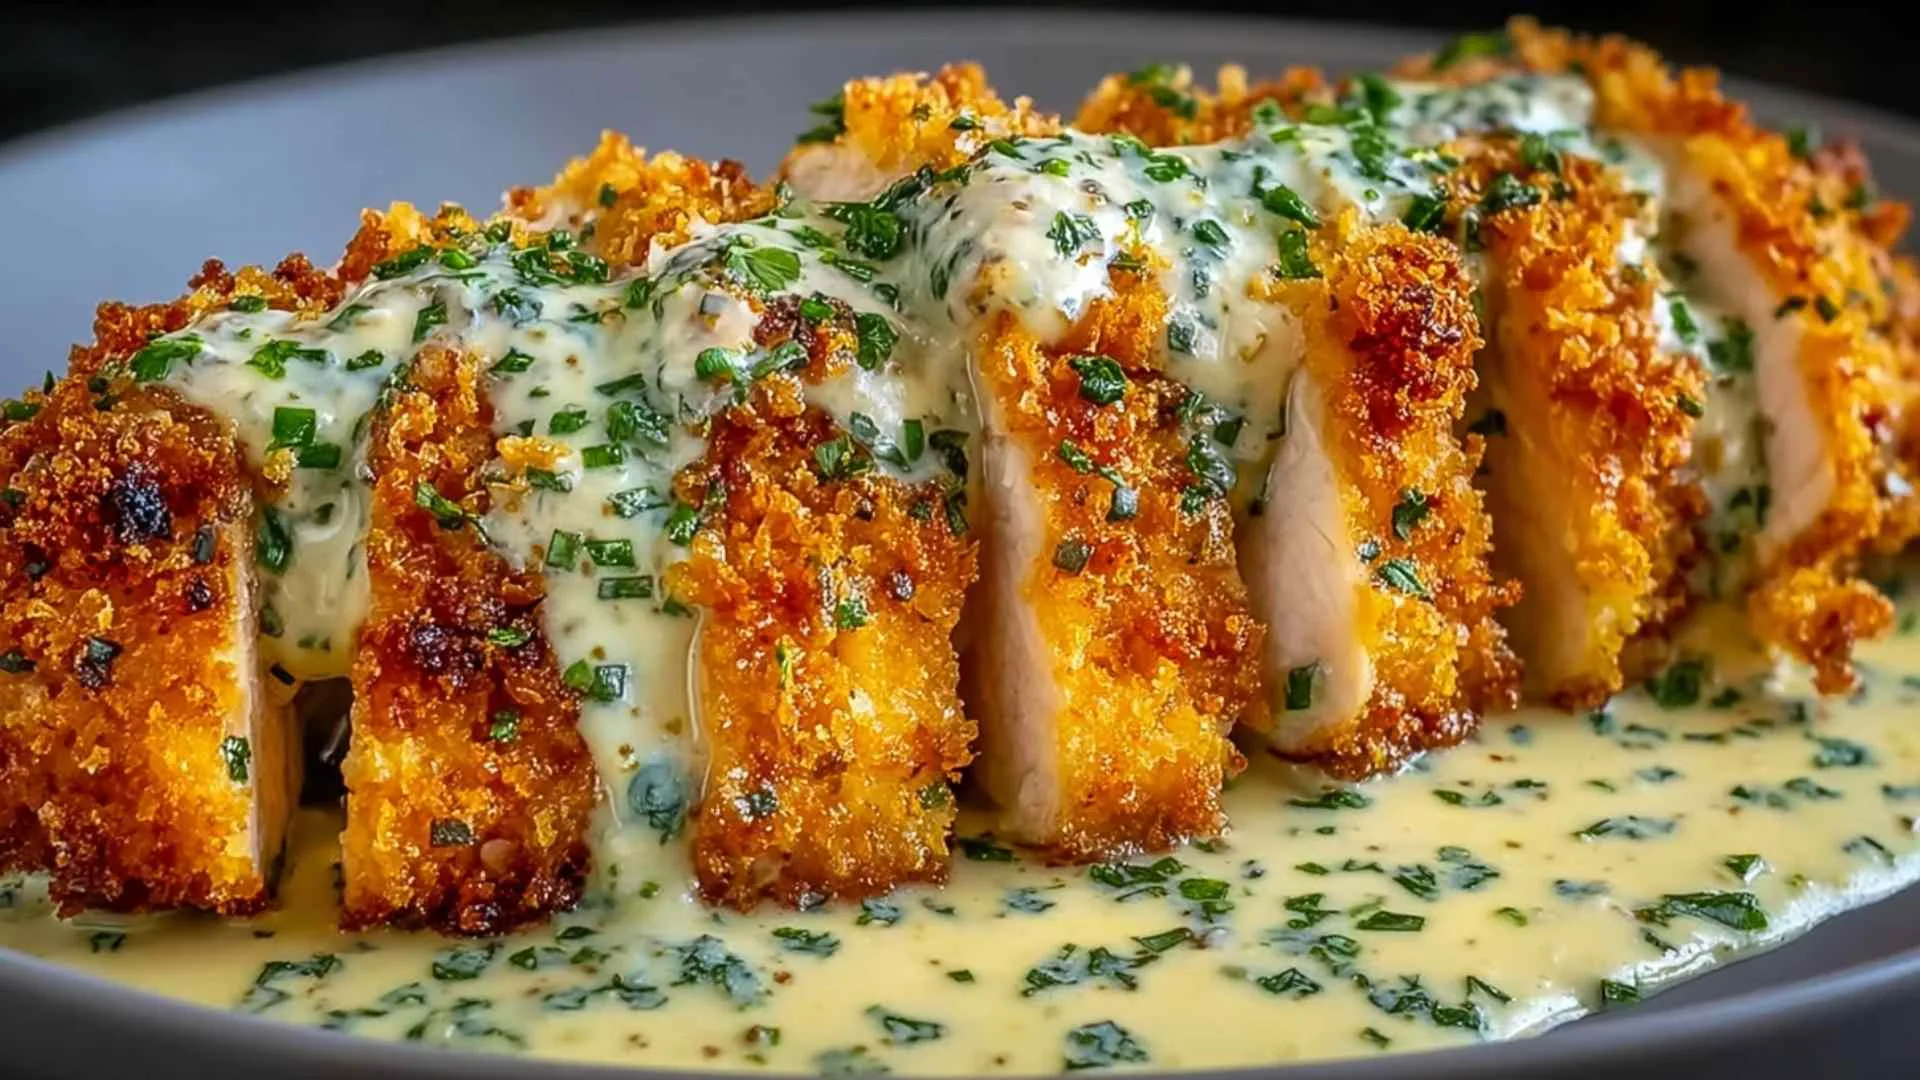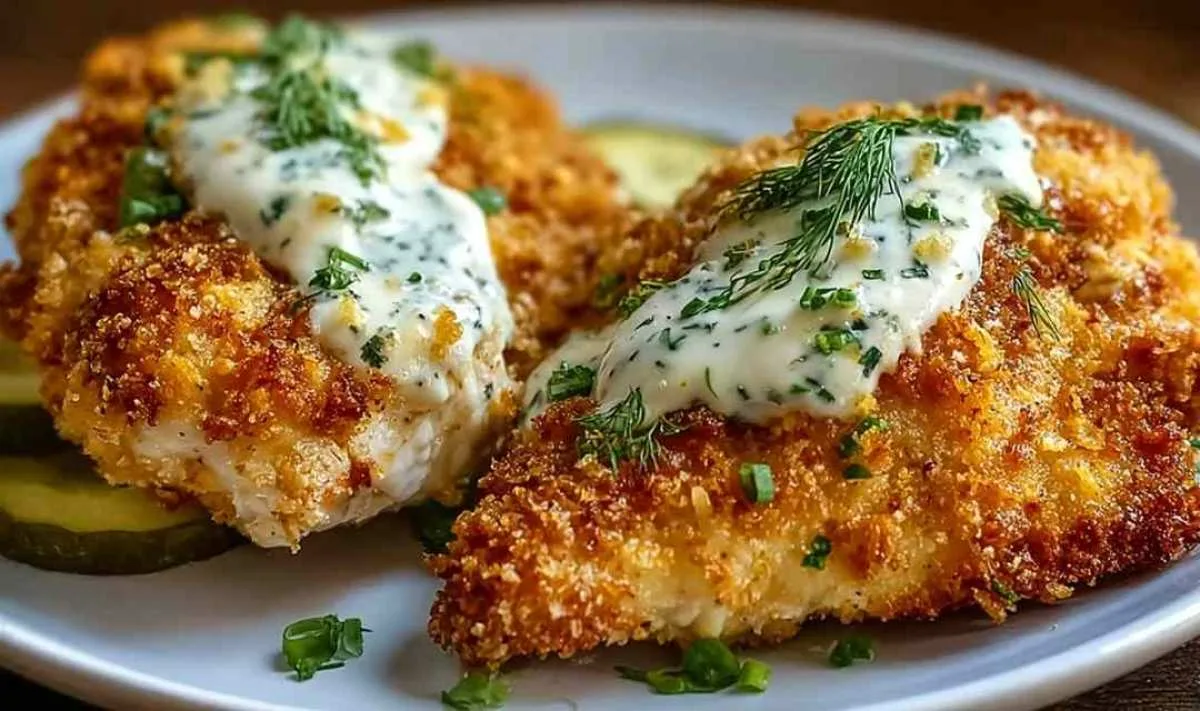
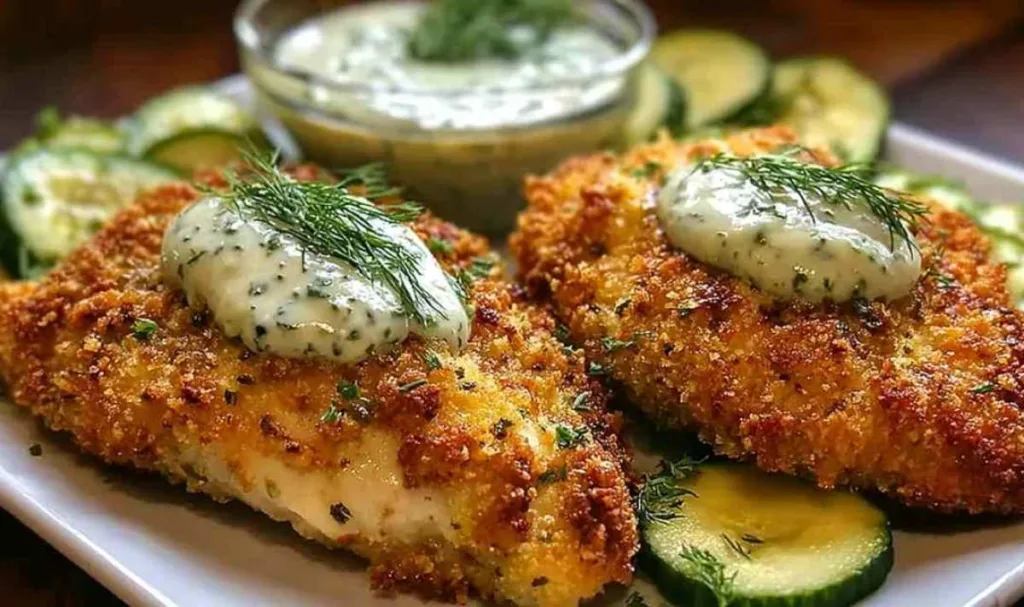
Crispy Dill Pickle Parmesan Chicken brings together two of my favorite things: tangy dill pickles and golden Parmesan cheese in one unforgettable dish. I remember the first time I tried marinating chicken in pickle juice at a church potluck; the tender, flavorful results had everyone asking for the recipe, and it’s been a family staple ever since.
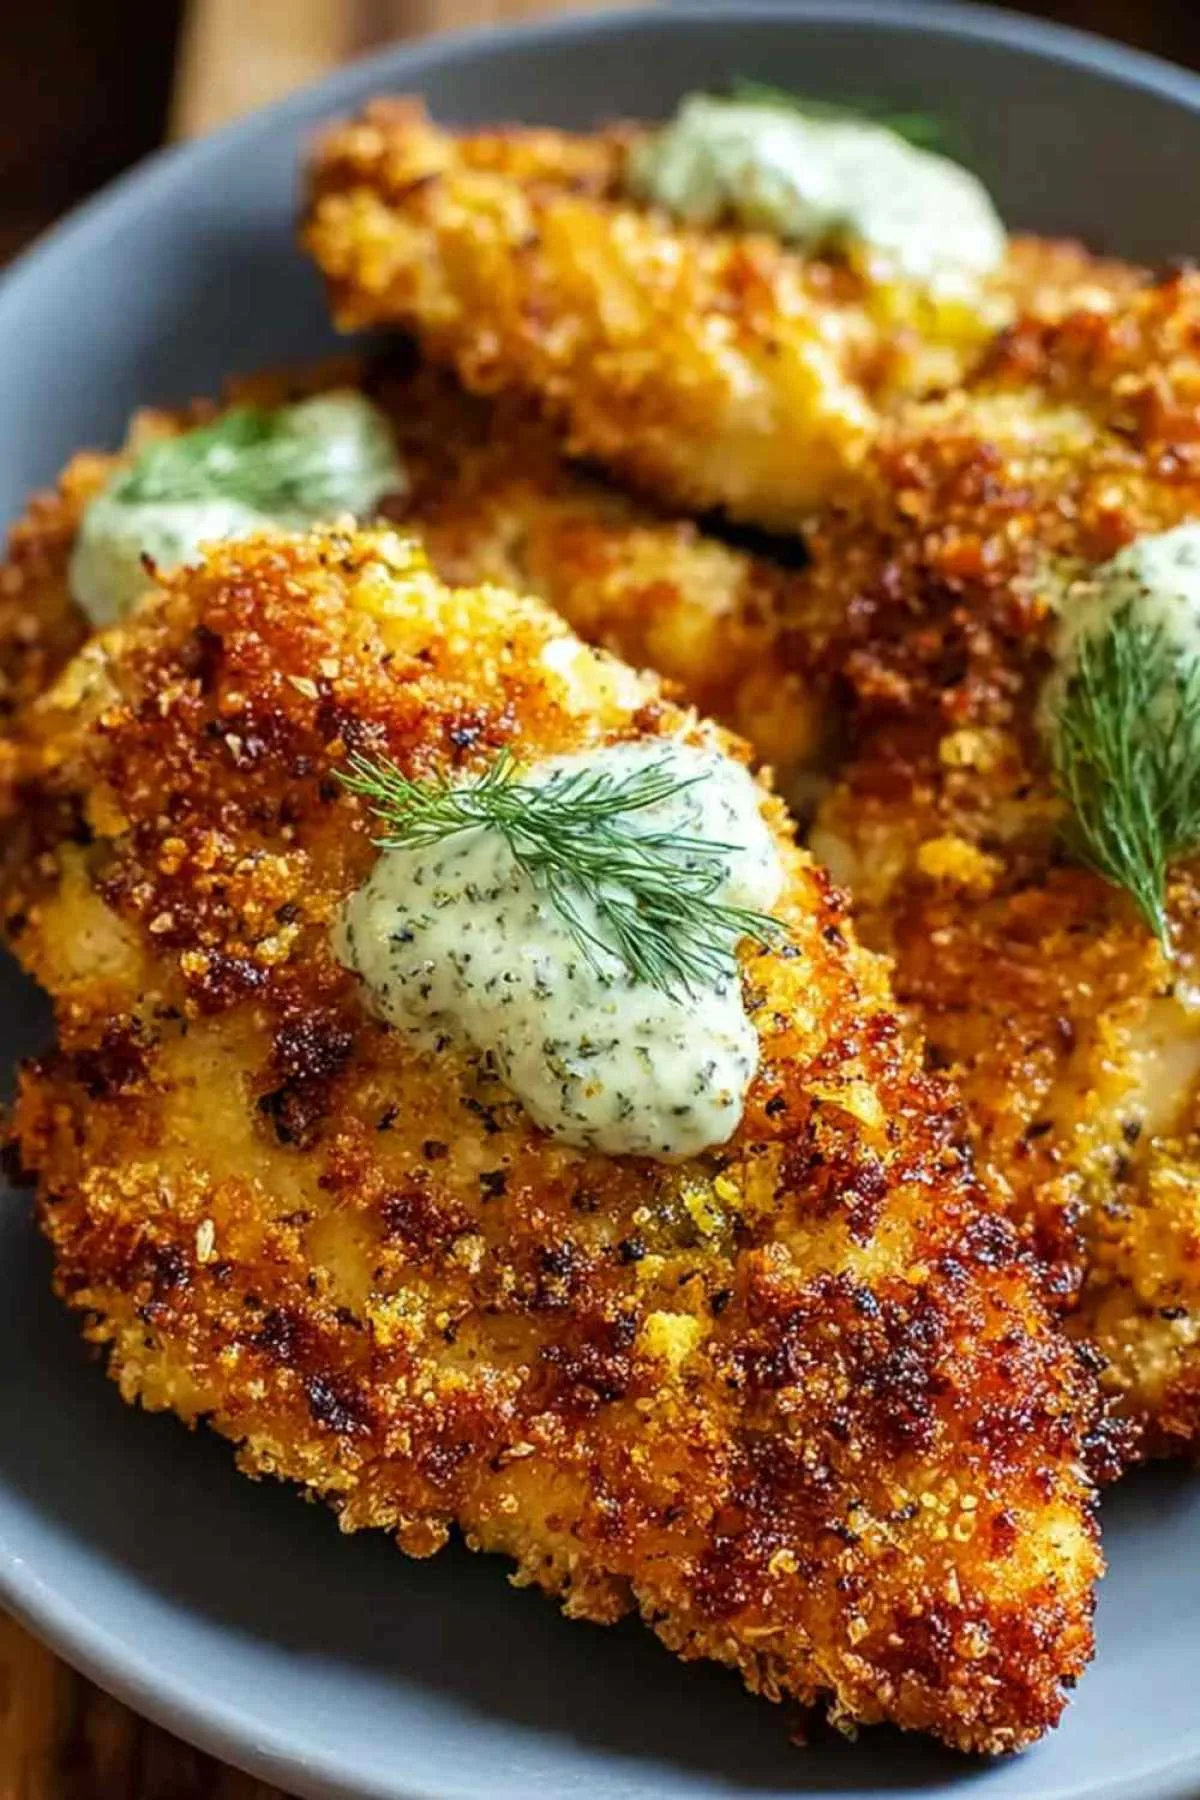
Growing up in the Midwest, Sunday dinners at Grandma’s farm always featured some version of fried chicken, golden and crackling from the cast iron skillet. The kitchen would fill with that irresistible aroma of sizzling oil and seasoned breadcrumbs, and we’d gather around the big oak table, passing plates and sharing stories. This Crispy Dill Pickle Parmesan Chicken reminds me of those cherished moments, but with a delightful twist. The zesty punch of dill pickles adds a modern flair to the classic comfort I grew up loving. The combination creates a crust that’s beautifully golden-brown and satisfyingly crunchy, while the chicken stays incredibly juicy inside. Time to get our hands floury!
What Makes This Crispy Dill Pickle Parmesan Chicken So Special
After years of making fried chicken for my own family and countless gatherings, I’ve learned that the secret to exceptional chicken isn’t complicated. It’s about layering flavors smartly and using techniques that actually work on busy weeknights. This pickle-brined parmesan chicken recipe delivers restaurant-quality results without the fuss, and it’s become one of those dishes my grandchildren request every time they visit.
- Uses pantry staples you likely have: pickle juice, breadcrumbs, and Parmesan cheese transform ordinary chicken breasts into something extraordinary
- Comes together in about an hour: from marinating to serving, this weeknight dinner fits perfectly into your schedule without feeling rushed
- Delivers consistent, crowd-pleasing results: the tangy pickle brine tenderizes the meat while the Parmesan crust adds a savory, cheesy finish that even picky eaters adore
- Adapts easily to dietary preferences: bake it for a lighter option or fry it for that classic golden crunch, both methods work beautifully
- Creates perfect texture combination: crispy exterior meets tender, juicy interior every single time
- Perfect for meal prep: this chicken reheats wonderfully, making it ideal for lunches or busy evenings when you need dinner ready fast
I’ve served this at family reunions and quiet Tuesday dinners alike, and it never disappoints. There’s something deeply satisfying about hearing that first crunch and seeing the smiles around the table.
Ingredient Spotlight
Chicken Breasts: I always choose boneless, skinless chicken breasts for this recipe because they cook evenly and provide a perfect canvas for the pickle and Parmesan flavors to shine through. For best results, pound them to an even ¾-inch thickness so they cook uniformly.
Dill Pickle Juice: This is your secret weapon for tender, flavorful chicken. The acidity in the pickle juice breaks down the proteins, resulting in meat that’s juicy and infused with that signature tangy taste.
Breadcrumbs: I prefer seasoned breadcrumbs because they add an extra layer of flavor to the crust, but plain breadcrumbs work just fine if you adjust your seasonings accordingly.
Parmesan Cheese: Freshly grated Parmesan creates the most flavorful, golden crust. The cheese melts slightly during cooking, forming that irresistible crispy coating we all love.
Eggs: These act as the glue that holds your breading together, ensuring every bite has that perfect crunchy exterior.
All-Purpose Flour: The flour creates the first layer in your breading station, helping the egg mixture adhere properly and contributing to that extra-crispy texture.
Garlic Powder and Onion Powder: In my kitchen, I never skip these aromatics. They add depth and savory notes that complement both the pickle brine and the Parmesan beautifully.
Paprika: A touch of paprika gives your chicken a lovely color and a subtle smoky-sweet flavor that rounds out the overall taste.
Cooking Oil: For frying, I use vegetable or canola oil because they have high smoke points and neutral flavors that won’t compete with your carefully seasoned chicken.
How to Make Crispy Dill Pickle Parmesan Chicken
Step 1. I’ve learned that marinating the chicken properly makes all the difference. Place your chicken breasts in a large bowl with the dill pickle juice, making sure they’re completely submerged, then refrigerate for at least 30 minutes (though I sometimes let mine sit for up to 2 hours when I have the time).
Step 2. Betty always starts by setting up her breading station before touching the chicken. Arrange three shallow bowls in a row with the seasoned flour in the first, whisked eggs in the second, and the breadcrumb-Parmesan mixture in the third.
Step 3. In a large skillet, heat about ½ cup of cooking oil over medium heat until it reaches 350°F. Test the temperature by dropping in a breadcrumb; if it sizzles immediately and turns golden within 30 seconds, you’re ready to fry.
Step 4. Remove each chicken breast from the marinade, shake off the excess pickle juice, then dredge it through the flour, dip it into the beaten eggs, and finally press it into the breadcrumb-Parmesan mixture, making sure every surface is well coated.
Step 5. After years of making this, I learned not to overcrowd the pan. Carefully place 2 chicken breasts at a time into the hot oil and fry for 5-7 minutes per side until they turn a beautiful golden brown and reach an internal temperature of 165°F in the thickest part.
Step 6. Transfer the cooked chicken to a plate lined with paper towels to drain off any excess oil, which helps keep the crust crispy instead of greasy.
Step 7. Betty’s tip: let the chicken rest for 5-10 minutes before serving. This allows the juices to redistribute throughout the meat, ensuring every bite stays moist and tender.
Step 8. Serve immediately for the crispiest results, or let the chicken cool completely before storing it in an airtight container for later enjoyment.
Keeping This Crispy Dill Pickle Parmesan Chicken Fresh
I typically store leftovers in an airtight container in the refrigerator, where they’ll stay fresh for 3-4 days. The chicken holds up remarkably well, just make sure it has cooled completely before sealing the container to prevent condensation, which can make the breading soggy. When I know my week will be busy, I often make a double batch on Sunday and rely on these leftovers for quick lunches and easy dinners.
Betty’s freezing method works well for this recipe if you want to prepare it ahead. Wrap each piece individually in plastic wrap, then place them in a freezer-safe bag or container, removing as much air as possible. The chicken will maintain its quality for up to 2 months in the freezer. I’ve found that freezing works best if you slightly undercook the chicken by a minute or two, as it will finish cooking when you reheat it.
For the best texture, I reheat by placing the chicken on a baking sheet in a 375°F oven for about 15-20 minutes if it’s refrigerated, or 25-30 minutes if frozen (no need to thaw first). This method brings back that crispy exterior much better than the microwave, which tends to make the breading soft. If you’re in a rush, the microwave works for 2-3 minutes, but you’ll sacrifice some of that delicious crunch we worked so hard to achieve.

Perfect Partners for Crispy Dill Pickle Parmesan Chicken
Creamy Coleslaw: The cool, tangy crunch of coleslaw provides a refreshing contrast to the warm, crispy chicken, and the creamy dressing echoes the richness of the Parmesan coating.
Garlic Mashed Potatoes: There’s something wonderfully comforting about serving this chicken alongside fluffy mashed potatoes. The mild, buttery flavor lets the pickle and Parmesan shine while still feeling like a complete home-cooked meal.
Roasted Green Beans: I love pairing this with simple roasted green beans tossed in olive oil and garlic; the vegetables add a healthy, slightly crispy element that balances the indulgence of the fried chicken.
Fresh Garden Salad: A crisp salad with mixed greens, cherry tomatoes, and a light vinaigrette cuts through the richness beautifully and adds fresh, bright flavors to your plate.
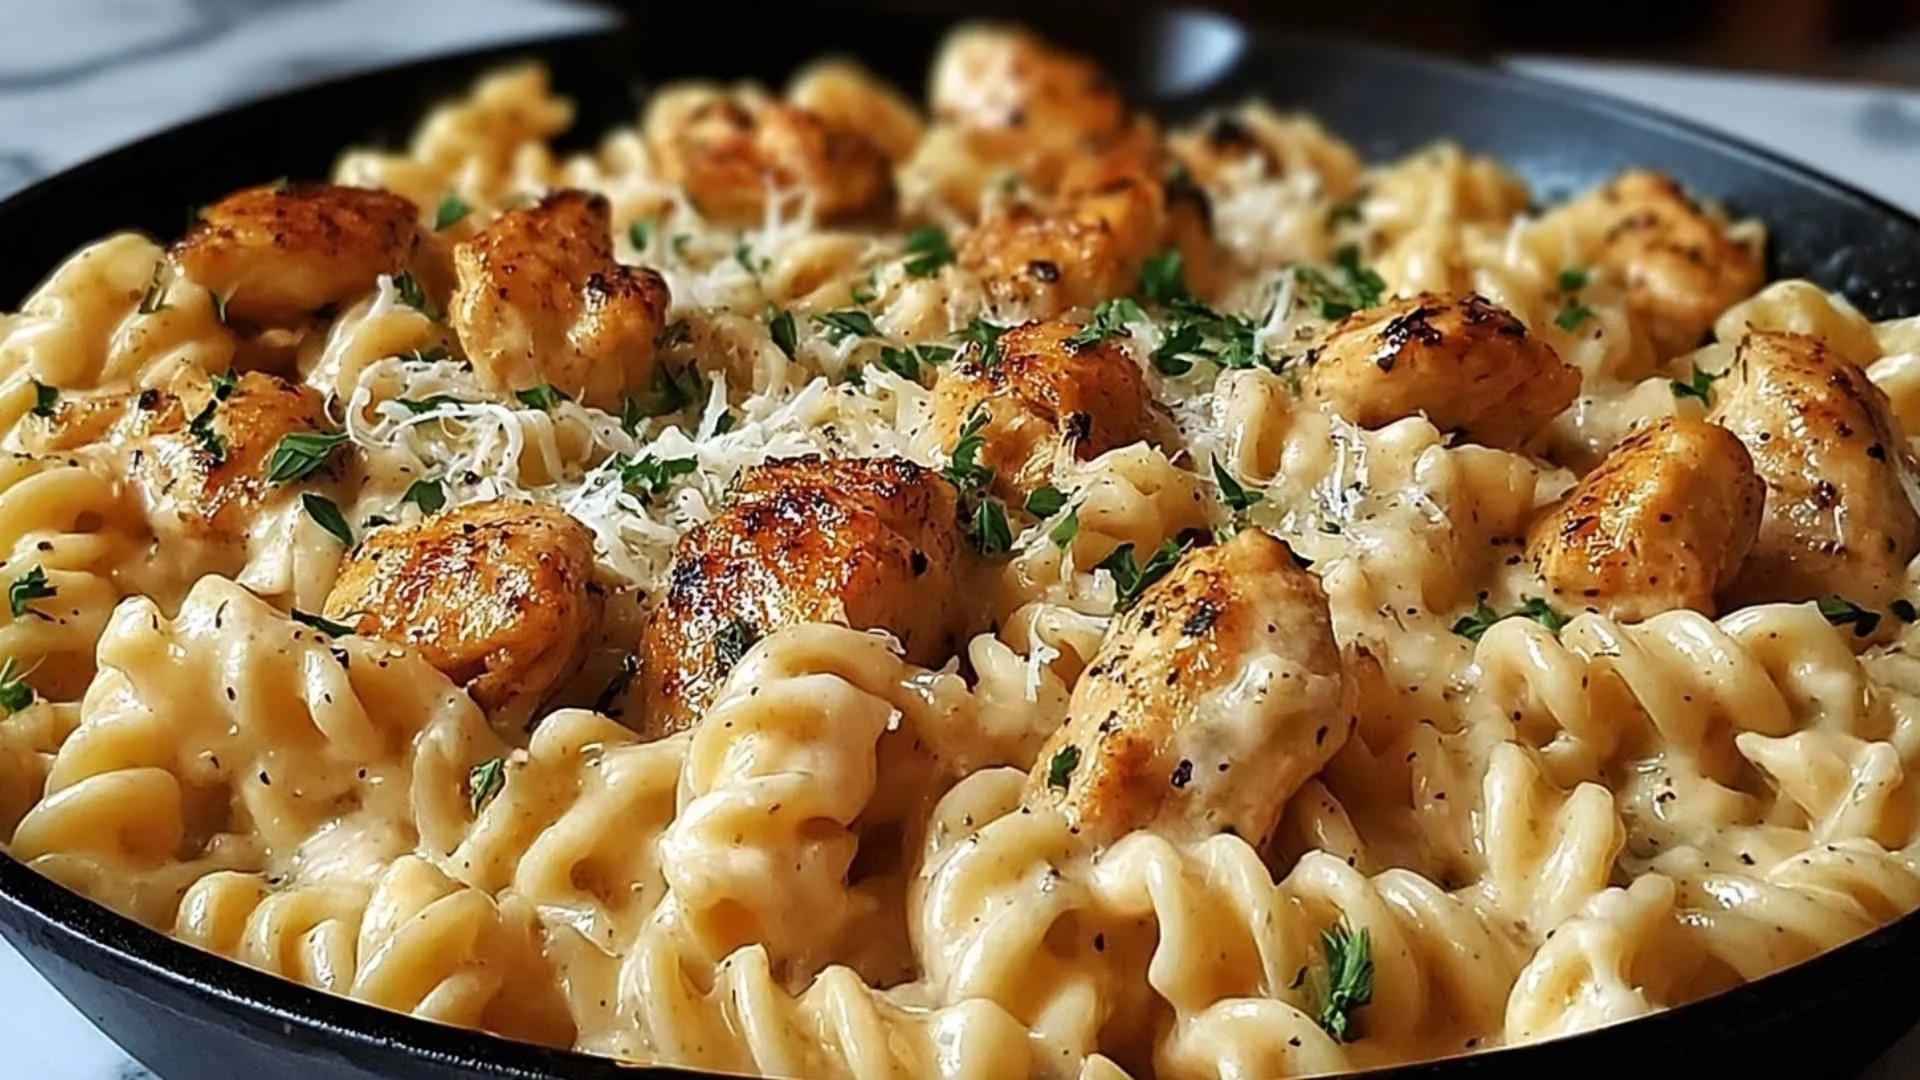
Mac and Cheese: My grandchildren always request mac and cheese when we serve this chicken. It’s an indulgent combination that works perfectly for family gatherings and special occasions.
Buttermilk Biscuits: For a true Midwest-style dinner, serve these chicken breasts alongside warm, fluffy buttermilk biscuits that you can use to soak up any delicious juices or make into mini chicken sandwiches.
Easy Baked Potato Soup: On cooler evenings, I sometimes serve this chicken with a side of creamy potato soup for an extra comforting meal that hits all the right notes.
Roasted Butternut Squash Soup: The sweet, velvety texture of butternut squash soup creates a lovely contrast with the savory, tangy chicken for a well-rounded dinner.
FAQs
Can I bake this chicken instead of frying it? I recommend baking at 400°F for 20-25 minutes, flipping halfway through, if you prefer a lighter version. The chicken won’t be quite as crispy as the fried version, but it’s still delicious and much easier to manage when cooking for a crowd.
What can I substitute for pickle juice if I don’t have any? Many home cooks find success with a mixture of buttermilk and a tablespoon of white vinegar or lemon juice, which provides similar tenderizing effects, though you’ll miss that distinctive pickle flavor.
Can I make this recipe ahead for a party? To prevent soggy breading, I suggest breading the chicken up to 4 hours ahead and keeping it refrigerated on a baking sheet, then frying it just before serving for the best texture.
How do I keep the breading from falling off? Betty’s solution is to let the breaded chicken rest in the refrigerator for 15-20 minutes before frying. This helps the coating adhere better and creates a more durable crust.
Can I use chicken thighs instead of breasts? The best approach I’ve tested is using boneless, skinless thighs with the same technique, but reduce the cooking time slightly to 4-6 minutes per side since thighs are generally smaller and cook faster than breasts.
What’s the best oil temperature for frying? I recommend maintaining the oil around 350°F. If it’s too hot, the breading burns before the chicken cooks through; if it’s too cool, you’ll end up with greasy, soggy coating instead of that golden crunch.
How thick should the chicken breasts be? For even cooking, I always pound my chicken breasts to an even ¾-inch thickness using a meat mallet. This ensures they cook through at the same rate and prevents dry edges with raw centers.
Can I double-dip the chicken for extra crunch? After the first coating, dip the chicken back into the egg mixture and then the breadcrumbs again for a thicker, crunchier crust. Just be aware this uses more breading and adds a few extra calories.
Crispy Dill Pickle Parmesan Chicken
Ingredients
Equipment
Method
- If chicken breasts are thick, pound them to an even ¾-inch thickness using a meat mallet for uniform cooking.
- In a large bowl, combine the chicken breasts and dill pickle juice. Ensure the chicken is fully submerged and allow it to marinate in the refrigerator for at least 30 minutes, or up to 2 hours for deeper flavor.
- In a large skillet, heat about ½ cup of cooking oil over medium heat until it reaches 350°F. Test the temperature by dropping in a breadcrumb; it should sizzle immediately and turn golden within 30 seconds.
- Remove each chicken breast from the marinade, shaking off any excess juice. Dredge it in the seasoned flour first, then dip it into the egg mixture, and finally coat it thoroughly with the breadcrumb-Parmesan mixture, pressing to adhere.
- Carefully place 2 breaded chicken breasts at a time into the hot oil. Fry them for about 5-7 minutes per side or until they turn golden brown and reach an internal temperature of 165°F in the thickest part. If chicken browns too quickly, reduce heat to medium-low.
- Once cooked, transfer the chicken to a plate lined with paper towels to absorb the excess oil.
- Allow the chicken to rest for 5-10 minutes before serving. This helps retain its juices and ensures the meat remains tender.
- Serve immediately for the crispiest results, or let cool completely before storing in an airtight container for up to 3-4 days in the refrigerator.