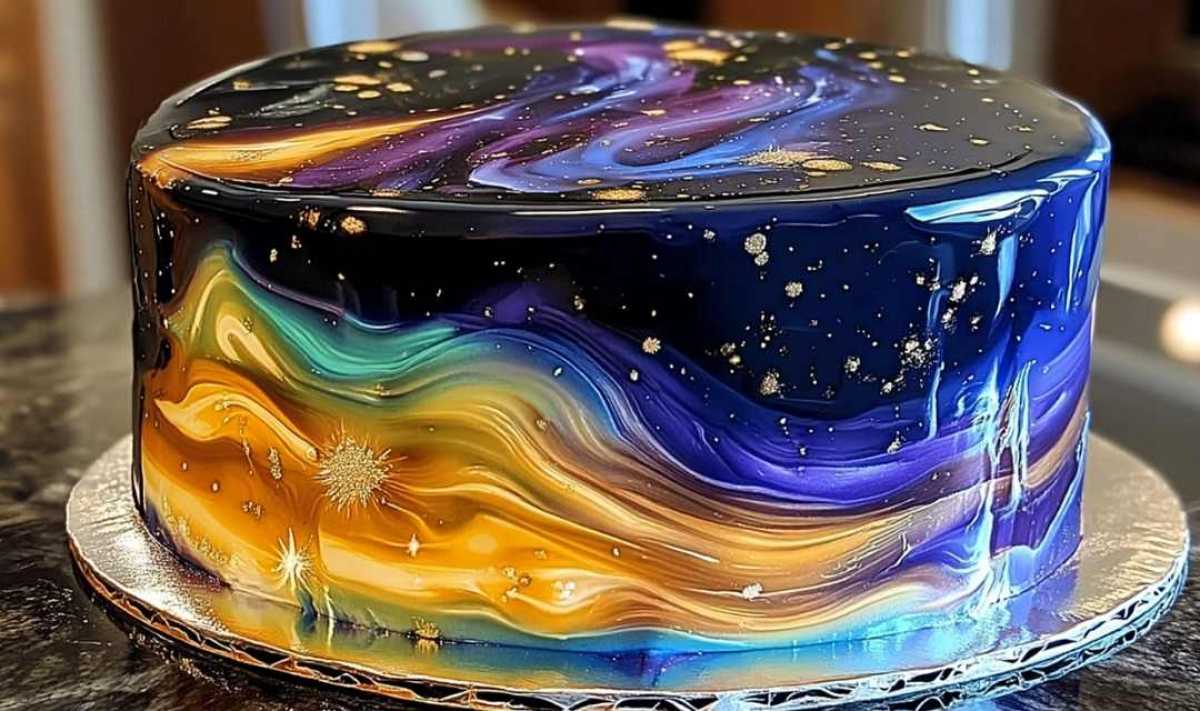
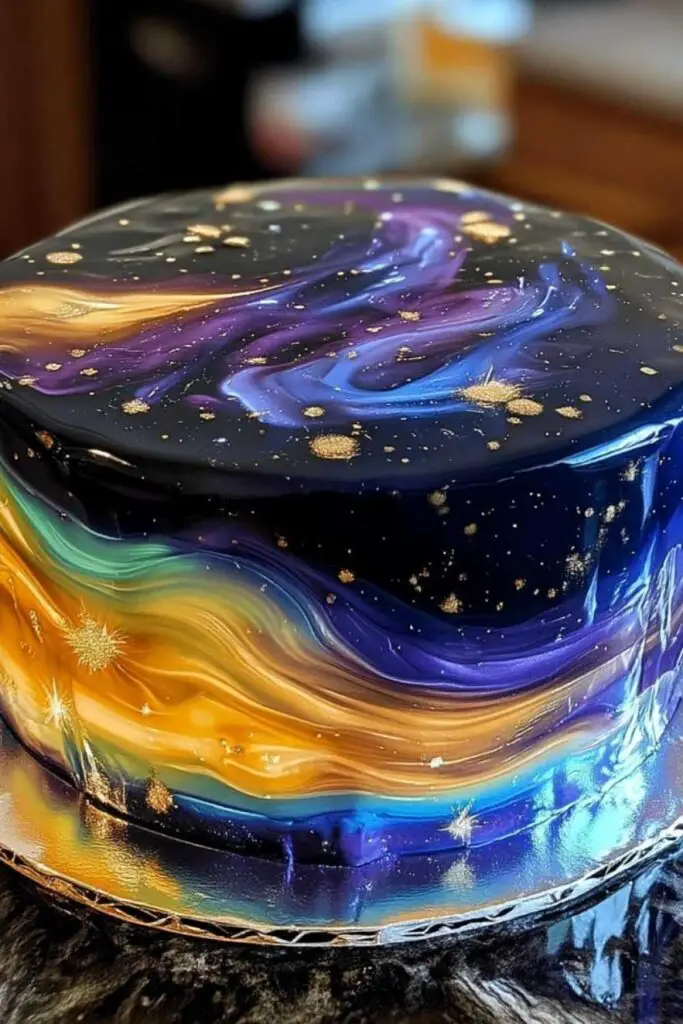
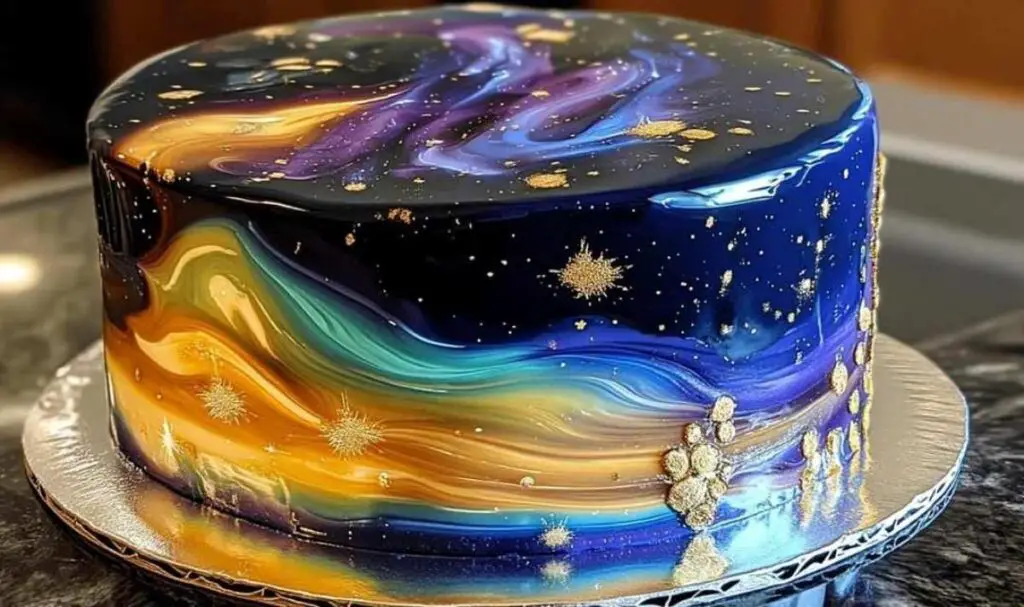
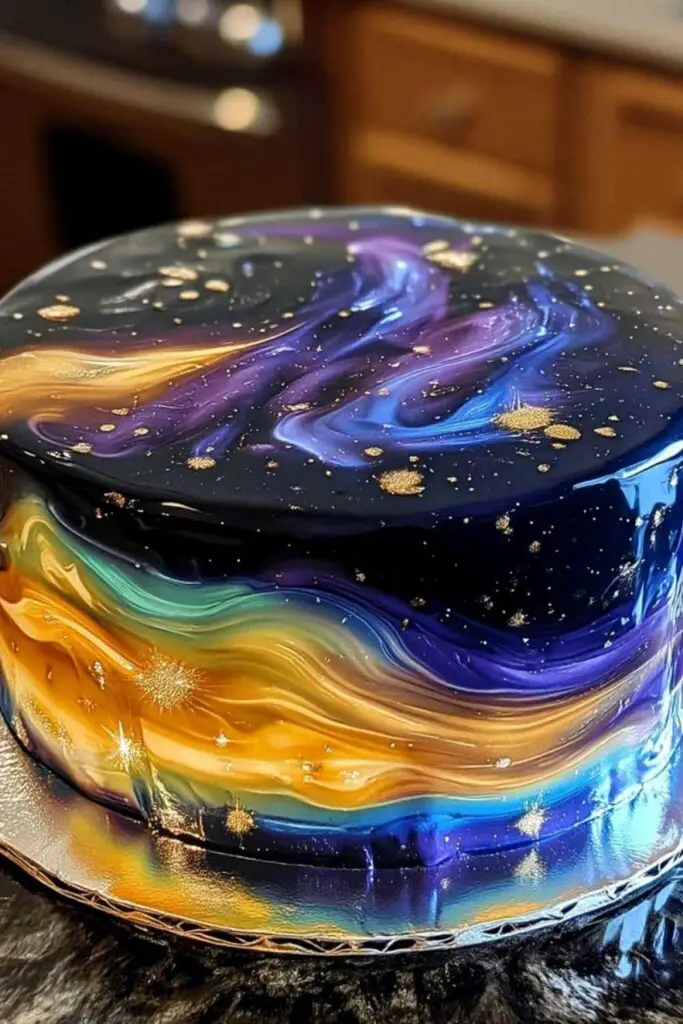
Galaxy Mirror Cake transforms any celebration into a cosmic celebration with its stunning mirror-like finish and swirling galaxy patterns. I discovered this show-stopping dessert technique during my daughter’s space-themed birthday party, and it’s become my go-to recipe for creating truly memorable moments.
The first time I attempted this Galaxy Mirror Cake, I’ll admit I was intimidated by the mirror glaze technique. But watching my granddaughter’s face light up when she saw those cosmic swirls reflecting the party lights made every careful step worth it. What started as a challenging baking adventure has become one of my most requested celebration cakes. The combination of French pastry techniques with modern cosmic aesthetics creates something truly magical – a dessert that tastes as incredible as it looks. This one’s definitely a showstopper!
Why You’ll Love This Galaxy Mirror Cake
This Galaxy Mirror Cake brings together the elegance of French pastry techniques with the wonder of cosmic design, creating a dessert that’s both technically impressive and absolutely delicious. I’ve been perfecting this recipe for years, and it never fails to create those special “wow” moments that make celebrations truly memorable.
- Creates a stunning centerpiece that reflects light beautifully and photographs like a dream — much like my Rainbow Cake
- Surprisingly achievable for home bakers with the right technique and patience
- Completely customizable colors let you match any party theme or personal preference
- Perfect conversation starter that gets everyone talking about your baking skills
- Combines rich, moist cake layers with smooth buttercream and glossy glaze for incredible flavor
- Works beautifully for birthdays, anniversaries, or any celebration needing extra magic
This Galaxy Mirror Cake is more than just a dessert—it’s a piece of edible art that brings people together and creates lasting memories.
Ingredient Note List
All-purpose flour: I always recommend using fresh, high-quality all-purpose flour because it provides the perfect structure for cake layers that can support the weight of the mirror glaze without becoming dense.
Granulated sugar: Regular granulated sugar creates the ideal sweetness and helps achieve the light, tender crumb that makes this Galaxy Mirror Cake so delicious.
Large eggs: Room temperature eggs blend more easily and create better volume, which is essential for cake layers that stay moist under the glossy glaze.
Butter: I prefer using unsalted butter at room temperature because it gives you better control over the salt content and creates the rich flavor that balances perfectly with the sweet glaze.
Heavy cream: Heavy cream appears in both the filling and the mirror glaze, providing richness and helping create that signature glossy finish that makes this cake so spectacular.
Gelatin sheets or powder: This ingredient is absolutely crucial for the mirror glaze – it creates the firm yet flexible texture that gives the Galaxy Mirror Cake its stunning reflective surface.
Glucose syrup: Glucose syrup helps create the incredibly smooth, glossy finish that makes mirror glaze so special and prevents crystallization.
Food coloring: Multiple colors are essential for creating those beautiful cosmic swirls – I recommend gel colors for the most vibrant galaxy effects.
Edible luster dust: This magical ingredient adds shimmer and depth to your galaxy patterns, creating that authentic cosmic sparkle that makes the cake truly extraordinary.
How to Cook Galaxy Mirror Cake
Step 1. I usually start by baking my cake layers the day before, allowing them to cool completely and firm up overnight – this makes the glazing process much smoother and more successful.
Step 2. My grandmother always taught me to level cake layers perfectly, and with mirror glaze, this step is absolutely critical because any bumps will show through the glossy finish.
Step 3. I’ve found that chilling the assembled cake for at least 2 hours before glazing makes all the difference – the cold surface helps the glaze set properly and creates that perfect mirror finish.
Step 4. When making the mirror glaze, I always use a thermometer because the temperature needs to be just right – too hot and it won’t stick, too cool and it won’t pour smoothly.
Step 5. My husband always marvels at how quickly I work during the glazing step, but I’ve learned that confidence and speed are key to achieving that flawless Galaxy Mirror Cake finish.
Step 6. I recommend practicing the pouring motion with water first – start from the center and let gravity do most of the work as you guide the glaze around the cake.
Step 7. The galaxy effects are where creativity really shines – I use a toothpick to swirl colors and add edible glitter while the glaze is still slightly warm for the best cosmic patterns, similar to the artistic detail in my Decadent Chocolate Ganache Cake.
How to Store & Reheat
I usually store my finished Galaxy Mirror Cake in the refrigerator, where it stays fresh for up to 3 days. The key is covering it carefully with a large cake dome or loosely tented foil to protect that beautiful mirror finish from condensation and other odors.
Freezing isn’t recommended for completed Galaxy Mirror Cake because the glaze can lose its glossy appearance when thawed. However, you can freeze the cake layers before assembly for up to 2 months – just wrap them tightly and thaw completely before glazing.
For best results, I always remove the cake from the refrigerator about 30 minutes before serving to let it come to room temperature. The glaze may lose some of its shine over time, but the cake tastes just as delicious and still looks impressive on day two or three.

Galaxy Mirror Cake
Ingredients
Equipment
Method
- Prepare cake batter using cake layer ingredients. Bake at 350°F (175°C) for 30–35 minutes or until a toothpick comes out clean. Cool completely.
- Beat butter until fluffy. Add powdered sugar gradually, then heavy cream and flavoring if desired. Mix until light and spreadable.
- Level cake layers and spread filling evenly between each. Stack securely and chill for at least 1 hour.
- Bloom gelatin in cold water. Heat glucose syrup, water, and heavy cream in a saucepan until hot. Remove from heat, stir in gelatin until dissolved. Cool to 90–95°F (32–35°C).
- Divide glaze into bowls and add galaxy colors. Pour over chilled cake from the center outward, letting glaze drip naturally.
- Add galaxy effects with edible paints, luster dust, and glitter.
- Let glaze set for 30 minutes before serving. Refrigerate until ready to serve.
Notes
What to Serve With Galaxy Mirror Cake
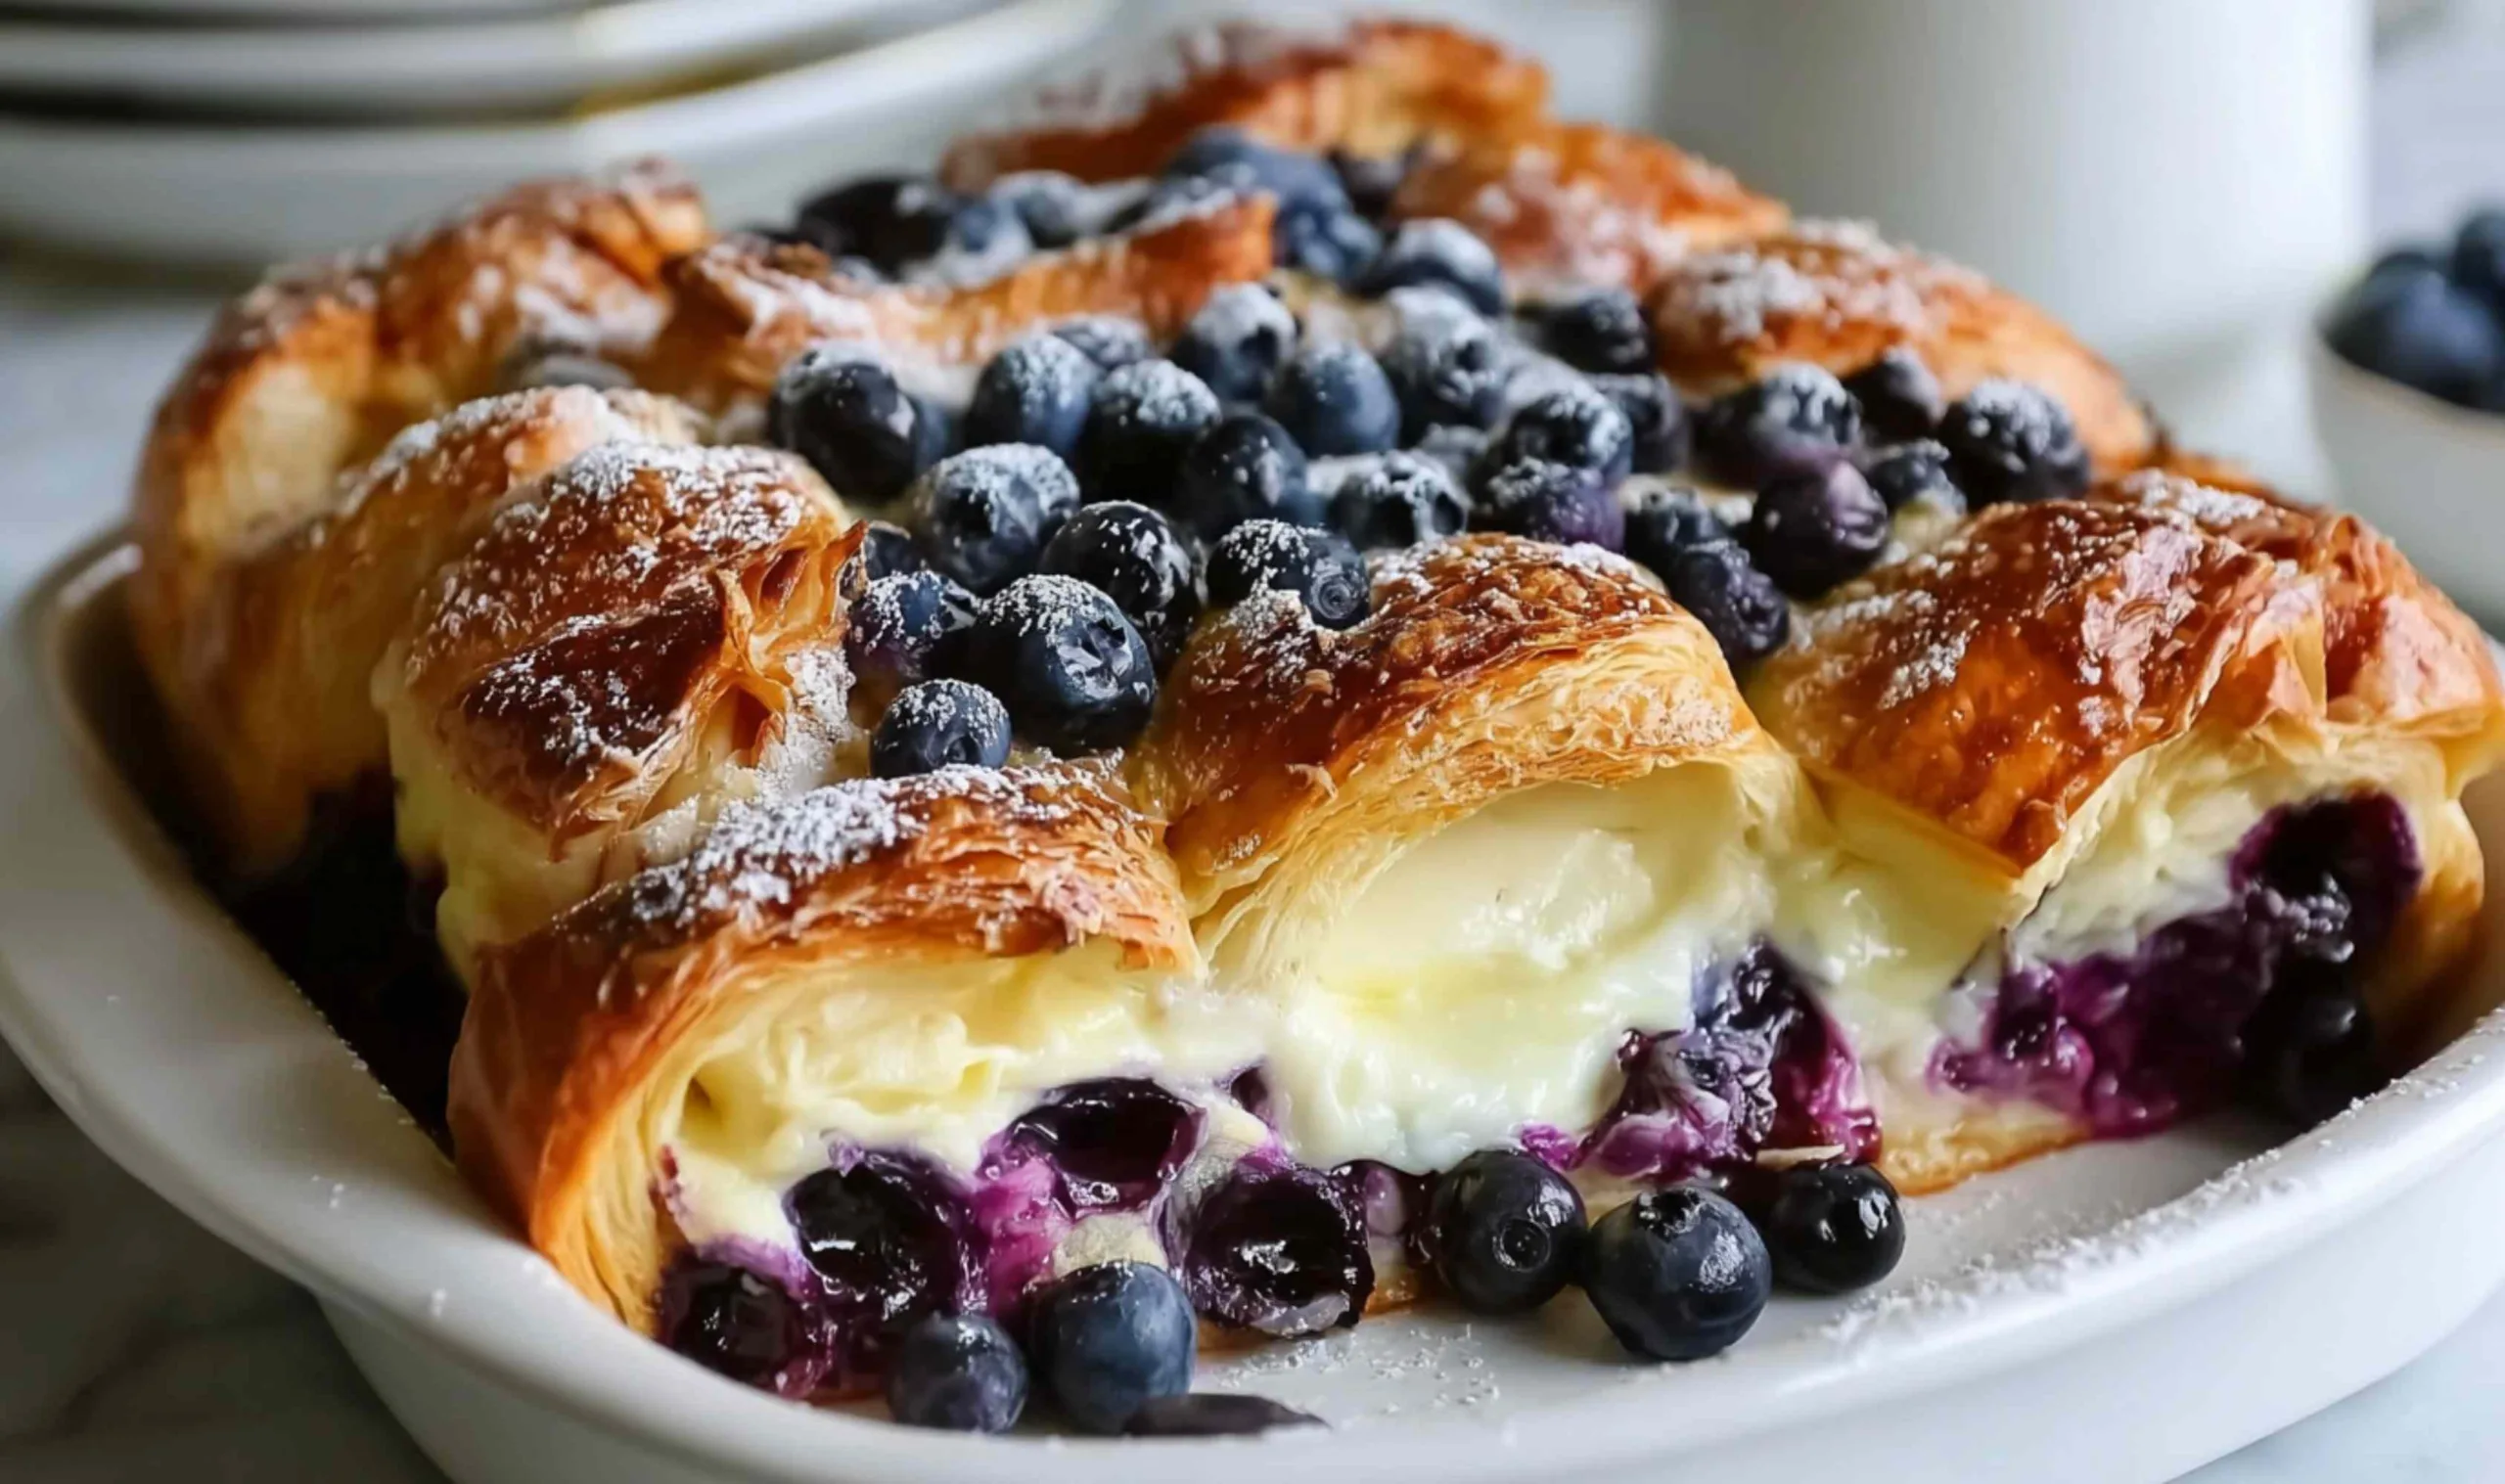
Fresh Berry Medley: The natural tartness of fresh strawberries, blueberries, and raspberries provides a perfect balance to the rich sweetness of the Galaxy Mirror Cake while adding beautiful color contrast.
Vanilla Ice Cream: A scoop of premium vanilla ice cream complements the cosmic theme beautifully and helps cut through the richness of the mirror glaze with its cool, creamy texture — just like pairing my Black Forest Cheesecake with ice cream.
Champagne or Sparkling Cider: The bubbles and light acidity create an elegant pairing that enhances the celebratory nature of this stunning dessert.
Whipped Cream with Edible Gold: Light, airy whipped cream dusted with edible gold flakes continues the cosmic theme while providing a delicate contrast to the glossy cake.
Coffee or Espresso: A strong cup of coffee balances the sweetness perfectly and provides a sophisticated ending to any special meal featuring this show-stopping cake.
Chocolate-Dipped Strawberries: These elegant treats complement the Galaxy Mirror Cake beautifully and add another layer of indulgence to your cosmic dessert spread.
FAQs
Each slice contains approximately 450-500 calories due to the rich combination of cake, buttercream, and mirror glaze – I recommend smaller portions since this dessert is quite indulgent.
This is definitely a special occasion treat that’s high in sugar, butter, and calories, so I suggest enjoying it in moderation as part of balanced eating habits.
I’ve found this usually happens when the glaze is too hot when poured or if there are air bubbles – strain the glaze and let it cool to about 90°F for the best results.
While a turntable makes decorating easier, you can absolutely create beautiful results using basic kitchen tools and a steady hand for the glazing technique.