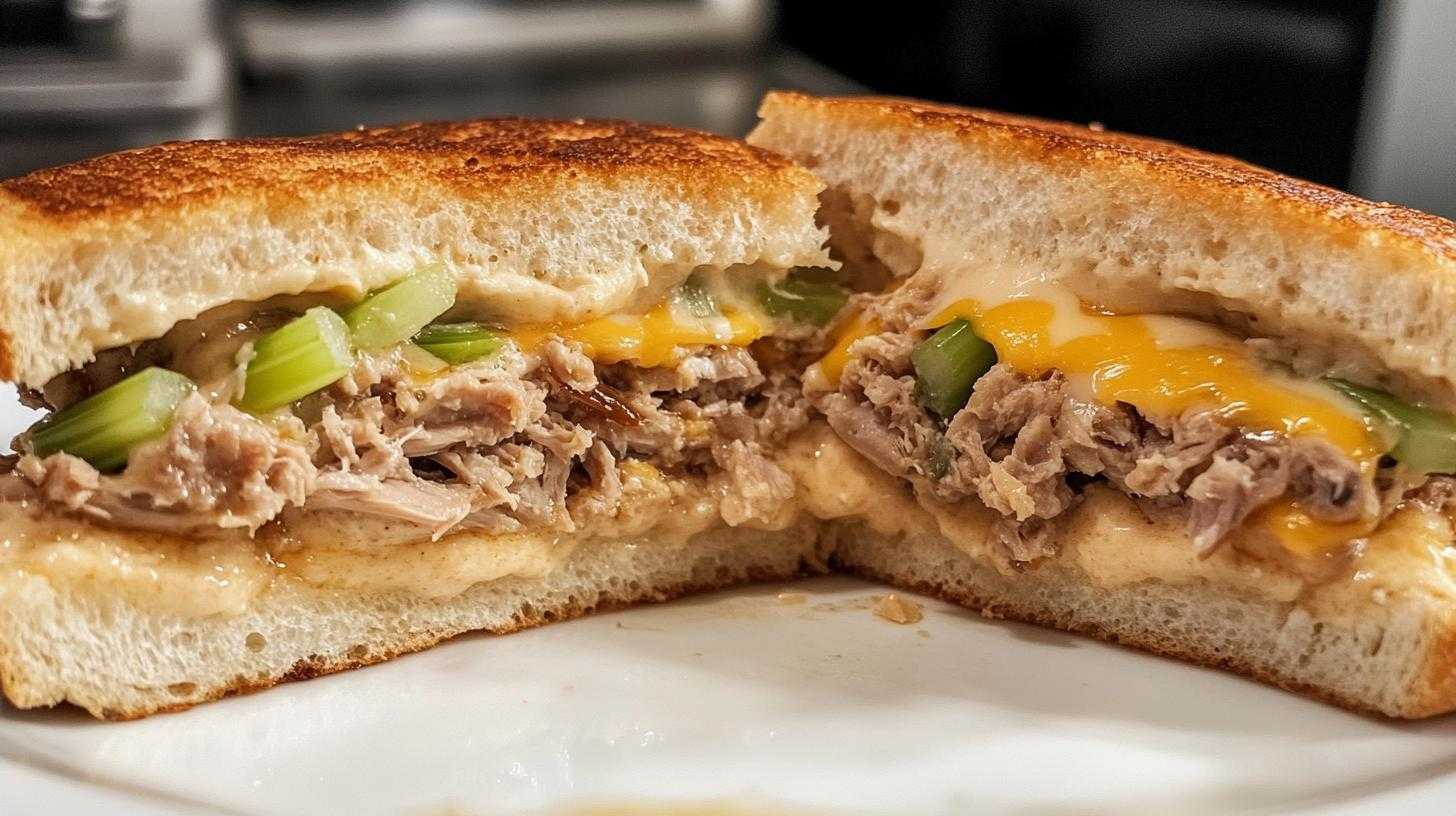
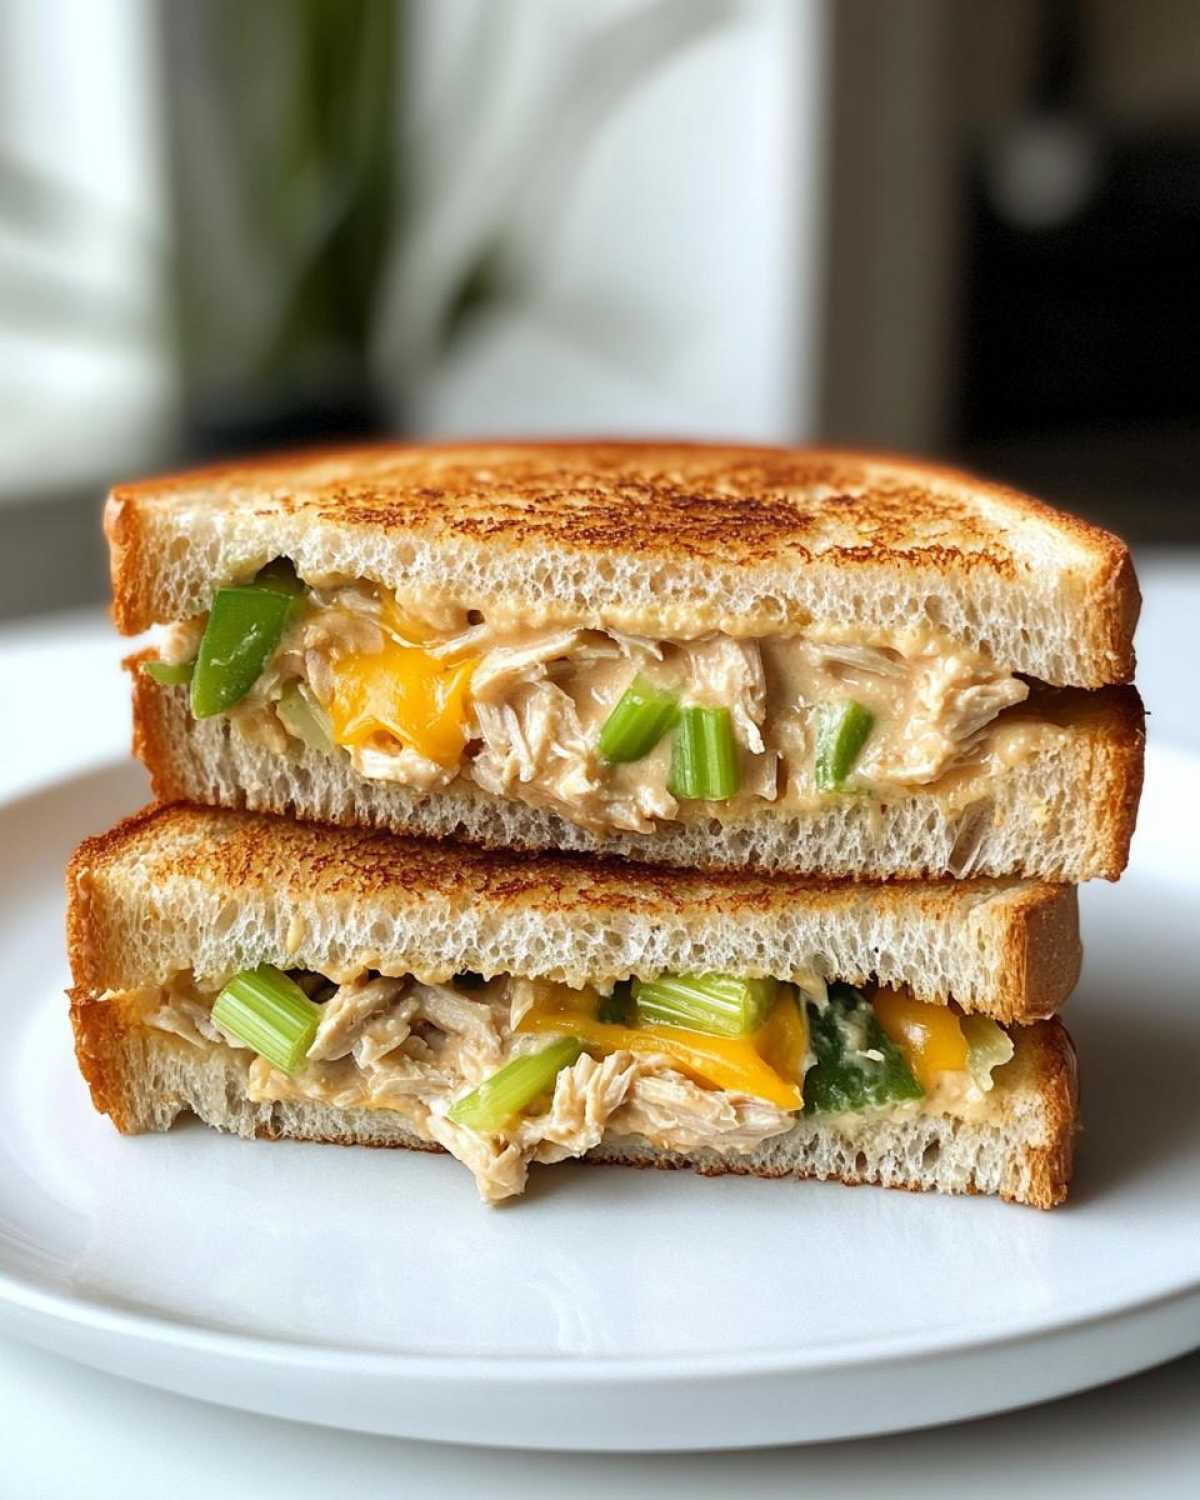
There’s something incredibly comforting about a warm, gooey Simple Tuna Melt Sandwich. I remember the first time I made these for my family; the aroma of melting cheese and toasted bread filled the kitchen, and I could see their eyes light up with anticipation. In just 18 minutes, you can whip up this protein-packed delight that not only satisfies hunger but also warms the soul. Whether it’s a quick lunch or a cozy dinner, these sandwiches are a go-to in my home. The combination of creamy tuna, crunchy celery, and savory cheese creates a flavor explosion that’s hard to resist. Plus, they’re so easy to make! With just a handful of ingredients, you can create a meal that feels indulgent without the fuss. Trust me, once you try these Simple Tuna Melt Sandwiches, they’ll become a staple in your kitchen too!
Ingredients List
- 1 can (5 oz) tuna, drained: This is the star of the show! Make sure to drain it well to avoid a soggy sandwich.
- 2 tablespoons mayonnaise: This adds creaminess and binds the tuna mixture together.
- 1 tablespoon Dijon mustard: A touch of tanginess that elevates the flavor profile.
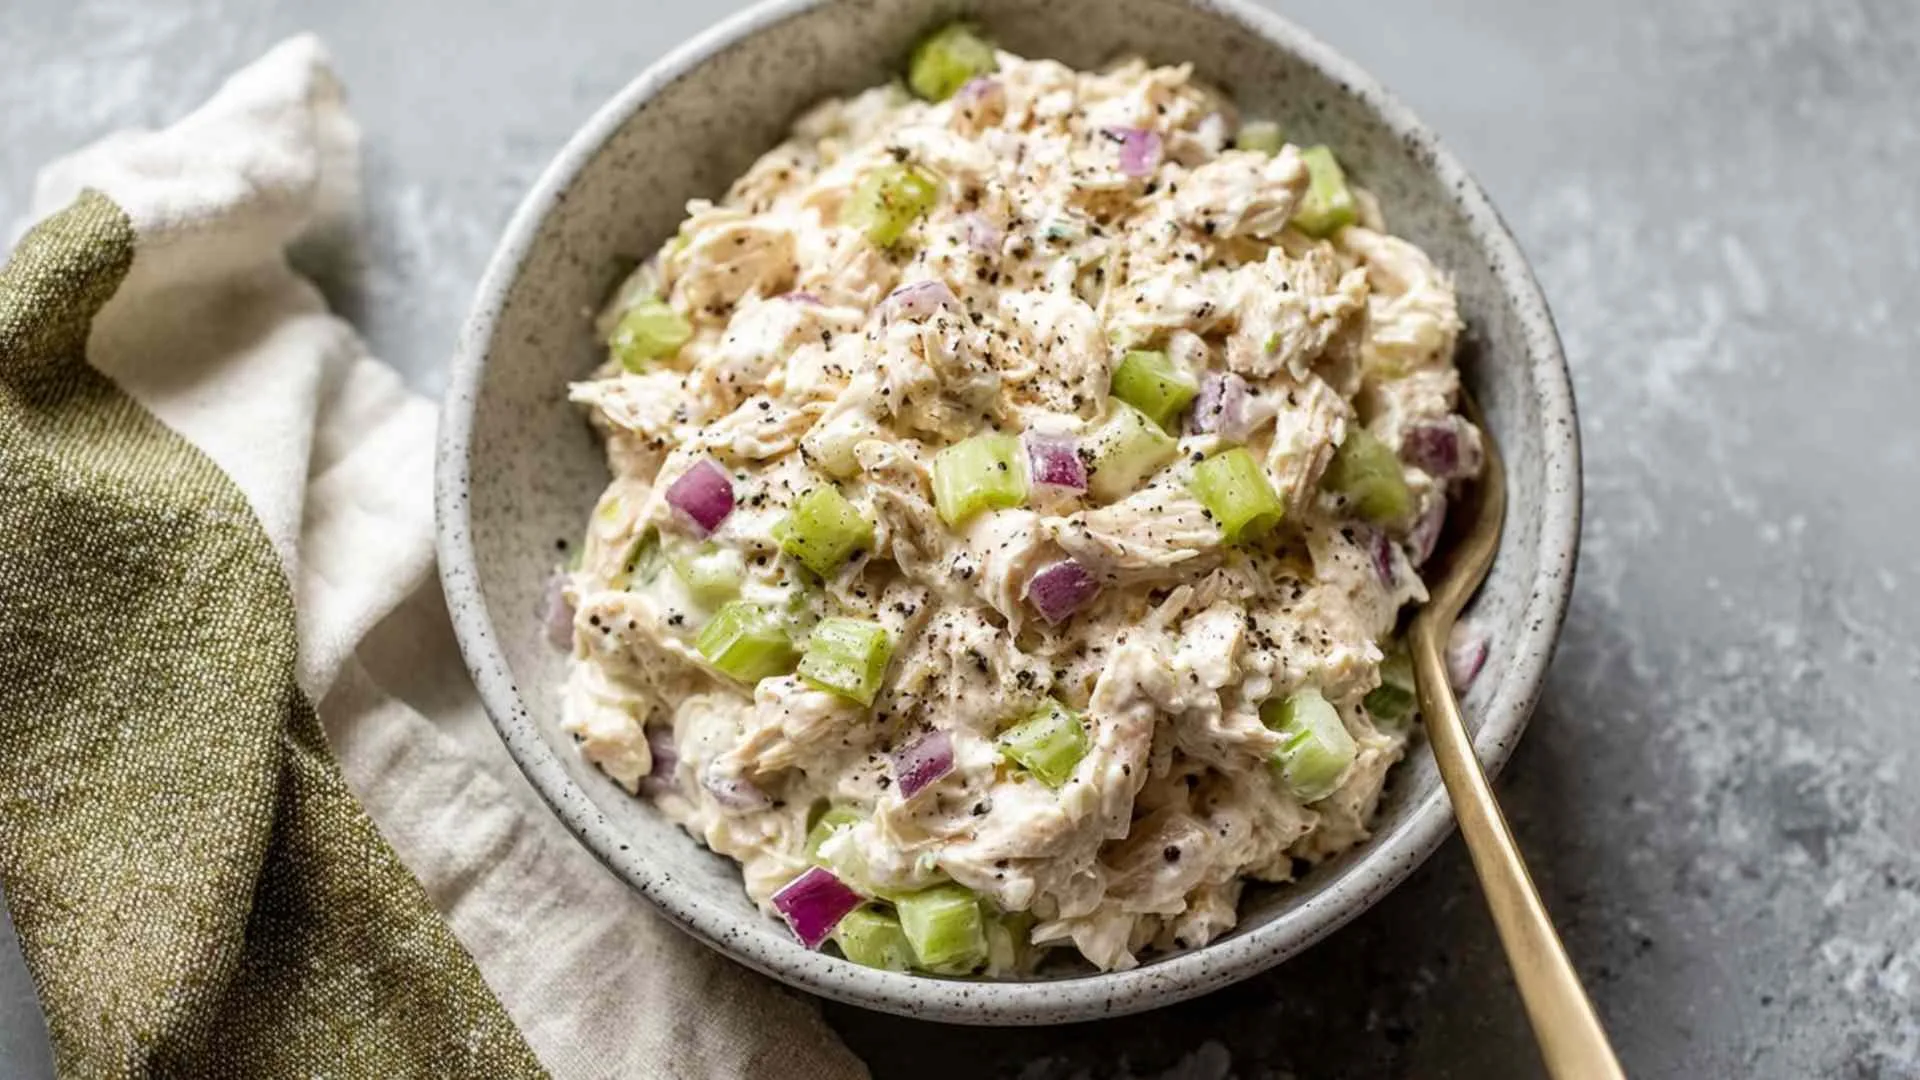
- 1/4 cup celery, finely chopped: For that satisfying crunch and freshness.
- 1/4 cup onion, finely chopped: Adds a bit of sweetness and depth to the filling.
- Salt and pepper to taste: Essential for seasoning and enhancing the flavors.
- 4 slices of bread (your choice): Choose your favorite type, whether it’s whole grain, sourdough, or classic white.
- 4 slices of cheese (cheddar or your preferred type): Melty cheese is a must! Cheddar works great, but feel free to experiment.
- Butter for spreading: This will give your sandwiches a golden, crispy exterior.
How to Prepare Simple Tuna Melt Sandwiches
Step 1: Prepare the Tuna Mixture
Start by grabbing a medium bowl. Add the drained tuna, mayonnaise, and Dijon mustard. I love the tangy kick the mustard brings! Next, toss in the finely chopped celery and onion. These ingredients add a delightful crunch and flavor. Mix everything together until it’s well combined. Don’t forget to season with salt and pepper to your liking. Taste it! You want that perfect balance of flavors.
Step 2: Assemble the Sandwiches
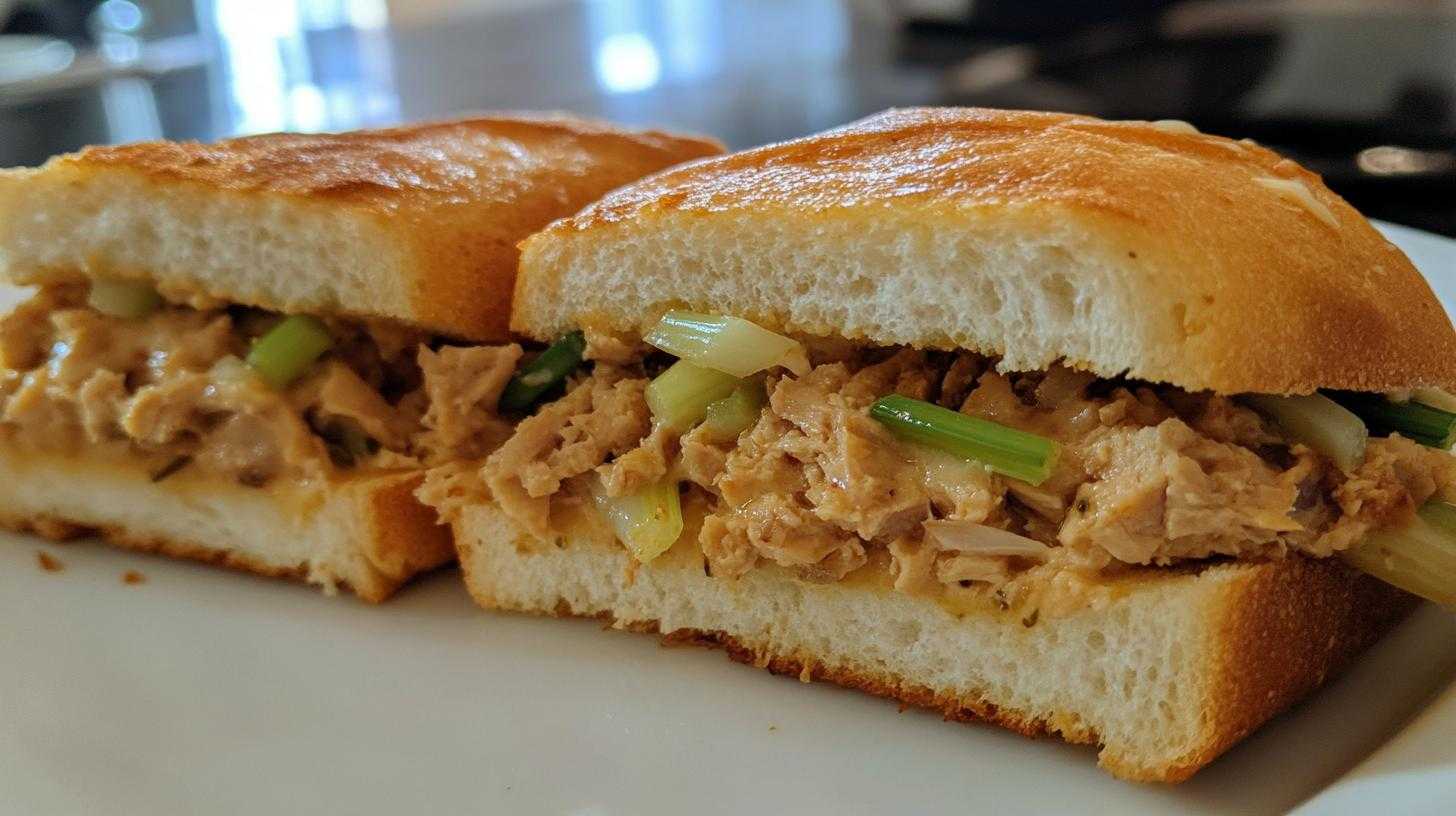
Now, let’s get to the fun part—assembling! Lay out your slices of bread on a clean surface. Spread a thin layer of butter on one side of each slice. This will give your sandwiches that golden, crispy finish. On the unbuttered side of two slices, evenly distribute the tuna mixture. Make sure to pile it on generously! Top each with a slice of cheese, then place the remaining slices of bread on top, buttered side facing out. It’s like a cozy blanket for your filling!
Step 3: Cook the Sandwiches
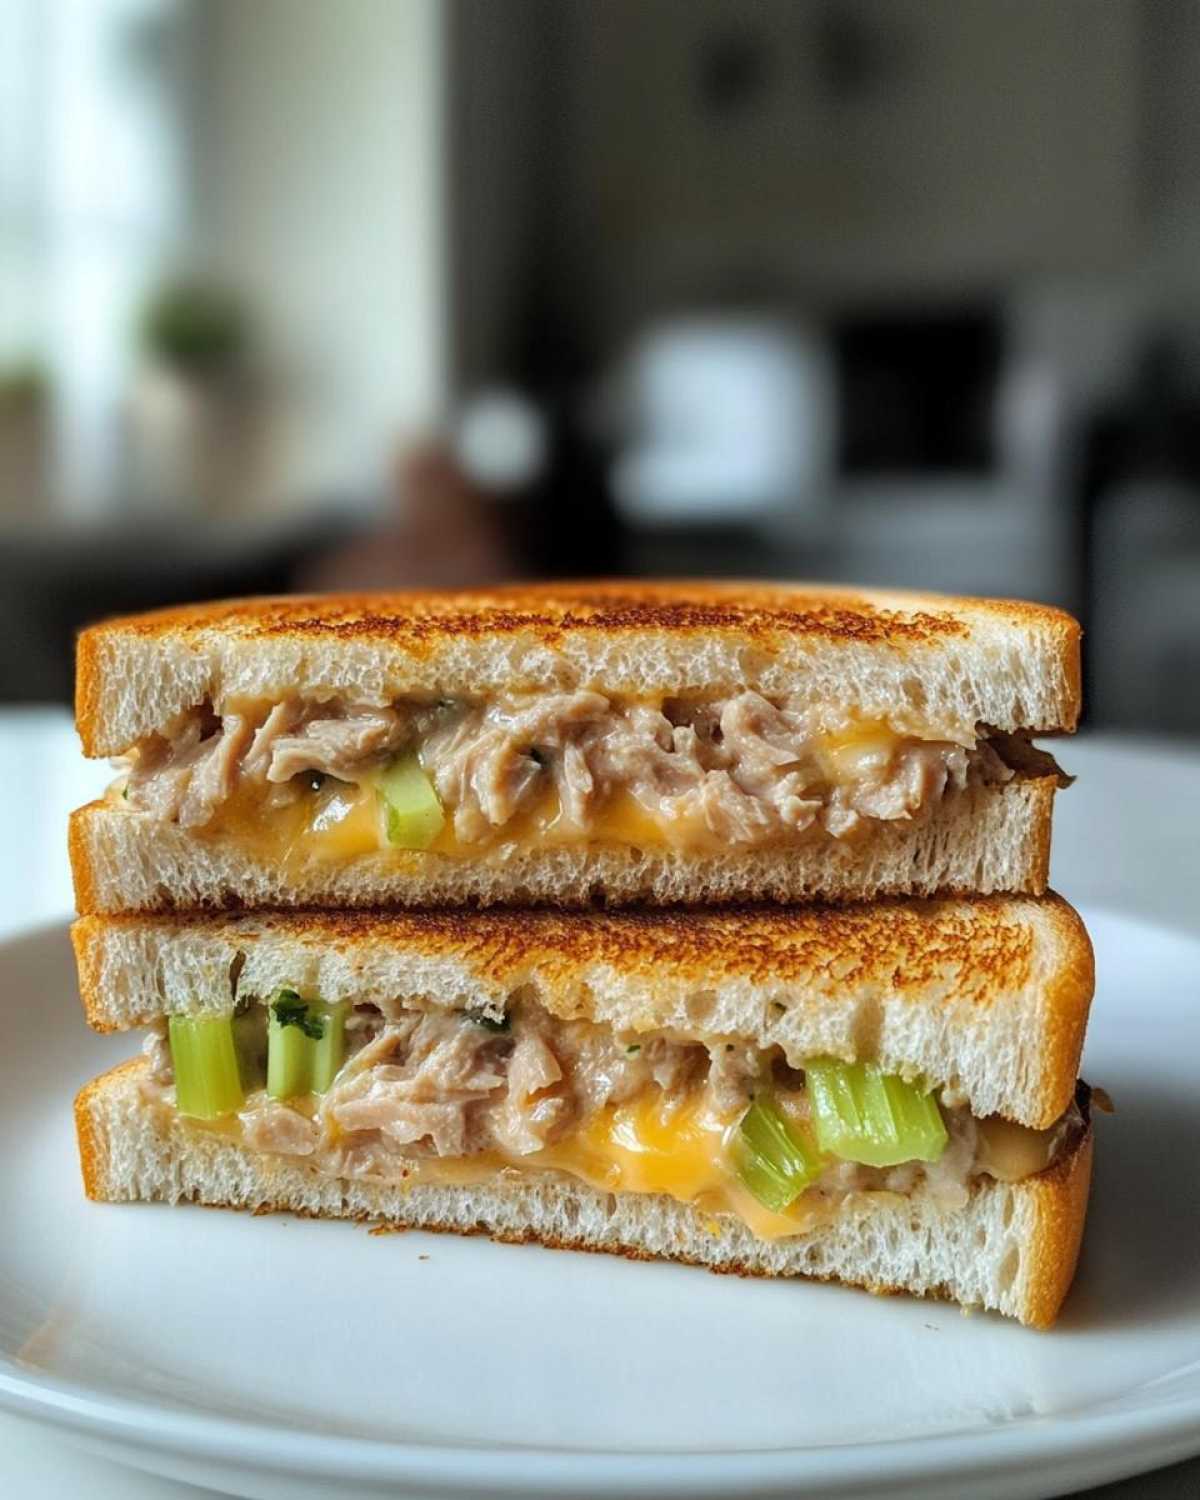
Heat a skillet over medium heat. Once it’s hot, carefully place the sandwiches in the skillet. Cook for about 3-4 minutes until the bread is golden brown and the cheese starts to melt. Keep an eye on them! Flip the sandwiches and cook for another 3-4 minutes on the other side. You’ll know they’re done when both sides are golden and the cheese is ooey-gooey. The aroma will be irresistible!
Step 4: Serve and Enjoy
Once cooked, remove the sandwiches from the skillet and let them cool for a minute. This helps the cheese set a bit. Cut them in half and serve warm. I love pairing these with a side salad or some crispy chips for a complete meal. Enjoy every bite of your Simple Tuna Melt Sandwiches!
Nutritional Information
When it comes to comfort food, knowing what you’re eating can make all the difference. Here’s the estimated nutritional breakdown for one serving of Simple Tuna Melt Sandwiches:
- Calories: 350
- Fat: 20g
- Saturated Fat: 10g
- Unsaturated Fat: 8g
- Trans Fat: 0g
- Cholesterol: 40mg
- Sodium: 600mg
- Carbohydrates: 30g
- Fiber: 2g
- Sugar: 2g
- Protein: 20g
Keep in mind that these values are estimates and can vary based on the specific ingredients you choose. Enjoy your meal knowing it’s not just delicious but also packed with protein to keep you satisfied!
Why You’ll Love This Recipe
- Quick Preparation: In just 18 minutes, you can have a delicious meal ready to enjoy.
- Satisfying Taste: The combination of creamy tuna, crunchy veggies, and melty cheese is simply irresistible.
- High Protein Content: Each sandwich packs a protein punch, making it a great choice for a filling lunch or dinner.
- Customizable: You can easily tweak the ingredients to suit your taste, from different cheeses to various types of bread.
- Comfort Food: These sandwiches bring warmth and nostalgia, perfect for cozy meals at home.
Tips for Success
To make your Simple Tuna Melt Sandwiches truly shine, here are some pro tips I’ve gathered from my own kitchen adventures:
- Choose Quality Tuna: Opt for a good-quality tuna packed in water or olive oil. It makes a noticeable difference in flavor.
- Experiment with Cheese: While cheddar is a classic choice, try using pepper jack for a spicy kick or mozzarella for a milder taste.
- Fresh Herbs: Adding fresh herbs like dill or parsley to the tuna mixture can elevate the flavor profile. Just a sprinkle can make a big impact!
- Don’t Rush the Cooking: Cooking on medium heat allows the cheese to melt perfectly without burning the bread. Patience is key!
- Use a Panini Press: If you have one, a panini press can give you an even crispier sandwich with perfectly melted cheese.
- Toast the Bread First: For an extra crunch, lightly toast the bread before assembling the sandwiches. It adds a delightful texture.
- Serve with Dips: Consider serving your sandwiches with a side of marinara sauce or a tangy dipping sauce for an extra layer of flavor.
With these tips, you’ll be well on your way to making the perfect Simple Tuna Melt Sandwiches that everyone will love!
Variations
One of the best things about Simple Tuna Melt Sandwiches is how easily you can switch things up! Here are some fun ideas to get your creativity flowing:
- Cheese Choices: Swap out cheddar for Swiss, gouda, or even a spicy pepper jack for a kick.
- Herb Infusion: Add fresh herbs like dill, chives, or basil to the tuna mixture for a burst of flavor.
- Different Breads: Experiment with sourdough, rye, or even a hearty whole grain for a unique twist.
- Veggie Boost: Toss in some diced bell peppers or pickles for extra crunch and flavor.
- Spicy Tuna Melt: Mix in a dash of hot sauce or sriracha to the tuna for a spicy version.
These variations can make each meal feel fresh and exciting while still delivering that comforting taste you love!
Storage & Reheating Instructions
If you find yourself with leftover Simple Tuna Melt Sandwiches, don’t worry! They can be stored and enjoyed later. Here’s how to keep them fresh:
- Storing Leftovers: Allow the sandwiches to cool completely before storing. Wrap each sandwich tightly in plastic wrap or aluminum foil. You can also place them in an airtight container. They’ll stay fresh in the refrigerator for up to 2 days.
- Freezing: For longer storage, you can freeze the sandwiches. Wrap them individually and place them in a freezer-safe bag. They can be frozen for up to 1 month. Just remember to label the bag with the date!
When you’re ready to enjoy your leftovers, reheating is key to keeping that deliciousness intact:
- Reheating in a Skillet: Heat a skillet over medium heat. Place the sandwich in the skillet and cover it with a lid. Cook for about 3-4 minutes on each side until heated through and the cheese is melted.
- Oven Method: Preheat your oven to 350°F (175°C). Place the sandwiches on a baking sheet and cover them with foil. Bake for about 10-15 minutes, or until warmed through.
- Microwave Option: If you’re in a hurry, you can microwave the sandwich for about 30-45 seconds. However, this method may result in a softer bread texture.
With these storage and reheating tips, you can enjoy your Simple Tuna Melt Sandwiches even after the first serving!
FAQ Section
Here are some common questions I often hear about Simple Tuna Melt Sandwiches, along with my answers to help you out:
Can I use fresh tuna instead of canned?
Absolutely! If you prefer fresh tuna, just make sure to cook it thoroughly before mixing it with the other ingredients. Fresh tuna can add a delightful flavor and texture to your sandwiches.
What type of bread works best for tuna melts?
While any bread can work, I recommend using sturdy options like sourdough or whole grain. They hold up well to the filling and give a nice crunch when toasted. But feel free to use your favorite bread!
Can I make these sandwiches ahead of time?
You can prepare the tuna mixture in advance and store it in the fridge for up to 2 days. Just assemble and cook the sandwiches when you’re ready to enjoy them. This makes for a quick meal option!
What can I serve with Simple Tuna Melt Sandwiches?
These sandwiches pair wonderfully with a side salad, crispy chips, or even a bowl of soup. The combination makes for a satisfying and complete meal!
How can I make my tuna melt healthier?
To lighten up your Simple Tuna Melt Sandwiches, consider using Greek yogurt instead of mayonnaise. You can also add more veggies like spinach or tomatoes to boost the nutrition without sacrificing flavor.

Simple Tuna Melt Sandwiches: 18 Minutes to Comfort Food Bliss
- Total Time: 18 minutes
- Yield: 2 servings 1x
- Diet: High Protein
Description
Simple Tuna Melt Sandwiches are a quick and satisfying meal packed with protein.
Ingredients
- 1 can (5 oz) tuna, drained
- 2 tablespoons mayonnaise
- 1 tablespoon Dijon mustard
- 1/4 cup celery, finely chopped
- 1/4 cup onion, finely chopped
- Salt and pepper to taste
- 4 slices of bread (your choice)
- 4 slices of cheese (cheddar or your preferred type)
- Butter for spreading
Instructions
- In a medium bowl, combine the drained tuna, mayonnaise, Dijon mustard, chopped celery, and chopped onion. Mix well until all ingredients are fully incorporated. Season with salt and pepper to taste.
- Lay out the slices of bread on a clean surface. Spread a thin layer of butter on one side of each slice. On the unbuttered side of two slices, evenly distribute the tuna mixture. Top each with a slice of cheese, then place the remaining slices of bread on top, buttered side facing out.
- Heat a skillet over medium heat. Once hot, carefully place the sandwiches in the skillet. Cook for about 3-4 minutes until the bread is golden brown and the cheese begins to melt. Flip the sandwiches and cook for an additional 3-4 minutes on the other side until golden and the cheese is fully melted.
- Remove the sandwiches from the skillet and let them cool for a minute. Cut in half and serve warm.
Notes
- Adjust seasoning to your taste.
- Use your favorite type of cheese.
- Serve with a side salad for a complete meal.
- Prep Time: 10 minutes
- Cook Time: 8 minutes
- Category: Lunch
- Method: Skillet
- Cuisine: American
Nutrition
- Serving Size: 1 sandwich
- Calories: 350
- Sugar: 2g
- Sodium: 600mg
- Fat: 20g
- Saturated Fat: 10g
- Unsaturated Fat: 8g
- Trans Fat: 0g
- Carbohydrates: 30g
- Fiber: 2g
- Protein: 20g
- Cholesterol: 40mg