Sourdough Starter Guide
Welcome to the wonderful world of sourdough! If you’ve ever tasted a slice of fresh sourdough bread, you know how delightful it can be. But did you know that the secret to this delicious bread lies in a simple mixture of flour and water? That’s right! This mixture is called a sourdough starter. In this guide, we’ll explore everything you need to know about creating your own sourdough starter from scratch.
What is a Sourdough Starter?
A sourdough starter is a living culture of flour and water. It contains wild yeast and beneficial bacteria that help bread rise and develop its unique flavor. Unlike commercial yeast, which is often used in baking, a sourdough starter relies on natural fermentation. This process takes time, but the results are worth the wait! Your starter will become a bubbly, active mixture that can be used to make delicious bread, pancakes, and more.
The Importance of a Sourdough Starter in Baking
Having a healthy sourdough starter is crucial for successful baking. It not only helps your bread rise but also adds a rich, tangy flavor that you can’t achieve with regular yeast. The wild yeast in your starter works slowly, allowing for a more complex taste and texture. Plus, sourdough bread is often easier to digest and has a lower glycemic index, making it a healthier choice. So, whether you’re a seasoned baker or just starting out, understanding the role of a sourdough starter is key to creating amazing baked goods!
Ingredients for Your Sourdough Starter
Creating your own sourdough starter is simple and requires just a few basic ingredients. The beauty of sourdough lies in its simplicity. You only need flour and water, but the type of flour you choose can influence the flavor and activity of your starter. Here’s what you’ll need:
- Flour: You can use all-purpose flour, whole wheat flour, or even rye flour. Each type brings its unique flavor and fermentation qualities. Whole wheat flour tends to create a more active starter due to its higher nutrient content.
- Water: Always use filtered water. Tap water may contain chlorine or other chemicals that can hinder the fermentation process. Room temperature water is best, as it helps the yeast thrive.
For the initial creation of your sourdough starter, you will need:
- 4-5 cups of flour, divided over 7 days
- 4-5 cups of filtered water, divided over 7 days
These ingredients will be used throughout the week as you nurture your starter. Remember, the key to a successful sourdough starter is patience and consistency. With just flour, water, and a little time, you’ll be on your way to creating a bubbly, active starter that will elevate your baking!
Step-by-Step Preparation of Your Sourdough Starter
Now that you have your ingredients ready, it’s time to dive into the step-by-step preparation of your sourdough starter. This process is simple and rewarding. Just follow these easy steps, and you’ll be on your way to creating a lively starter that will enhance your baking adventures!
Step 1: Gather Your Ingredients
Before you start, make sure you have everything you need. Gather your flour, filtered water, and a quart glass jar. A sturdy spoon or spatula for mixing is also helpful. Having all your tools ready will make the process smoother. Remember, cleanliness is key! Wash your hands and ensure your jar is clean to avoid unwanted bacteria.
Step 2: Mixing the Flour and Water
In your quart glass jar, combine 1/2 cup of flour with 1/2 cup of filtered water. Use your spoon to stir the mixture until it’s well combined. The goal is to create a thick, paste-like consistency. This mixture is the beginning of your sourdough starter. Once mixed, cover the jar with a breathable material, like a coffee filter or a tea towel. This allows air to flow in while keeping dust and insects out.
Step 3: The First Feeding
On the second day, it’s time for the first feeding! Add another 1/2 cup of flour and 1/2 cup of water to your starter. Stir it well to incorporate the new ingredients. Cover the jar again and let it sit at room temperature. This feeding is crucial as it provides fresh nutrients for the wild yeast and bacteria to thrive.
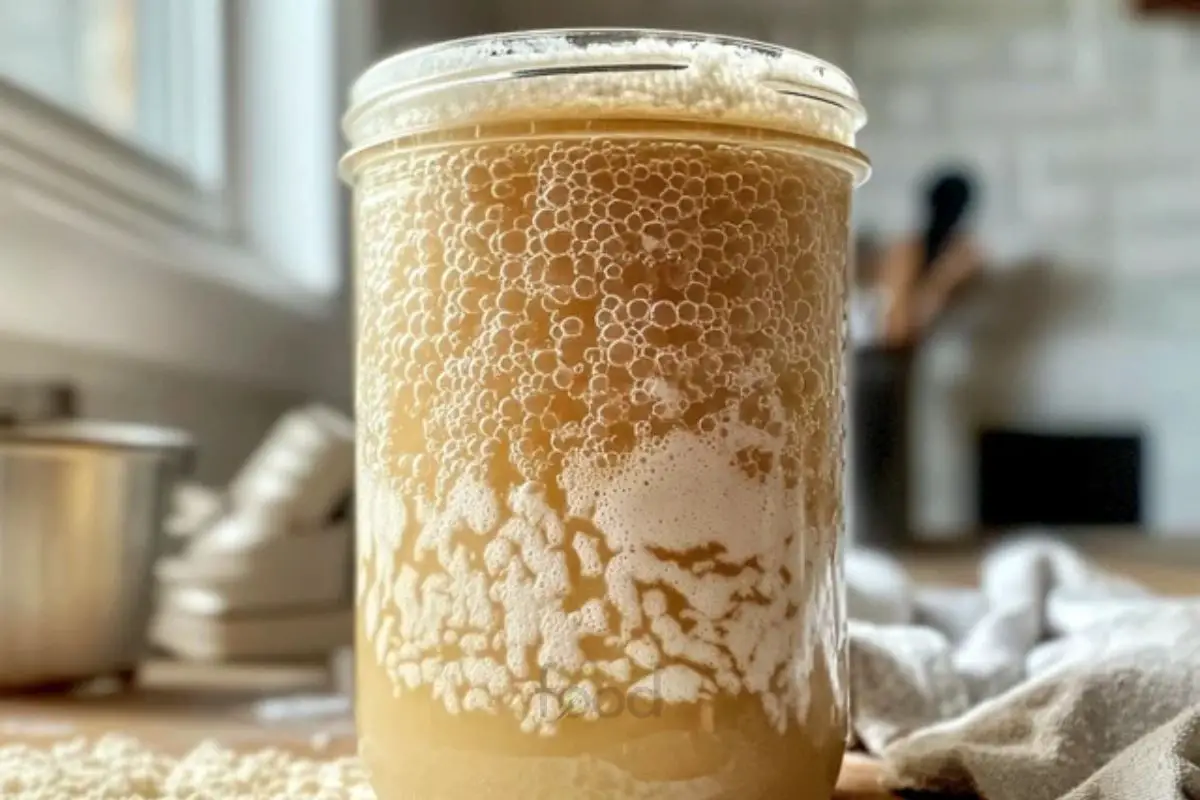
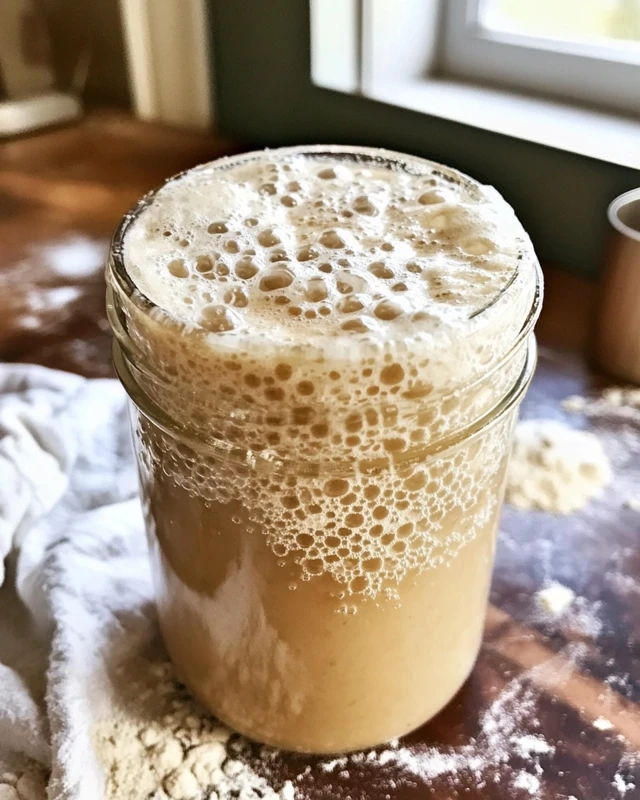
Step 4: Observing the Fermentation Process
By day three, you should start noticing some bubbles forming in your mixture. This is a fantastic sign that fermentation is happening! If you see a layer of liquid on top, don’t worry; it’s normal. This liquid is called “hooch” and indicates that your starter is hungry. Stir everything together, and then remove 1/2 to 3/4 cup of the starter. Transfer it to a new jar if you wish to keep it. Feed the remaining starter with another 1/2 cup of flour and 1/2 cup of water. This process helps keep your starter healthy and active.
Step 5: Regular Feedings and Maintenance
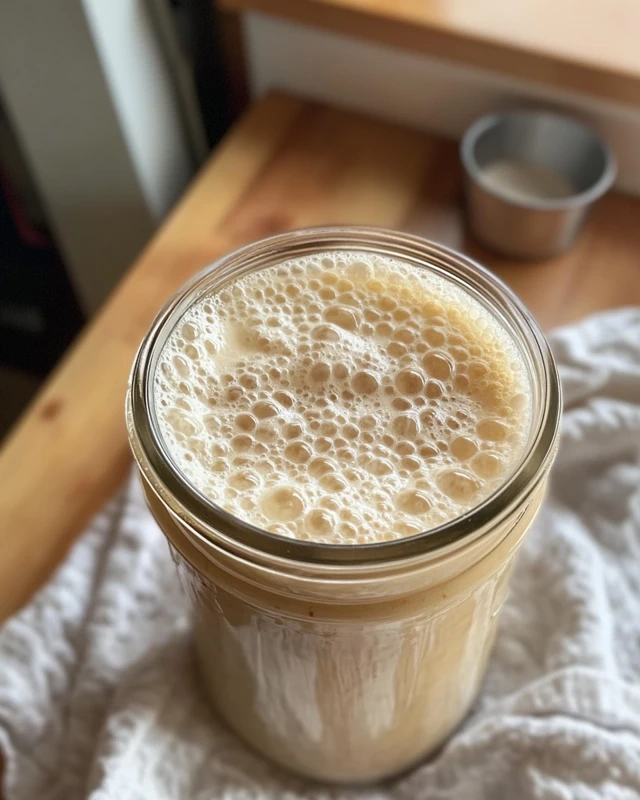
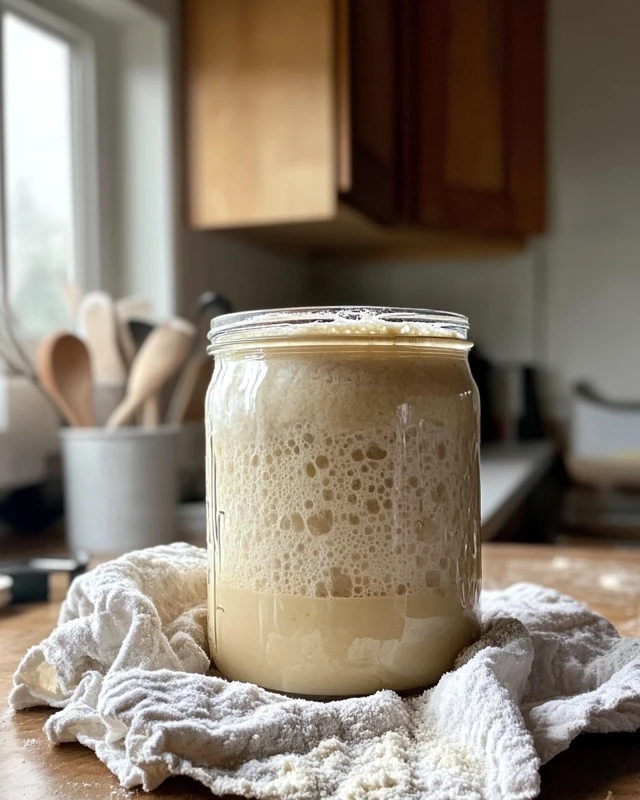
For days five through seven, continue to feed your starter 1-2 times a day. Each time, remove 1/2 to 3/4 cup of the starter before feeding. If you’re only feeding once a day, increase the amount to 1 cup of flour and 1 cup of water. This will help manage the size of your starter. By the end of day seven, your starter should be bubbly and double in size within 4-8 hours after feeding. If it is, congratulations! You now have a healthy sourdough starter ready for baking!
Variations of Sourdough Starters
While the basic sourdough starter is made with all-purpose flour, you can experiment with different types of flour to create unique flavors and textures. Each variation brings its own character to your bread. Let’s explore two popular alternatives: whole wheat and rye sourdough starters.
Whole Wheat Sourdough Starter
A whole wheat sourdough starter is a fantastic option for those looking to add more nutrition to their bread. Whole wheat flour contains the entire grain, which means it has more fiber, vitamins, and minerals than all-purpose flour. This starter tends to ferment more quickly due to the higher nutrient content, making it very active.
To create a whole wheat sourdough starter, simply replace the all-purpose flour in your original recipe with whole wheat flour. Follow the same steps for mixing and feeding. You may notice that your starter develops a slightly nuttier flavor and a denser texture. Whole wheat sourdough bread is not only delicious but also offers a heartier bite!
Rye Sourdough Starter
If you’re a fan of bold flavors, a rye sourdough starter might be just what you need. Rye flour has a unique taste and can produce a starter that is very active and flavorful. Rye flour contains more enzymes than wheat flour, which helps break down the starches and sugars, making it easier for the yeast to thrive.
To make a rye sourdough starter, substitute rye flour for the all-purpose flour in your recipe. The process remains the same. You’ll find that rye starters often develop a rich, earthy flavor that enhances your bread. Rye sourdough bread is perfect for pairing with hearty soups or spreads.
Both whole wheat and rye sourdough starters can be used in combination with all-purpose flour in your baking. This way, you can enjoy the benefits of each type while creating delicious, artisanal bread. So, don’t hesitate to experiment and find the perfect starter that suits your taste!
Cooking Note on Sourdough Starter
When it comes to baking with your sourdough starter, there are a few important things to keep in mind. Understanding how to use your starter effectively will help you achieve the best results in your baking endeavors. Here are some key points to consider:
- Timing is Everything: The best time to use your sourdough starter is when it is at its peak activity. This is usually when it has doubled in size and is full of bubbles. You can tell it’s ready when it passes the “float test.” To do this, take a small spoonful of the starter and drop it into a glass of water. If it floats, it’s ready to use!
- Adjusting Hydration: Different recipes may require different hydration levels. If your recipe calls for a thicker dough, you might want to use a stiffer starter. Conversely, for a wetter dough, a more liquid starter works best. You can adjust the amount of water you add during feedings to achieve the desired consistency.
- Storing Your Starter: If you’re not baking regularly, you can store your sourdough starter in the refrigerator. Just remember to feed it at least once a week to keep it healthy. When you’re ready to bake, take it out, feed it, and let it come to room temperature before using it.
- Using Discard: Don’t throw away the excess starter you remove during feedings! This “discard” can be used in various recipes, such as pancakes, waffles, or even pizza dough. It’s a great way to minimize waste while enjoying the benefits of sourdough.
- Experimenting with Flavors: Feel free to add herbs, spices, or even cheese to your sourdough bread dough. This can enhance the flavor and make your bread even more delicious. Just remember to adjust the hydration if you add dry ingredients.
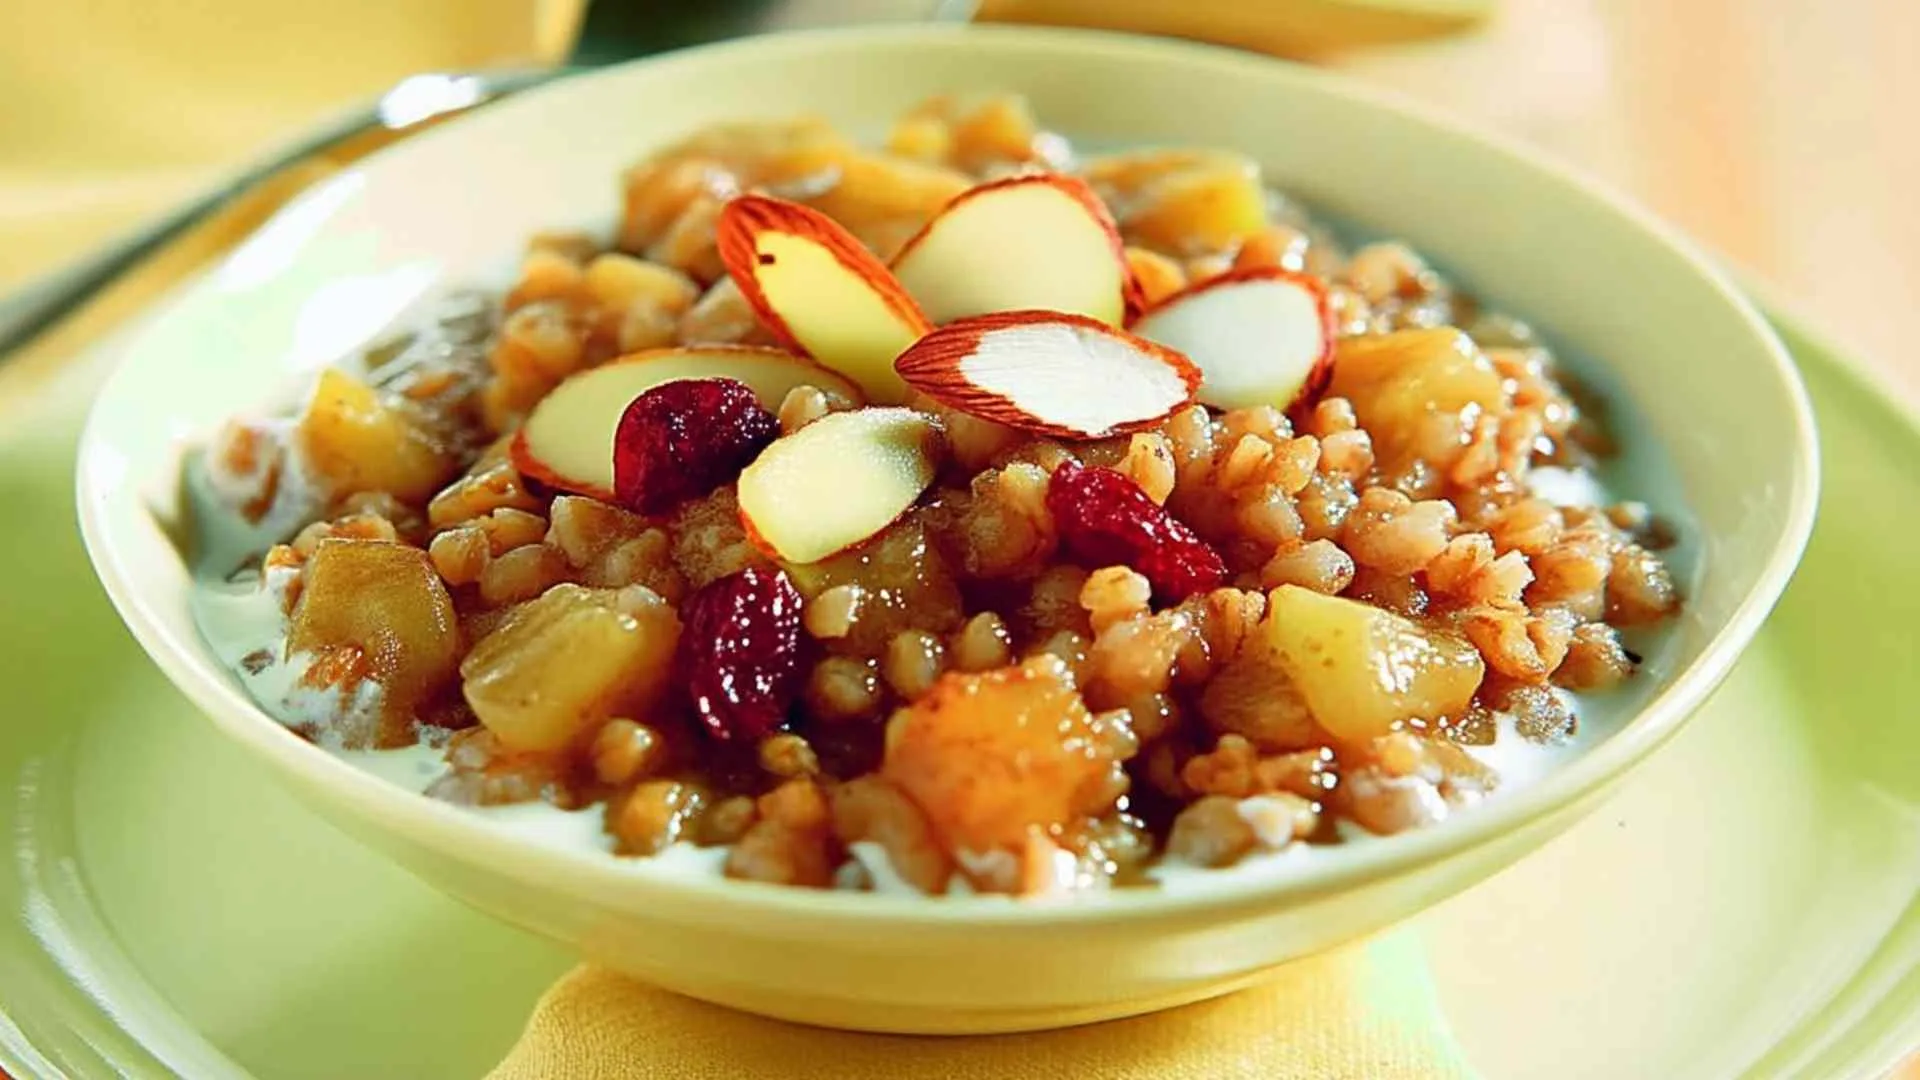
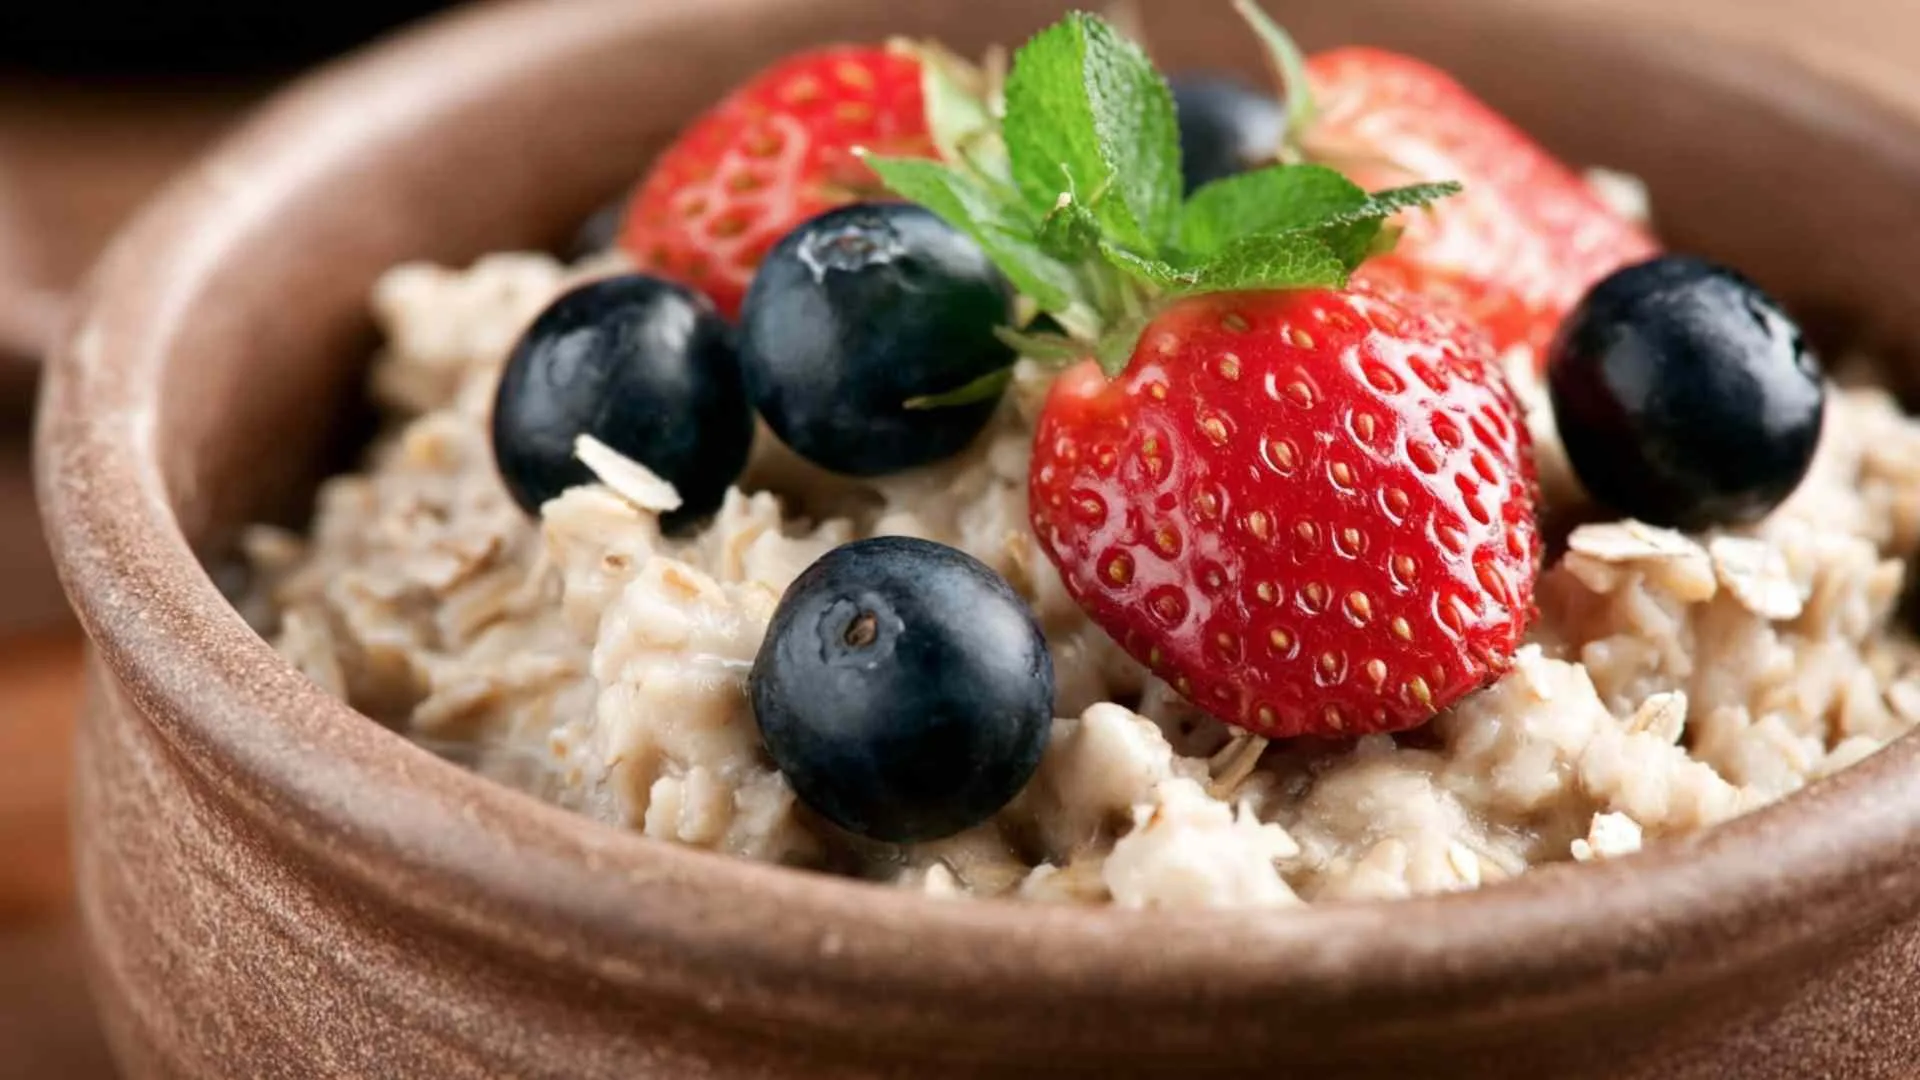
Serving Suggestions for Sourdough Bread
Once you’ve baked your delicious sourdough bread, the fun doesn’t stop there! There are countless ways to enjoy this delightful creation. Sourdough bread is not only tasty but also versatile. Here are some serving suggestions to elevate your sourdough experience:
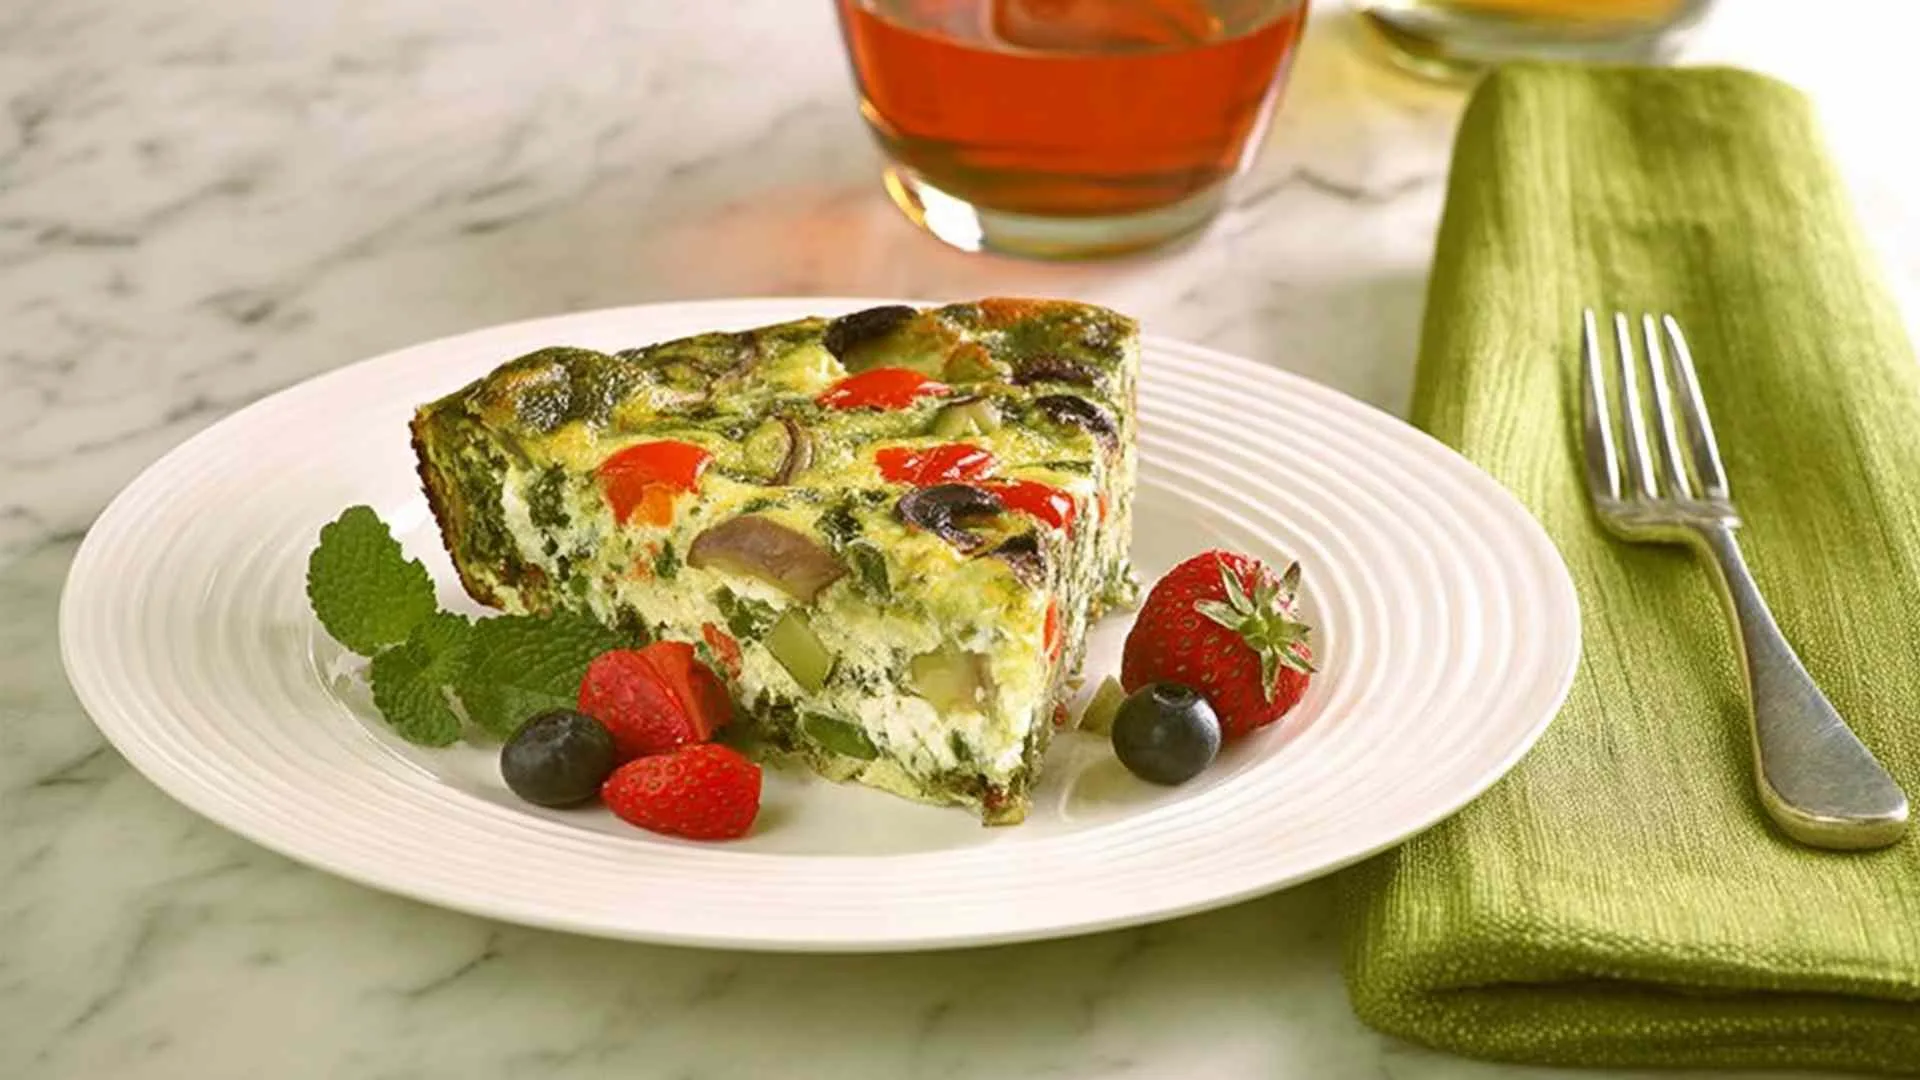
- Classic Toast: Start your day with a slice of toasted sourdough. Spread a little butter or your favorite jam on top. The crispy texture and tangy flavor make for a perfect breakfast treat!
- Avocado Toast: For a trendy and nutritious option, mash ripe avocado on a slice of toasted sourdough. Sprinkle with salt, pepper, and a dash of lemon juice. Add toppings like cherry tomatoes, radishes, or a poached egg for extra flavor.
- Sandwiches: Use sourdough bread to create hearty sandwiches. Layer your favorite deli meats, cheeses, and fresh veggies. The chewy texture of the bread holds everything together beautifully.
- Bruschetta: Slice your sourdough and toast it lightly. Top with diced tomatoes, basil, garlic, and a drizzle of olive oil. This makes for a delightful appetizer or snack!
- Soup Companion: Serve warm sourdough bread alongside your favorite soup. The crusty exterior and soft interior are perfect for dipping into creamy or hearty soups.
- French Toast: Transform your sourdough into a delicious breakfast by making French toast. Dip slices in a mixture of eggs, milk, and cinnamon, then cook until golden brown. Serve with syrup or fresh fruit.
- Grilled Cheese: Use sourdough for a gourmet grilled cheese sandwich. The tangy flavor pairs wonderfully with melty cheese. Add extras like tomatoes or bacon for a twist!
- Croutons: Don’t let leftover sourdough go to waste! Cut it into cubes, toss with olive oil and seasonings, and bake until crispy. These croutons are perfect for salads or soups.
With these serving suggestions, you can enjoy your sourdough bread in many delightful ways. Whether you prefer it sweet or savory, there’s a perfect pairing for everyone. So, slice up that freshly baked bread and get creative in the kitchen!
Tips for Maintaining Your Sourdough Starter
Once you have your sourdough starter bubbling and active, it’s essential to keep it healthy and thriving. Proper maintenance will ensure that your starter remains strong for all your baking adventures. Here are some helpful tips to keep your sourdough starter in top shape:
- Regular Feedings: Feed your starter consistently. If you keep it at room temperature, feed it once a day. If you store it in the fridge, feed it at least once a week. This keeps the yeast and bacteria well-fed and active.
- Use the Right Flour: Stick to the same type of flour you used to create your starter. This helps maintain its flavor and activity. You can experiment with different flours later, but consistency is key in the beginning.
- Monitor Temperature: Keep your starter in a warm spot, ideally between 70°F and 75°F (21°C to 24°C). If it’s too cold, fermentation slows down. If it’s too hot, it can kill the yeast. Find a cozy spot in your kitchen!
- Keep It Clean: Always use clean utensils and jars when handling your starter. This prevents unwanted bacteria from contaminating your mixture. A clean environment is crucial for a healthy starter.
- Watch for Signs: Pay attention to your starter’s behavior. It should be bubbly and double in size after feeding. If it smells off or shows signs of mold, it may need to be discarded and started anew.
- Adjust Feeding Amounts: If your starter is very active, you may need to increase the amount of flour and water you feed it. This helps manage its size and keeps it from overflowing.
- Store Properly: If you’re not baking often, store your starter in the fridge. Just remember to take it out, feed it, and let it come to room temperature before using it in recipes.
- Keep a Backup: Consider keeping a backup starter in the fridge. This way, if something goes wrong with your main starter, you’ll have a backup ready to go!
Breakdown of Time for Your Sourdough Starter
Understanding the time involved in creating your sourdough starter is essential for successful baking. Each phase of the process requires patience and attention. Here’s a detailed breakdown of the time you’ll spend on your sourdough starter.
Prep Time
The initial preparation of your sourdough starter is quite simple and quick. On day one, you’ll spend about 10-15 minutes mixing your flour and water. This includes gathering your ingredients and stirring them together in a quart jar. After that, you just need to cover the jar and let it sit. So, the total prep time for the first day is minimal, making it easy to fit into your schedule!
Fermentation Time
Fermentation is where the magic happens! Over the next seven days, you’ll be feeding your starter regularly. Each feeding takes about 5-10 minutes. However, the fermentation process itself is ongoing. After each feeding, you’ll need to let your starter sit at room temperature for 4-8 hours. During this time, the wild yeast and bacteria will work their magic, creating bubbles and increasing the volume of your starter. So, while the active time is short, the fermentation time is crucial for developing a healthy starter.
Total Time
In total, you’ll spend about 1-2 hours actively working on your sourdough starter over the entire week. This includes the initial mixing, daily feedings, and any observations you make along the way. However, the total time from start to finish is 7 days. By the end of this week, you’ll have a bubbly, active sourdough starter ready for baking! Remember, the key to success is consistency and patience. Enjoy the process, and soon you’ll be rewarded with delicious homemade bread!
Nutritional Information of Sourdough Starter
Understanding the nutritional content of your sourdough starter is essential, especially if you’re mindful of your diet. While the starter itself is not typically consumed directly, it plays a crucial role in the nutritional profile of the bread you bake. Let’s break down the key nutritional components of a sourdough starter.
Calories
The caloric content of your sourdough starter primarily comes from the flour used. On average, 1/2 cup of all-purpose flour contains about 200 calories. Since you feed your starter with 1/2 cup of flour each time, the total calories will depend on how much starter you maintain. If you keep a starter that is regularly fed, the calories can add up. However, remember that most of these calories come from the flour, which contributes to the final bread’s caloric content.
Protein Content
Protein is another important aspect of your sourdough starter. Flour contains protein, which is essential for gluten development in bread. Typically, 1/2 cup of all-purpose flour has around 5-6 grams of protein. As you feed your starter, this protein contributes to the structure and texture of the bread. Whole wheat flour and rye flour have higher protein content, which can enhance the nutritional value of your sourdough bread.
Sodium Levels
When it comes to sodium, sourdough starter is naturally low in salt. The flour and water mixture does not contain significant sodium unless you add salt during the feeding process. Most bakers add salt to the dough when they are ready to bake, not to the starter itself. Therefore, the sodium levels in your sourdough starter will be minimal, making it a heart-healthy option for those watching their salt intake.
In summary, while the sourdough starter itself is not a significant source of calories, protein, or sodium, it plays a vital role in the overall nutritional profile of the bread you create. By using quality ingredients and maintaining a healthy starter, you can enjoy delicious and nutritious sourdough bread that fits well into a balanced diet!
FAQs about the Sourdough Starter Guide
How long does it take to create a sourdough starter?
Creating a sourdough starter takes about 7 days. During this time, you will feed your starter daily with flour and water. Each day, you’ll notice changes as the wild yeast and bacteria develop. By the end of the week, your starter should be bubbly and double in size after feeding. This means it’s ready for baking! Remember, patience is key in this process.
Can I use all-purpose flour for my sourdough starter?
Yes, you can absolutely use all-purpose flour for your sourdough starter! It’s a great choice for beginners. All-purpose flour provides a good balance of nutrients for the wild yeast and bacteria to thrive. However, if you want to experiment, you can also try whole wheat or rye flour. These flours can create a more active starter due to their higher nutrient content.
What should I do if my sourdough starter isn’t bubbling?
If your sourdough starter isn’t bubbling, don’t worry! There are a few things you can check. First, ensure that you are feeding it regularly with fresh flour and water. The temperature of your kitchen can also affect fermentation. Make sure your starter is in a warm spot, ideally between 70°F and 75°F (21°C to 24°C). If it still isn’t bubbling after a few days, consider using a different type of flour or starting over. Sometimes, it just takes a little time for the wild yeast to get going!
How often should I feed my sourdough starter?
Feeding your sourdough starter depends on where you keep it. If your starter is at room temperature, feed it once a day. If you store it in the refrigerator, you can feed it once a week. When you feed it, always remove a portion of the starter before adding fresh flour and water. This helps keep the size manageable and ensures your starter stays healthy and active. Regular feedings are essential for a thriving sourdough starter!
Conclusion of the Sourdough Starter Guide
Congratulations on embarking on your sourdough journey! Creating your own sourdough starter from scratch is a rewarding experience that connects you to the art of baking. With just flour, water, and a little patience, you can cultivate a living culture that will elevate your bread-making skills.
Throughout this guide, you’ve learned the importance of a sourdough starter, the step-by-step process to create one, and various ways to maintain it. You’ve also explored different types of starters, cooking notes, and serving suggestions that will enhance your culinary adventures. Remember, the key to a successful sourdough starter is consistency and care. Regular feedings and proper storage will keep your starter healthy and active.
As you continue to bake with your sourdough starter, don’t hesitate to experiment with flavors and recipes. Each loaf of bread you create will be a reflection of your unique style and creativity. Whether you’re making classic sourdough loaves, pancakes, or even pizza dough, the possibilities are endless!
So, gather your ingredients, follow the steps, and enjoy the process. With time, you’ll develop a deep appreciation for the art of sourdough baking. Happy baking, and may your sourdough starter bring you joy and delicious bread for years to come!
Sourdough Starter
Ingredients
Equipment
Method
-
Gather your ingredients: flour, filtered water, and a quart glass jar.
-
In the jar, combine 1/2 cup of flour with 1/2 cup of filtered water. Stir until well combined.
-
Cover the jar with a breathable material and let it sit at room temperature.
-
On the second day, add another 1/2 cup of flour and 1/2 cup of water to the starter. Stir well and cover again.
-
By day three, check for bubbles. If present, remove 1/2 to 3/4 cup of starter, then feed with 1/2 cup of flour and 1/2 cup of water.
-
For days five through seven, continue to feed your starter 1-2 times a day, removing 1/2 to 3/4 cup before each feeding.
-
By the end of day seven, your starter should be bubbly and double in size within 4-8 hours after feeding.