These chicken sandwiches taste like they came straight from a gourmet deli, and I am going to show you exactly why. The secret is not some fancy ingredient you have never heard of. It is all about how finely you shred the chicken and how generously you make the sauce. I have been making this filling for years, and it never fails to disappear from the platter before anything else does.
I still remember the first time my grandmother set out a tray of chicken sandwiches at her farmhouse table on a Sunday afternoon. The kitchen smelled of fresh dill and buttered bread, and within twenty minutes, every last triangle was gone. She always laughed and said the trick was patience with the chicken and no skimping on the sauce. She was right. These sandwiches carry that same magic, and they come together in just 15 minutes with ingredients you likely already have on hand. Your kitchen is about to smell incredible.
Why These Chicken Sandwiches Belong in Your Recipe Box
Growing up watching my grandmother cook taught me that the best recipes are not complicated. They are intentional. Every ingredient in this chicken sandwich filling earns its place, and the result is a sandwich that feels genuinely special without requiring any advanced cooking skills.
- Soft, melt-in-your-mouth chicken filling that sets this apart from everyday sandwiches
- No tough or chewy chunks because finely shredded chicken creates a creamy, luxurious texture
- Uses pantry-friendly ingredients including store-bought rotisserie chicken for convenience
- Comes together in just 15 minutes, making it ideal for busy days and last-minute gatherings
- Delivers consistent, crowd-pleasing results every single time you make it
- Filling keeps well for 3 days, making it great for meal prep and packed lunches
- Makes a generous 10 deli-standard sandwiches from a single batch
Key Players in This Recipe
Understanding what each ingredient brings to these chicken sandwiches will help you make smart swaps when needed.
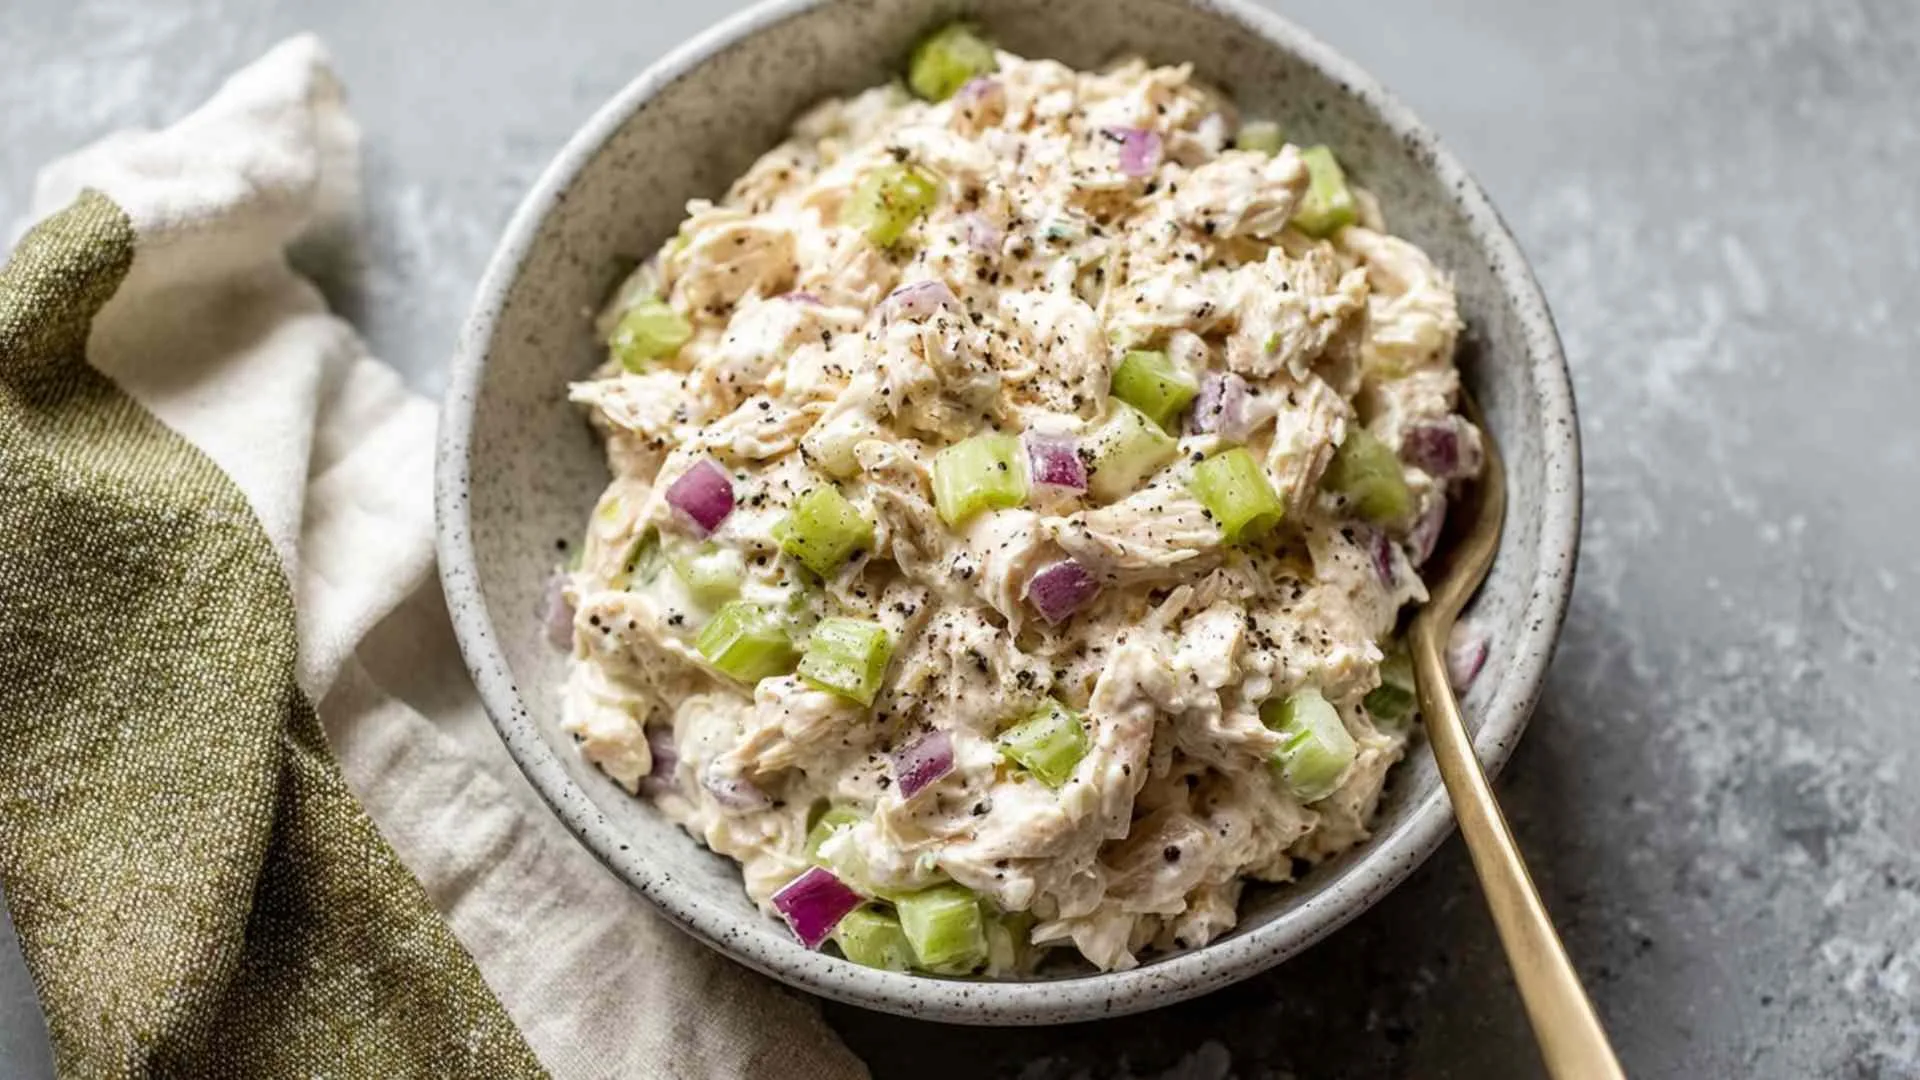
Rotisserie Chicken (1 lb): The workhorse of this recipe. Store-bought rotisserie chicken is already seasoned all the way through, which saves you a step and adds incredible depth of flavor. I always pull meat from the breast, thighs, and legs for the best blend of lean and juicy.
Whole Egg Mayonnaise (2/3 cup): The backbone of the sauce. Whole egg mayo is creamier and richer than standard mayo because it contains more egg. Hellmann’s is my go-to for its balanced, not-too-sweet flavor.
Sour Cream (2/3 cup): The ingredient that sets these apart from ordinary chicken sandwiches. Using sour cream alongside mayo gives you a generous, luscious sauce without the filling feeling greasy. Full-fat plain Greek yogurt works as a substitute.
Walnuts (3/4 cup, roughly chopped): This is what takes the filling from good to genuinely gourmet. Walnuts add a subtle nutty flavor and that crucial texture contrast in the otherwise creamy filling. Cashews, macadamia nuts, or pecans are solid alternatives.
Fresh Dill (1 1/2 tbsp): There is simply no substitute for the bright, grassy flavor fresh dill adds. It is the ingredient that makes people take a bite and say, what is that? If you cannot find it, leave it out rather than using dried.
Dijon Mustard (2 tsp): A behind-the-scenes flavor builder that adds gentle warmth and complexity without tasting overtly mustardy.
Cornichon or Dill Pickle (3 tbsp, finely chopped): Just enough tang to balance the richness of the mayo and sour cream. Capers work well here too.
Celery (1 stem, sliced thin): Do not skip this one. Celery adds a clean crunch and fresh note that keeps the filling from feeling too heavy.
Lemon Juice (1 1/2 tbsp): A small amount of acid lifts the entire sauce and makes all the other flavors pop. White wine vinegar or apple cider vinegar work just as well.
White Sandwich Bread (20 slices): Soft, standard-cut white sandwich bread is the traditional choice. Day-old bread is actually easier to spread on without tearing.
Betty’s Tested Technique: Step by Step
After years of making these chicken sandwiches, I have streamlined the process to six simple steps. The most important thing I have learned is that how you shred the chicken makes all the difference.
Step 1. Shred the Chicken Place the rotisserie chicken meat in your stand mixer bowl with the paddle attachment and run it on medium speed for about 60 seconds. I have found this creates that impossibly fine, creamy shred that defines a great deli chicken sandwich. No stand mixer? A handheld electric beater works, or use two forks and some patience.
Step 2. Make the Sauce In a large bowl, whisk together the mayonnaise, sour cream, Dijon mustard, lemon juice, onion powder, garlic powder, salt, and pepper until completely smooth. Getting the sauce silky before adding anything else ensures even, thorough coating.
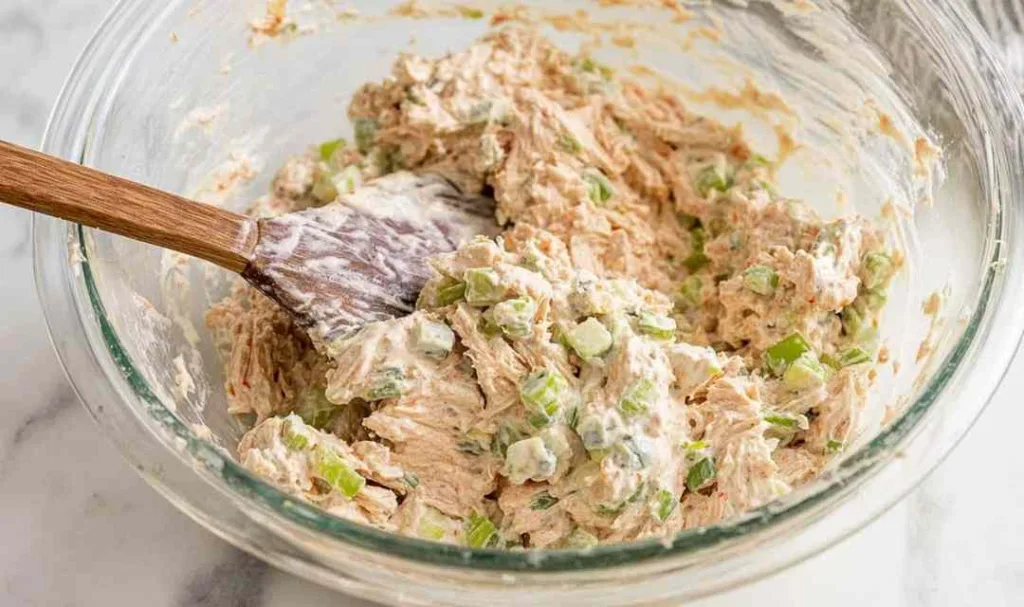
Step 3. Combine the Filling Pour the sauce over the shredded chicken, then add the celery, green onion, walnuts, cornichon, and fresh dill. Stir everything together until well combined, then taste and adjust salt and pepper as needed. This step is always my favorite part.
Step 4. Butter the Bread Spread a thin layer of salted butter on every slice of bread. This creates a barrier that keeps the sauce from soaking into the bread, and it adds a lovely richness to every bite.
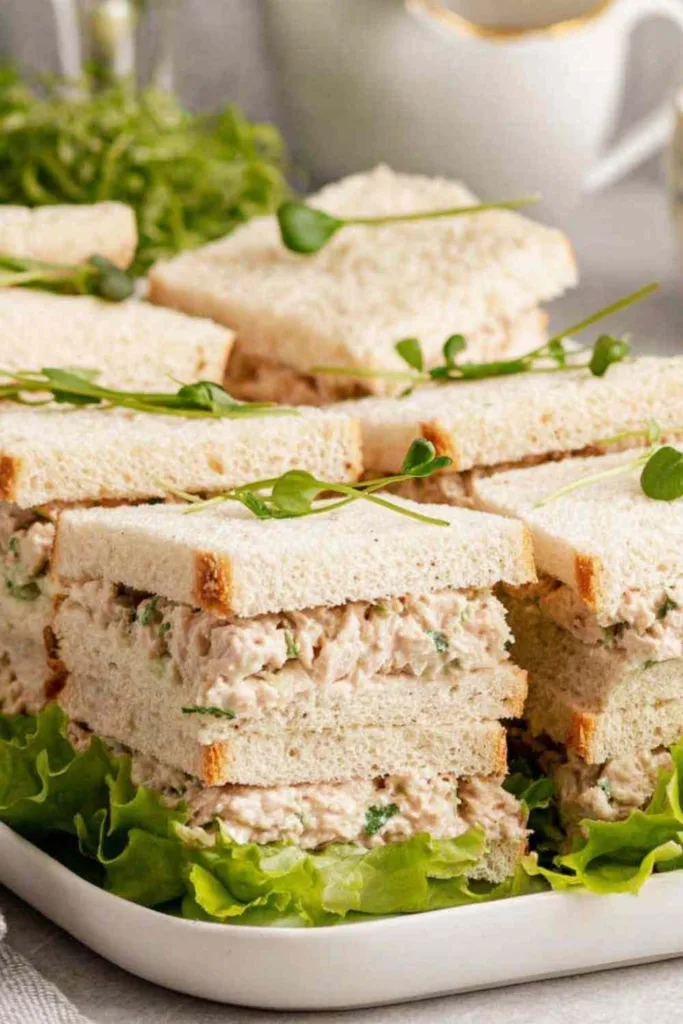
Step 5. Assemble and Fill Spread about 1/2 cup (100g) of chicken filling per sandwich, going all the way to the edges. In my family, the best sandwiches are the ones that never disappoint at the corners.
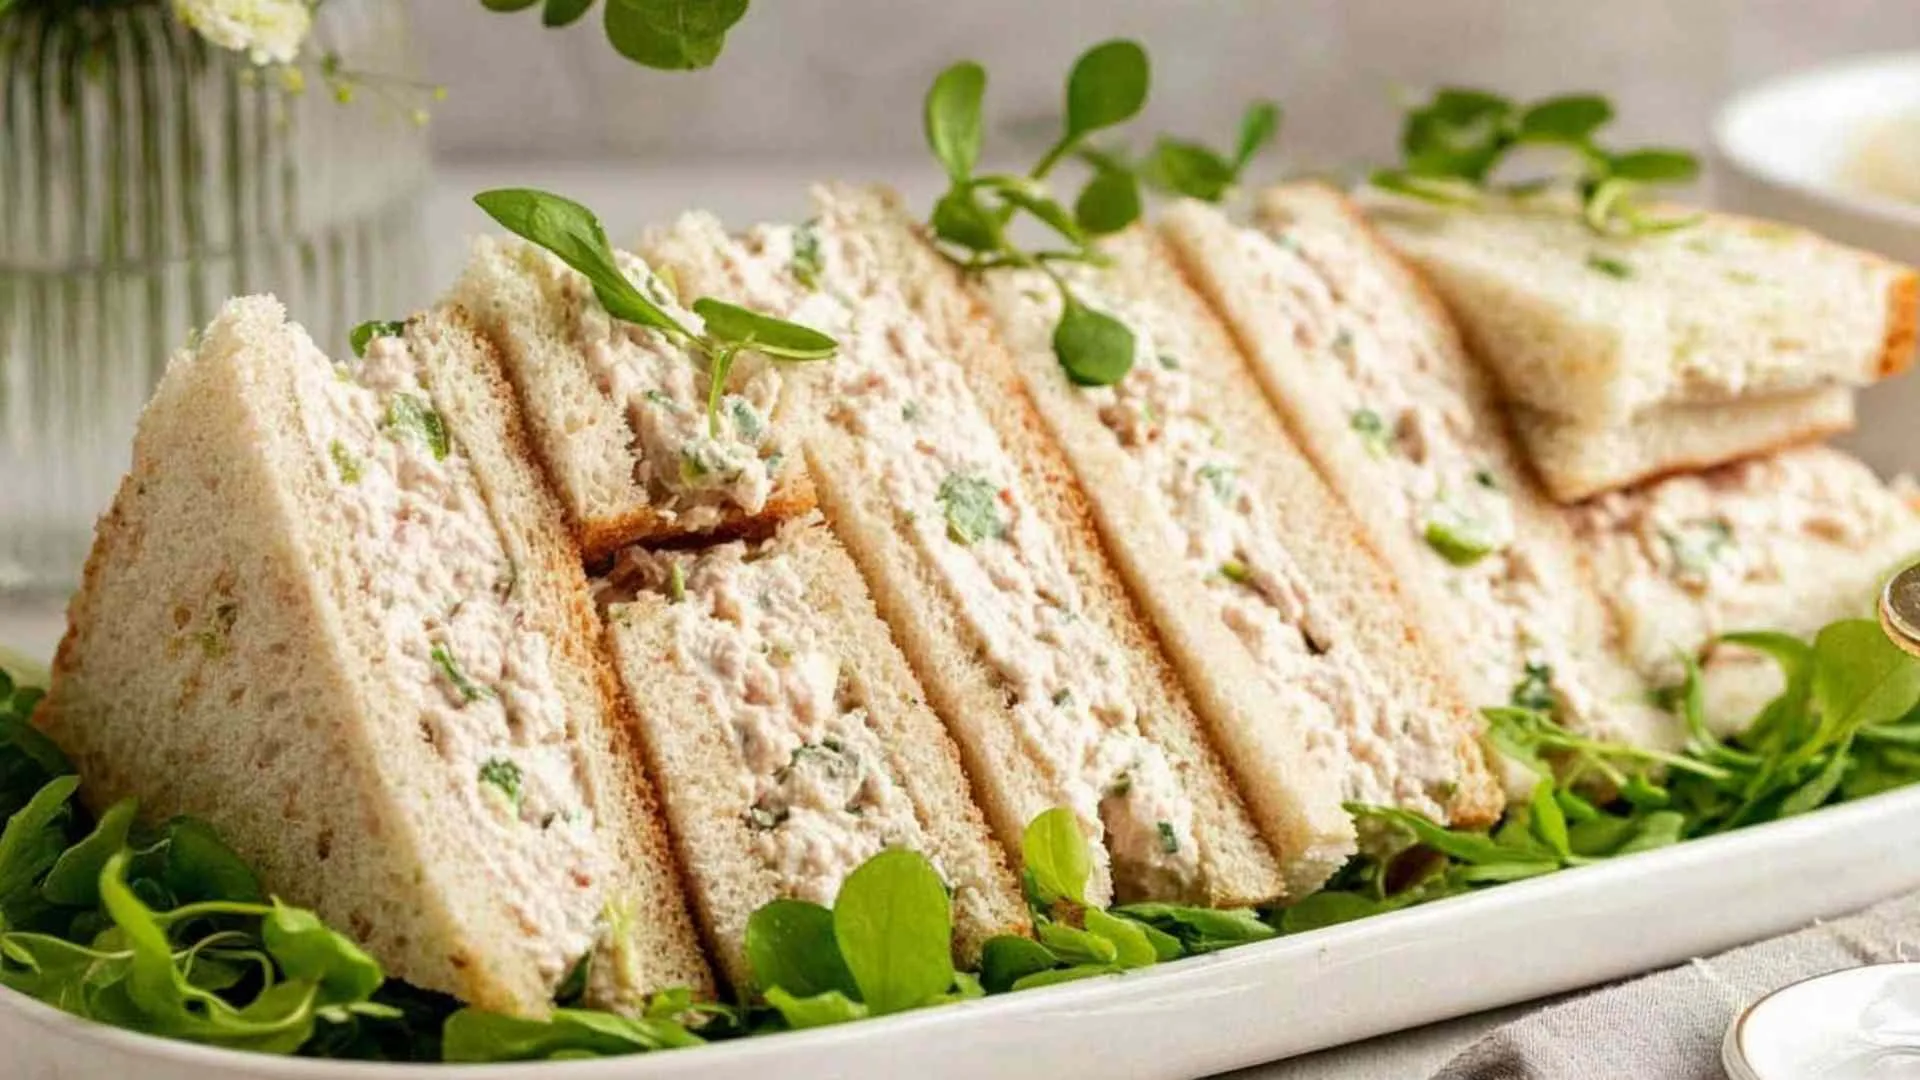
Step 6. Trim, Cut, and Serve Remove the crusts for an authentic gourmet deli presentation, then cut each sandwich diagonally or into rectangles. For beautifully clean edges, refrigerate assembled sandwiches for 2 hours before slicing so the filling firms up. Arrange on a platter with fresh greens and serve.
What to Serve With These Chicken Sandwiches
These chicken sandwiches shine brightest as part of a bigger spread. Here are some of my favorite pairings that work beautifully alongside them:
- Chopped Chicken Bacon Ranch Sandwich style side salads make a great companion for a mixed platter when feeding a crowd.
- Sweet and Spicy Pickle Slaw brings a crunchy, tangy contrast that cuts through the creaminess of the filling perfectly.
- Healthy Chicken Salad served on the side rounds out a picnic spread with a lighter, protein-rich option.
- Creamy Bacon Ranch Pasta Salad pairs effortlessly with these sandwiches for gatherings and potlucks.
- Crispy Garlic Parmesan Brussels Sprouts add a roasted, savory bite that balances the soft, creamy sandwich filling.
- Easy Honey Glazed Carrots and Green Beans make a simple, colorful vegetable side that works at any gathering or picnic table.
Keeping These Chicken Sandwiches Fresh
I typically store leftover filling in an airtight container in the refrigerator, where it keeps well for up to 3 days. The flavor actually deepens overnight as the dill and walnuts meld into the sauce, so day-two sandwiches can taste even better than the first batch.
Assembled sandwiches are best enjoyed fresh but hold up well the next day. The bread will soften slightly from the moisture in the filling, which some people actually prefer. If you are prepping for a gathering, keep the filling and bread separate until about an hour before serving for the best texture.
Freezing assembled sandwiches is not recommended, as the creamy filling does not thaw well and the bread becomes unpleasant. If you have a large batch of filling, you can freeze it in an airtight container for up to 1 month. Thaw it overnight in the fridge and stir well before spreading.
FAQs
Yes. Make the filling up to 24 hours in advance and store it in the fridge. The flavor improves overnight. Assemble no more than 2 hours before serving for the best texture.
A stand mixer with the paddle attachment on medium speed for about 60 seconds gives the finest, creamiest shred. A handheld electric beater also works well. Two forks will do the job with a bit more time.
Yes, but add 1 extra teaspoon of salt to the shredded chicken before mixing in the sauce. Breast meat alone will not carry the same depth of seasoning as a full rotisserie bird.

Deli-Style Chicken Sandwiches
Ingredients
Equipment
Method
-
Shred the chicken: Place rotisserie chicken meat in a stand mixer bowl with the paddle attachment. Mix on medium speed for about 60 seconds until very finely shredded. Alternatively, use a handheld electric beater or shred by hand with two forks.
-
Combine the filling: Pour the sauce over the shredded chicken. Add the celery, green onion, walnuts, chopped pickle, and fresh dill. Stir until well combined. Taste and adjust salt and pepper as needed.
-
Butter the bread: Spread a thin layer of salted butter on all 20 bread slices. This creates a moisture barrier and adds richness to every bite.
-
Assemble: Spread about 1/2 cup (100g) of chicken filling per sandwich, spreading it edge to edge for even coverage.
-
Trim, cut, and serve: Remove crusts if desired. Cut sandwiches diagonally or into rectangles. For clean edges, refrigerate assembled sandwiches for 2 hours before slicing. Arrange on a platter with fresh greens and serve.