I stumbled upon this high protein Ninja Creami ice cream recipe last summer when I was desperate for a guilt-free frozen treat during my fitness journey. The combination of creamy texture with muscle-building protein creates an incredible dessert that tastes like it came from a premium ice cream shop.
The first time I made this high protein ice cream, I couldn’t believe something so delicious could also support my nutrition goals. My husband, who normally reaches for the full-fat, sugar-loaded store brands, ate an entire pint before I could tell him it was packed with protein! The Ninja Creami transforms simple, nutritious ingredients into a velvety frozen dessert that satisfies even the strongest sweet cravings without derailing your healthy eating plans.
There’s something magical about watching those frozen solid ingredients transform into creamy, scoopable ice cream with just the push of a button. I’ve made this recipe for everything from post-workout treats to family dessert nights, and it never fails to impress. The best part? You control exactly what goes in, so you can adjust the sweetness, protein content, and mix-ins to match your preferences and dietary needs.
Ready to turn your kitchen into a healthy ice cream parlor? Let’s get freezing!
Why You’ll Love This Protein-Packed Frozen Treat
I’ve experimented with countless healthy dessert recipes over the years, but this high protein Ninja Creami ice cream has become my absolute go-to when cravings strike. My fitness trainer actually asked me for the recipe after I mentioned how it’s helped me stay on track with my protein goals while satisfying my sweet tooth.
- Seriously protein-rich – Each serving packs about 24g of protein, making this a dessert that actually supports your fitness goals.
- Customizable to your taste preferences – I’ve made this with chocolate protein powder and dark chocolate chips for chocolate lovers, and vanilla protein with mixed berries for a fruity version.
- No ice cream maker required – The Ninja Creami does all the hard work, breaking down the frozen mixture into creamy perfection.
- Simple ingredients you likely have on hand – No specialty items needed if you already have protein powder.
- Much lower in sugar than store-bought options – I control exactly how much sweetener goes in, unlike the sugar bombs at the grocery store.
- The texture is ACTUALLY creamy – I was skeptical at first, but the Ninja Creami creates a texture indistinguishable from premium ice cream.
This protein ice cream isn’t just a compromise dessert—it’s become something I genuinely look forward to and crave. After one bite, my sister-in-law immediately asked for my recipe along with recommendations for which Ninja Creami model to buy!
Ingredient Notes
Unsweetened Almond Milk: I always use unsweetened almond milk as the base because it keeps the calories low while providing a neutral, creamy foundation that lets the other flavors shine through.
Greek Yogurt: Plain, non-fat Greek yogurt adds incredible protein and creates that tangy creaminess that makes this taste like real ice cream instead of a protein shake pretending to be dessert.
Protein Powder: I’ve found that a high-quality whey-casein blend gives the best texture, but plant-based protein works too—just expect a slightly different mouthfeel and sweetness level.
Honey or Maple Syrup: Natural sweeteners not only taste better in this recipe, but I’ve discovered they help prevent the ice cream from freezing too hard compared to when I’ve tried artificial sweeteners.
Vanilla Extract: Even when using vanilla protein powder, I still add a teaspoon of real vanilla extract because it enhances all the other flavors and adds depth you can’t get from protein powder alone.
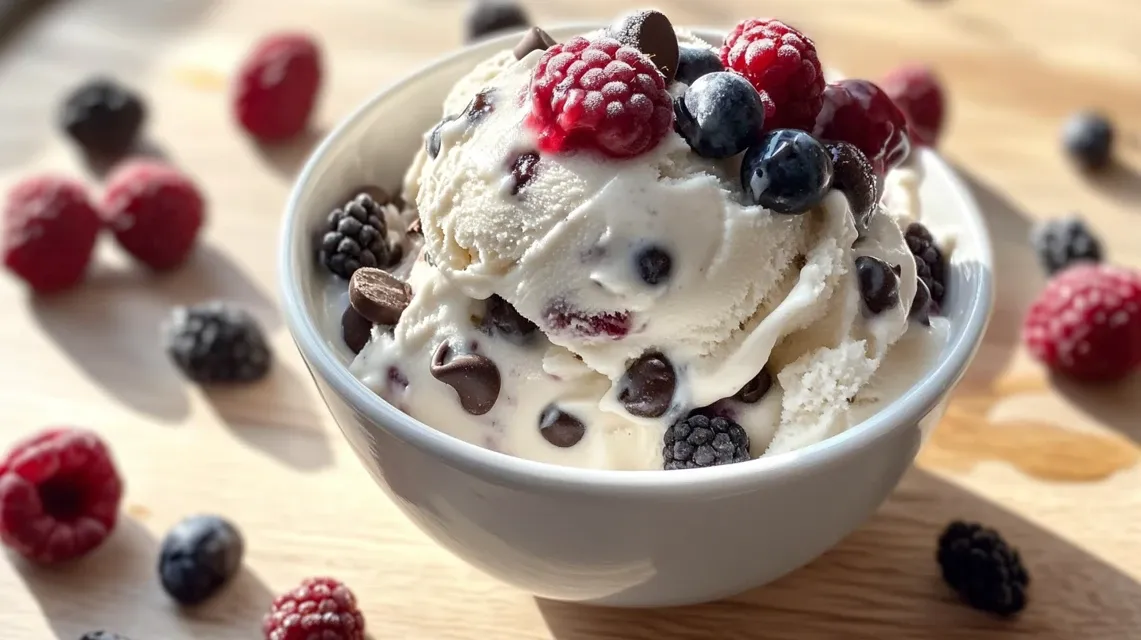
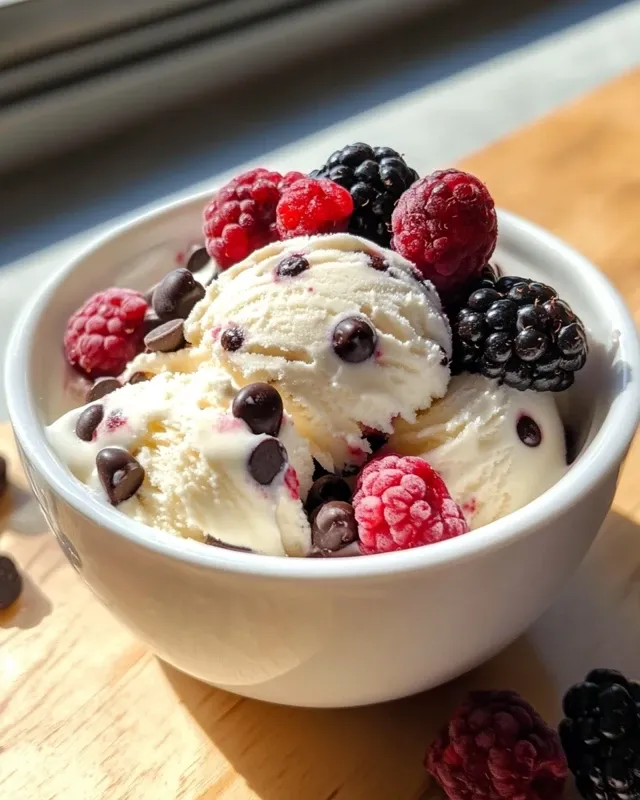
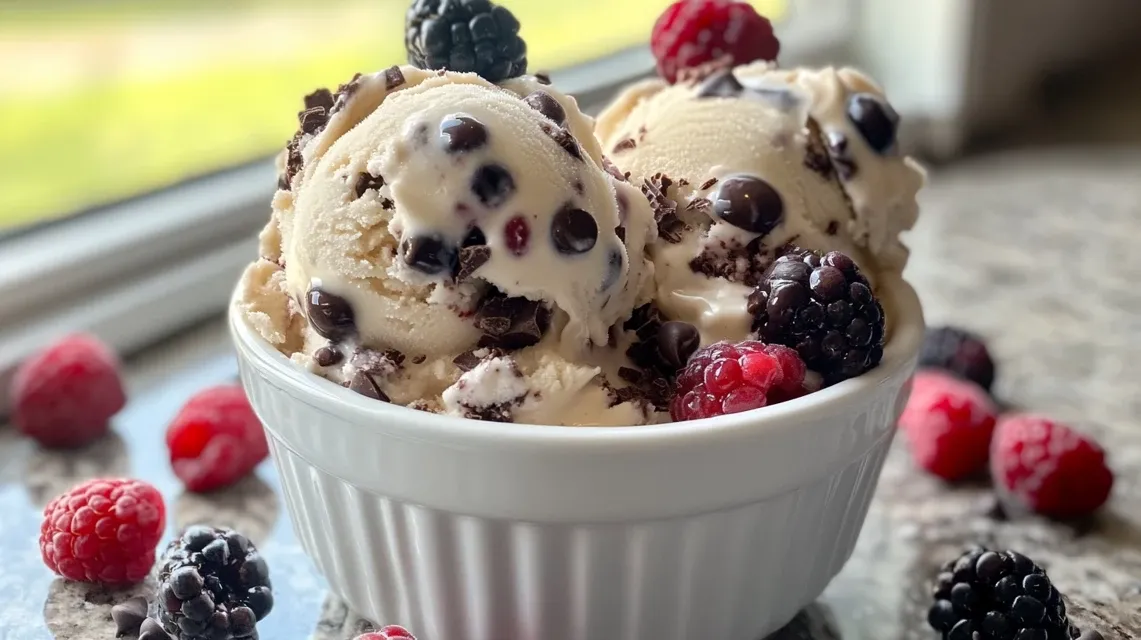
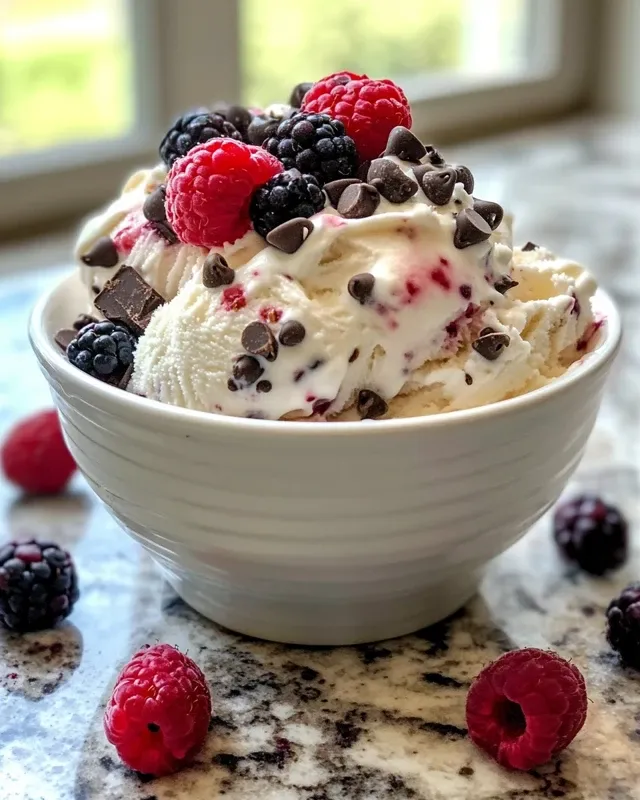
Mix-ins: When I’m craving something indulgent, dark chocolate chips provide rich flavor bursts without adding too much sugar, while mixed berries add natural sweetness and a beautiful color to the finished product.
How to Make High Protein Ninja Creami Ice Cream
Step 1. I always start by gathering all my ingredients at room temperature, which helps them blend together smoothly without any protein powder clumps that could affect the final texture.
Step 2. In my large mixing bowl, I combine the unsweetened almond milk and Greek yogurt first, whisking until completely smooth—this forms the creamy base that makes all the difference.
Step 3. My trainer taught me to add the protein powder gradually while whisking continuously, which prevents those stubborn lumps that can ruin the smooth texture we’re aiming for.
Step 4. I’ve found that adding the honey or maple syrup along with the vanilla extract next creates the perfect level of sweetness—though sometimes I taste and adjust if my protein powder is already quite sweet.
Step 5. The first time I made this, I poured the mixture directly into the Ninja Creami pint container, but now I always strain it through a fine mesh sieve first to catch any tiny undissolved bits of protein powder.
Step 6. My husband insists that I secure the lid tightly and give the container a gentle shake before freezing, which helps distribute everything evenly as it freezes.
Step 7. I’ve learned through trial and error that freezing for a full 24 hours gives the absolute best results—even though I’ve been tempted to rush it when cravings hit!
Step 8. Once frozen solid, I let the pint sit at room temperature for exactly 5 minutes, which my sister (who also makes this weekly) swears makes the Creami process more effective.
How to Store & Reheat
I usually store any leftover high protein ice cream in the original Ninja Creami pint container with its lid tightly secured. In my experience, it stays scoopable and maintains its texture for about 3-4 days in the freezer, though it rarely lasts that long in our house!
If you find the ice cream has hardened too much after being stored, I’ve discovered the perfect solution is to let it sit at room temperature for 5-10 minutes, then run it through the Re-spin cycle on your Ninja Creami. This brings back that freshly-made texture without compromising the flavor.
For the best experience, I recommend eating this protein ice cream within 7 days of making it. Unlike store-bought ice cream with preservatives, this homemade version develops ice crystals more quickly. My daughter taught me to place a piece of plastic wrap directly on the surface of the ice cream before putting the lid on, which helps prevent those pesky ice crystals from forming.
What to Serve with High Protein Ice Cream
Warm Protein Brownies: The contrast between warm, fudgy protein brownies and cold ice cream creates an indulgent dessert experience that still supports fitness goals. I make this combo for my cheat-day dessert that doesn’t actually cheat!
Fresh Berries: A handful of fresh strawberries, blueberries or raspberries adds natural sweetness, antioxidants, and beautiful color contrast. My kids love creating their own sundaes with different berry combinations.
Crushed Nuts: A sprinkle of chopped almonds, walnuts, or pistachios adds protein, healthy fats, and a satisfying crunch that balances the creamy texture. I always keep a jar of chopped nuts in my pantry specifically for topping this ice cream.
Protein Cookie Crumbles: When I’m feeling extra, I crumble a protein cookie on top for a healthier version of cookies and cream. The textural contrast makes every bite more interesting and satisfying.
Sugar-Free Chocolate Sauce: My husband prefers when I drizzle a bit of warm sugar-free chocolate sauce over the top, creating that classic sundae experience without all the added sugar.
FAQs
Can I use regular milk instead of almond milk?
Absolutely! I’ve made this with whole milk when I’ve run out of almond milk, and it creates an even creamier texture, though it does increase the calories and fat content.
Why did my ice cream turn out icy rather than creamy?
In my experience, this happens when the fat content is too low or the protein powder doesn’t blend well. I recommend using full-fat Greek yogurt if you’re having texture issues.
Can I make this without a Ninja Creami?
I’ve tried making this in a regular ice cream maker and in a food processor after freezing, but the Ninja Creami truly gives a unique texture that’s hard to replicate with other methods.
How can I increase the protein content even more?
When I’m really focusing on protein intake, I add an extra scoop of protein powder and a tablespoon of unflavored collagen peptides, which boosts the protein without affecting the flavor.
Does this work with plant-based protein powder?
Yes, but I’ve found you may need to adjust the liquid ratio slightly. My vegan friend uses about 2 tablespoons less almond milk when making it with pea protein to prevent iciness.
How many calories are in a serving?
The recipe as written contains approximately 160-180 calories per serving, depending on your specific brands and if you include mix-ins.
High Protein Ninja Creami Ice Cream
Ingredients
Equipment
Method
- In a mixing bowl, combine the unsweetened almond milk, Greek yogurt, protein powder, honey or maple syrup, and vanilla extract. Whisk until the mixture is smooth and well combined.
- Pour the mixture into the Ninja Creami pint container. Secure the lid and place it in the freezer for at least 24 hours or until completely frozen.
- Once frozen, remove the pint from the freezer and let it sit at room temperature for about 5-10 minutes to soften slightly. Place the pint into the Ninja Creami machine and select the 'Ice Cream' function. Process until creamy.
- If desired, create a well in the center of the ice cream and add dark chocolate chips or mixed berries. Use the 'Mix-In' function to incorporate them into the ice cream.
- Scoop the high protein ice cream into bowls and enjoy immediately, or return it to the freezer for a firmer texture.