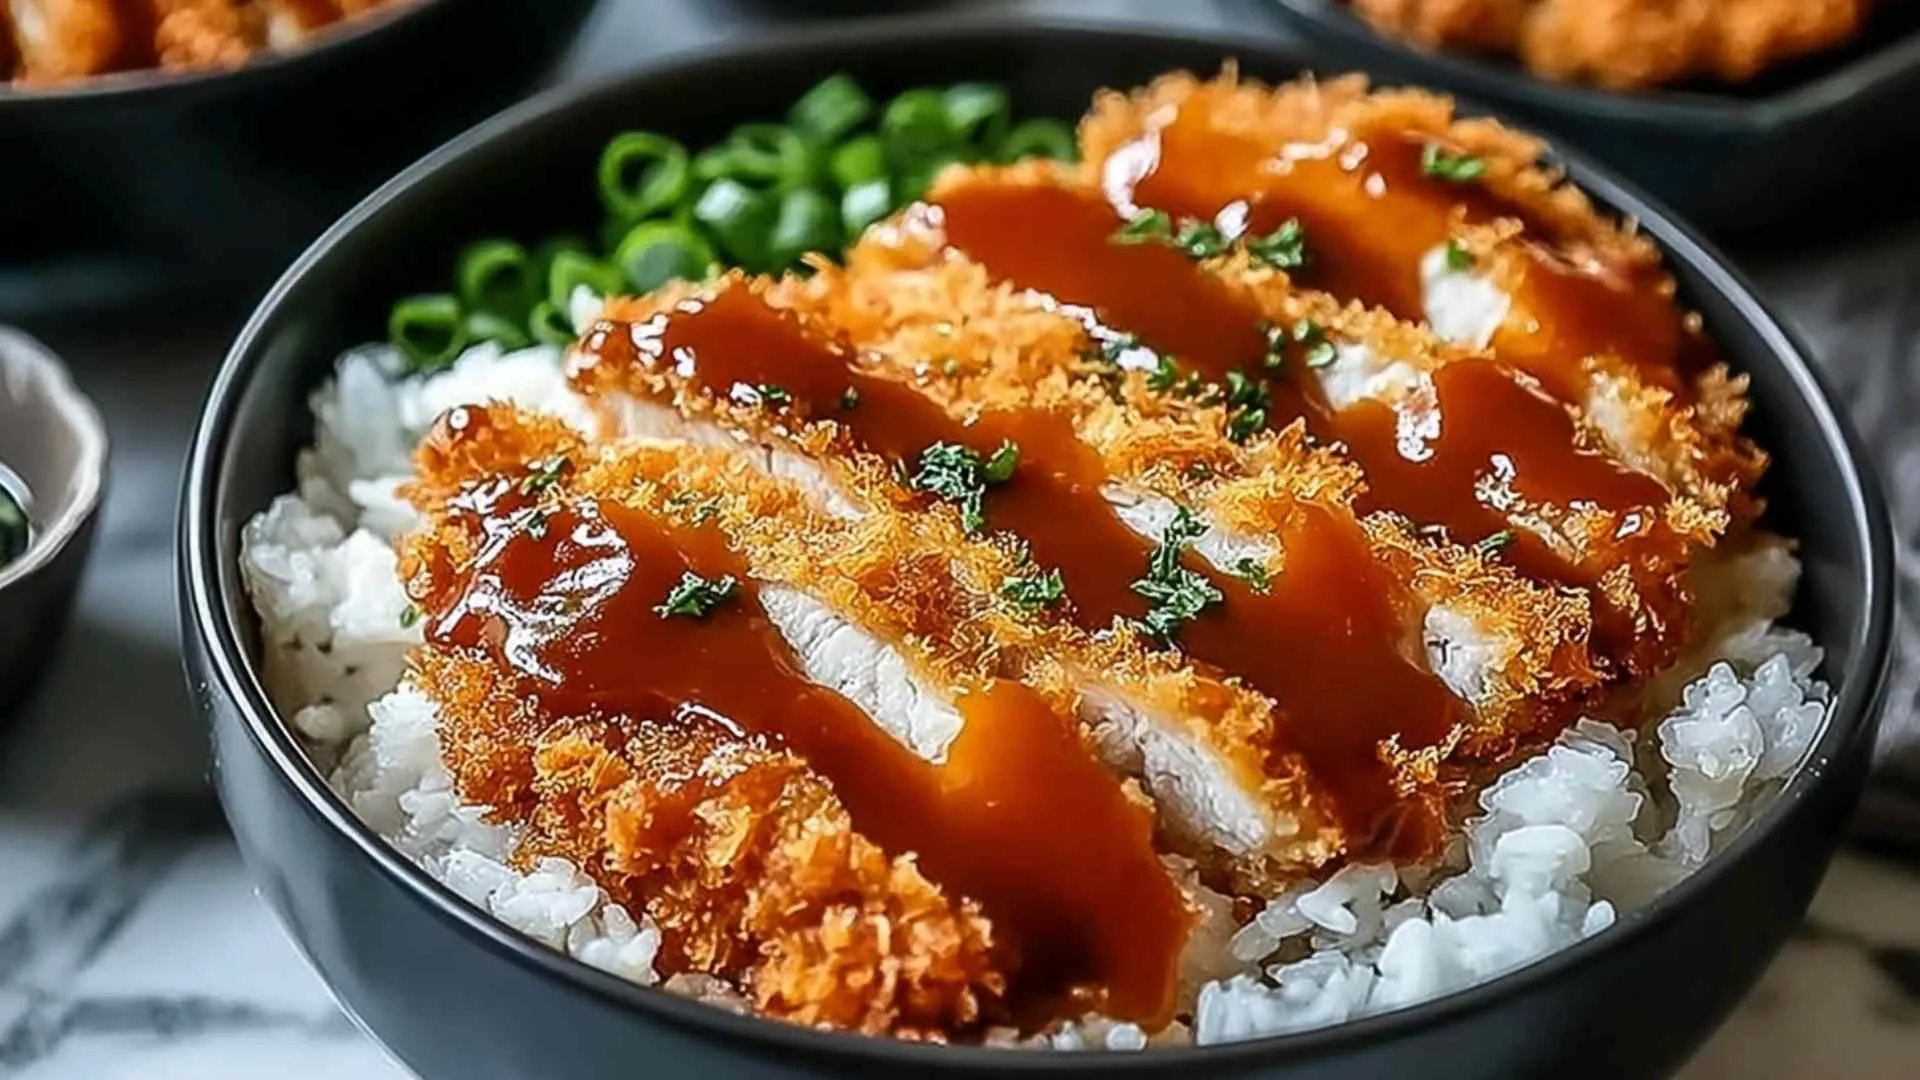
Japanese Katsu Bowls with Tonkatsu Sauce have earned a permanent spot in my weekly dinner rotation, and once you try this recipe, you will completely understand why. I still remember the first time I made these in my Midwest kitchen, watching that golden panko crust form in the skillet and thinking this was one of the most satisfying things I had ever cooked on a busy Tuesday night.
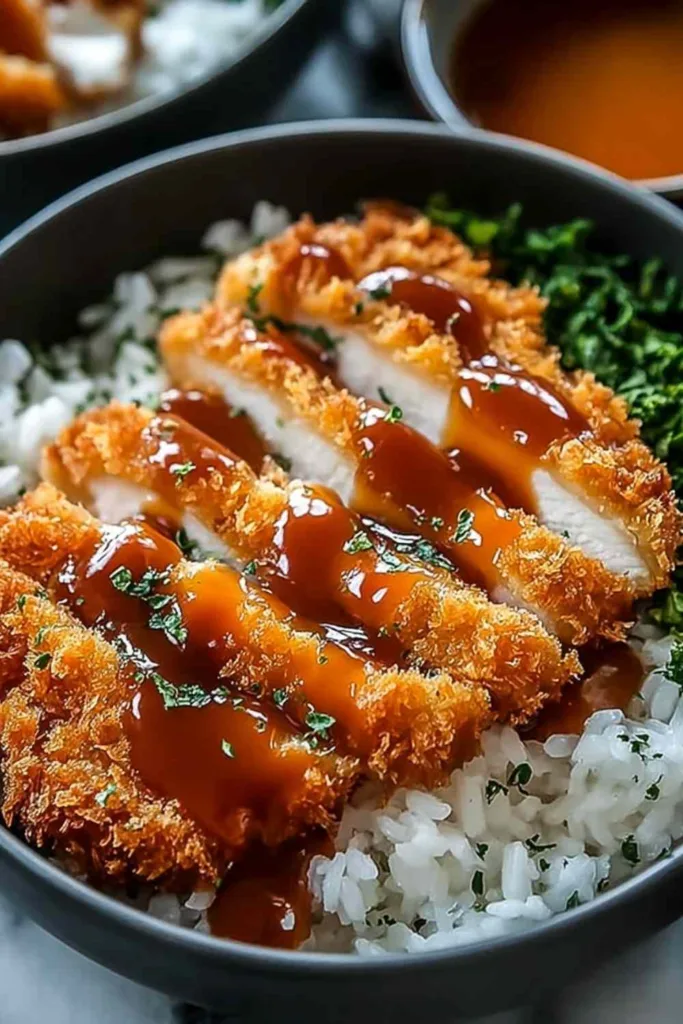
The memory that really stays with me is a Sunday afternoon when my grandkids came over and the whole house filled up with that deep, savory aroma of the tonkatsu sauce simmering low on the back burner. It reminded me of the way my grandmother’s farmhouse kitchen always smelled like something wonderful was happening, even before you walked through the door. There is something about the sound of that crispy crust giving way under a fork, followed by a drizzle of sweet-savory sauce over fluffy rice, that makes dinner feel like a real occasion. Your kitchen is about to smell absolutely wonderful, so let’s get started.
Why These Japanese Katsu Bowls Belong in Your Recipe Box
I have been cooking for my family for decades, and I can tell you that the recipes that stick around are the ones that deliver real flavor without making your evening miserable. These Japanese Katsu Bowls with Tonkatsu Sauce check every box I care about.
- Ready in 30 minutes. From the first piece of chicken hitting the pan to bowls on the table, this dinner comes together fast, which matters when everyone is hungry and you have had a long day.
- Built from pantry staples. Ketchup, soy sauce, Worcestershire, flour, and eggs are all you need for the sauce and breading, and most of those are probably already in your kitchen right now.
- That panko crunch is genuinely unbeatable. I have tested this with regular breadcrumbs and the texture is just not the same. Panko creates a lighter, airier crust that stays crispy all the way through the meal.
- Easy to adapt. Swap the pork for chicken, use tofu for a meatless version, or swap in gluten-free flour and breadcrumbs for anyone with dietary restrictions.
- The whole family asks for seconds. I have yet to serve this bowl to anyone who did not immediately ask when we were having it again.
Key Players in This Recipe
Boneless pork chops or chicken breasts are the foundation of the dish. In my kitchen, I always pound them down to about half an inch thick before breading. Even thickness means every inch of the cutlet cooks through at the same rate and you get that perfect golden crust all the way across.
Panko breadcrumbs are what separate a truly crispy katsu from a dense, heavy one. I never substitute regular breadcrumbs when I can avoid it because panko’s coarser, flakier texture is what creates that signature airy crunch the dish is known for.
All-purpose flour is the first layer of the breading station and its job is to give the egg something to grip so the panko adheres evenly to every inch of the cutlet.
The egg acts as the binding bridge between the flour coating and the panko. Beat it well so you get a smooth, thorough coat on each piece before pressing it into the breadcrumbs.
Vegetable oil is my go-to for frying because its neutral flavor lets the pork or chicken shine through without competing. The key is making sure it is properly hot before the cutlet goes in.
Ketchup forms the sweet, tangy backbone of the tonkatsu sauce and gives it that familiar depth of flavor that tastes like it came straight from a Japanese restaurant.
Worcestershire sauce adds the complex umami layer that takes the tonkatsu sauce from simple condiment to something genuinely irresistible.
Mirin is my preferred choice over rice vinegar because it brings a gentle, authentic sweetness to the sauce that rounds out all the other flavors beautifully.
Cooked white rice is the comforting base that soaks up all that beautiful tonkatsu sauce. I always start the rice first so everything is hot and ready at the same time.
How to Make Japanese Katsu Bowls Step by Step
Step 1. Set up your breading station before anything else. Line up three shallow bowls with flour in the first, a beaten egg in the second, and panko breadcrumbs in the third. Having everything ready before the oil heats up makes the whole process smooth and stress-free.
Step 2. Season your pork chops or chicken breasts generously with salt and pepper on both sides. I have found that seasoning directly on the meat rather than relying solely on the flour makes a real difference in the final flavor of your Japanese Katsu Bowls.
Step 3. Dredge each cutlet in flour and shake off any excess, dip it fully into the beaten egg, then press it firmly into the panko on both sides. Pressing with your palm helps the coating stick during frying rather than falling off in the pan.
Step 4. Pour about a quarter inch of vegetable oil into a large skillet and heat over medium until it shimmers. Test it with a pinch of panko before adding the cutlets. If the panko sizzles right away, the oil is ready.
Step 5. Fry each cutlet for 3 to 4 minutes per side without moving it. Leaving the cutlet alone in the pan is the secret to an even, deep golden crust. Resist checking underneath too early.
Step 6. Transfer the fried cutlets to a wire rack or paper towels to drain. A wire rack is my preference because it keeps the bottom crust just as crispy as the top.
Step 7. While the cutlets rest, combine ketchup, Worcestershire sauce, soy sauce, mirin, brown sugar, and Dijon mustard if you are using it in a small saucepan over low heat. Stir and simmer for 2 to 3 minutes until the sauce thickens slightly. Taste and adjust sweetness here if needed.
Step 8. Let the cutlets rest for 2 to 3 minutes before slicing. This small pause keeps all that moisture locked inside rather than running out the moment you cut into the meat.
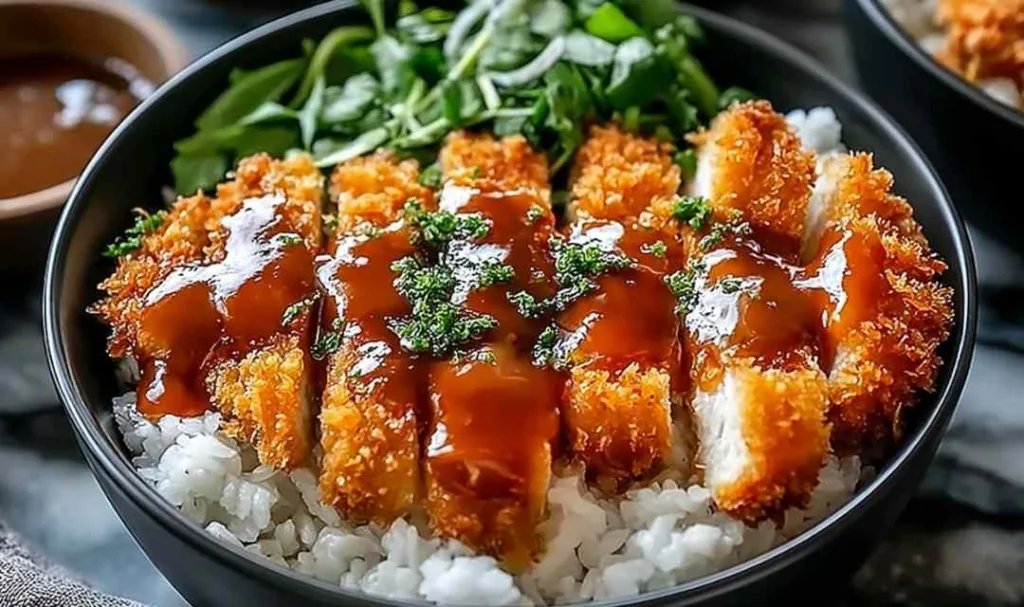
Step 9. Slice the cutlets into strips, layer them over bowls of fluffy rice, drizzle generously with tonkatsu sauce, add shredded cabbage, and finish with any toppings you love. Serve immediately while everything is hot.
What to Serve with Japanese Katsu Bowls
These bowls are a complete meal on their own, but pairing them with the right sides turns dinner into something worth remembering. If you love bold, flavorful bowl-style dinners, my Korean Ground Beef Bowl follows a similar build and comes together just as quickly.
- Miso soup is the classic Japanese pairing that balances the rich, crispy katsu with quiet, warming umami depth. It rounds out the meal without competing for attention.
- A simple cabbage slaw tossed with sesame oil and rice vinegar adds a cool, crunchy freshness that cuts through the savory sauce beautifully. My Sweet and Spicy Pickle Slaw works wonderfully alongside this.
- Steamed edamame with sea salt makes a quick protein-rich starter that keeps hungry hands busy while the katsu is frying.
- Sticky white rice or coconut rice soaks up the tonkatsu sauce in the most satisfying way. If you enjoy rice-based dinners, you might also love my Coconut Chicken Brothy Rice as a standalone meal on other nights.
- A soft fried egg laid right on top of the bowl adds richness and turns this into an even more indulgent dinner.
- Pickled ginger or quick-pickled cucumbers bring a bright, tangy contrast that wakes up the palate between bites of the rich, saucy cutlet.
For another crispy, panko-style dinner your family will love, check out my Crispy Dill Pickle Parmesan Chicken, which uses a very similar technique with a fun flavor twist.
Keeping This Recipe Fresh
I typically store leftover katsu cutlets separately from the rice and sauce in an airtight container in the refrigerator. Keeping them apart prevents the breading from absorbing moisture and going soft. The cutlets stay good for up to 3 days, and the tonkatsu sauce stores beautifully on its own in a sealed jar in the fridge for up to one week.
For freezing, wrap each fully cooled cutlet individually in plastic wrap, then transfer them to a zip-top freezer bag with the air pressed out. They hold up well for up to 2 months. Thaw overnight in the refrigerator before reheating.
For reheating, skip the microwave and use the oven at 375 degrees F for 10 to 12 minutes. Place the cutlets on a wire rack over a baking sheet so hot air circulates all the way around and the crust comes back to life properly.
FAQs
Absolutely. Boneless, skinless chicken breasts pounded to an even half-inch thickness work perfectly and cook in the same time. The tonkatsu sauce is just as good with chicken as it is with pork.
Use rice vinegar with a small extra pinch of brown sugar to mimic mirin’s gentle sweetness. It works well as a substitute without requiring a special trip to the store.
You can bread the raw cutlets up to 24 hours in advance and store them uncovered on a rack in the refrigerator. Letting them rest uncovered actually helps the coating dry out slightly, which makes them fry up even crispier the next day.

Crispy Japanese Katsu Bowls with Tonkatsu Sauce
Ingredients
Equipment
Method
- Set up a breading station with three shallow bowls: flour in the first, beaten egg in the second, and panko breadcrumbs in the third.
- Season pork chops or chicken breasts generously with salt and pepper on both sides.
- Dredge each cutlet in flour shaking off the excess, dip fully in the beaten egg, then press firmly into the panko on both sides until fully coated.
- Heat about a quarter inch of vegetable oil in a large skillet over medium heat until shimmering. Test readiness with a pinch of panko. If it sizzles immediately, the oil is ready.
- Fry each cutlet for 3 to 4 minutes per side without moving it, until deep golden brown and cooked to an internal temperature of 165 degrees F for chicken or 145 degrees F for pork. Work in batches to avoid crowding the pan.
- Transfer fried cutlets to a wire rack or paper towels to drain excess oil.
- In a small saucepan over low heat, combine ketchup, Worcestershire sauce, soy sauce, mirin, brown sugar, and Dijon mustard if using. Stir and simmer for 2 to 3 minutes until slightly thickened.
- Let the cutlets rest for 2 to 3 minutes then slice into strips against the grain.
- Divide rice among four bowls. Top with sliced katsu, drizzle generously with tonkatsu sauce, add shredded cabbage, and finish with any optional toppings. Serve immediately.