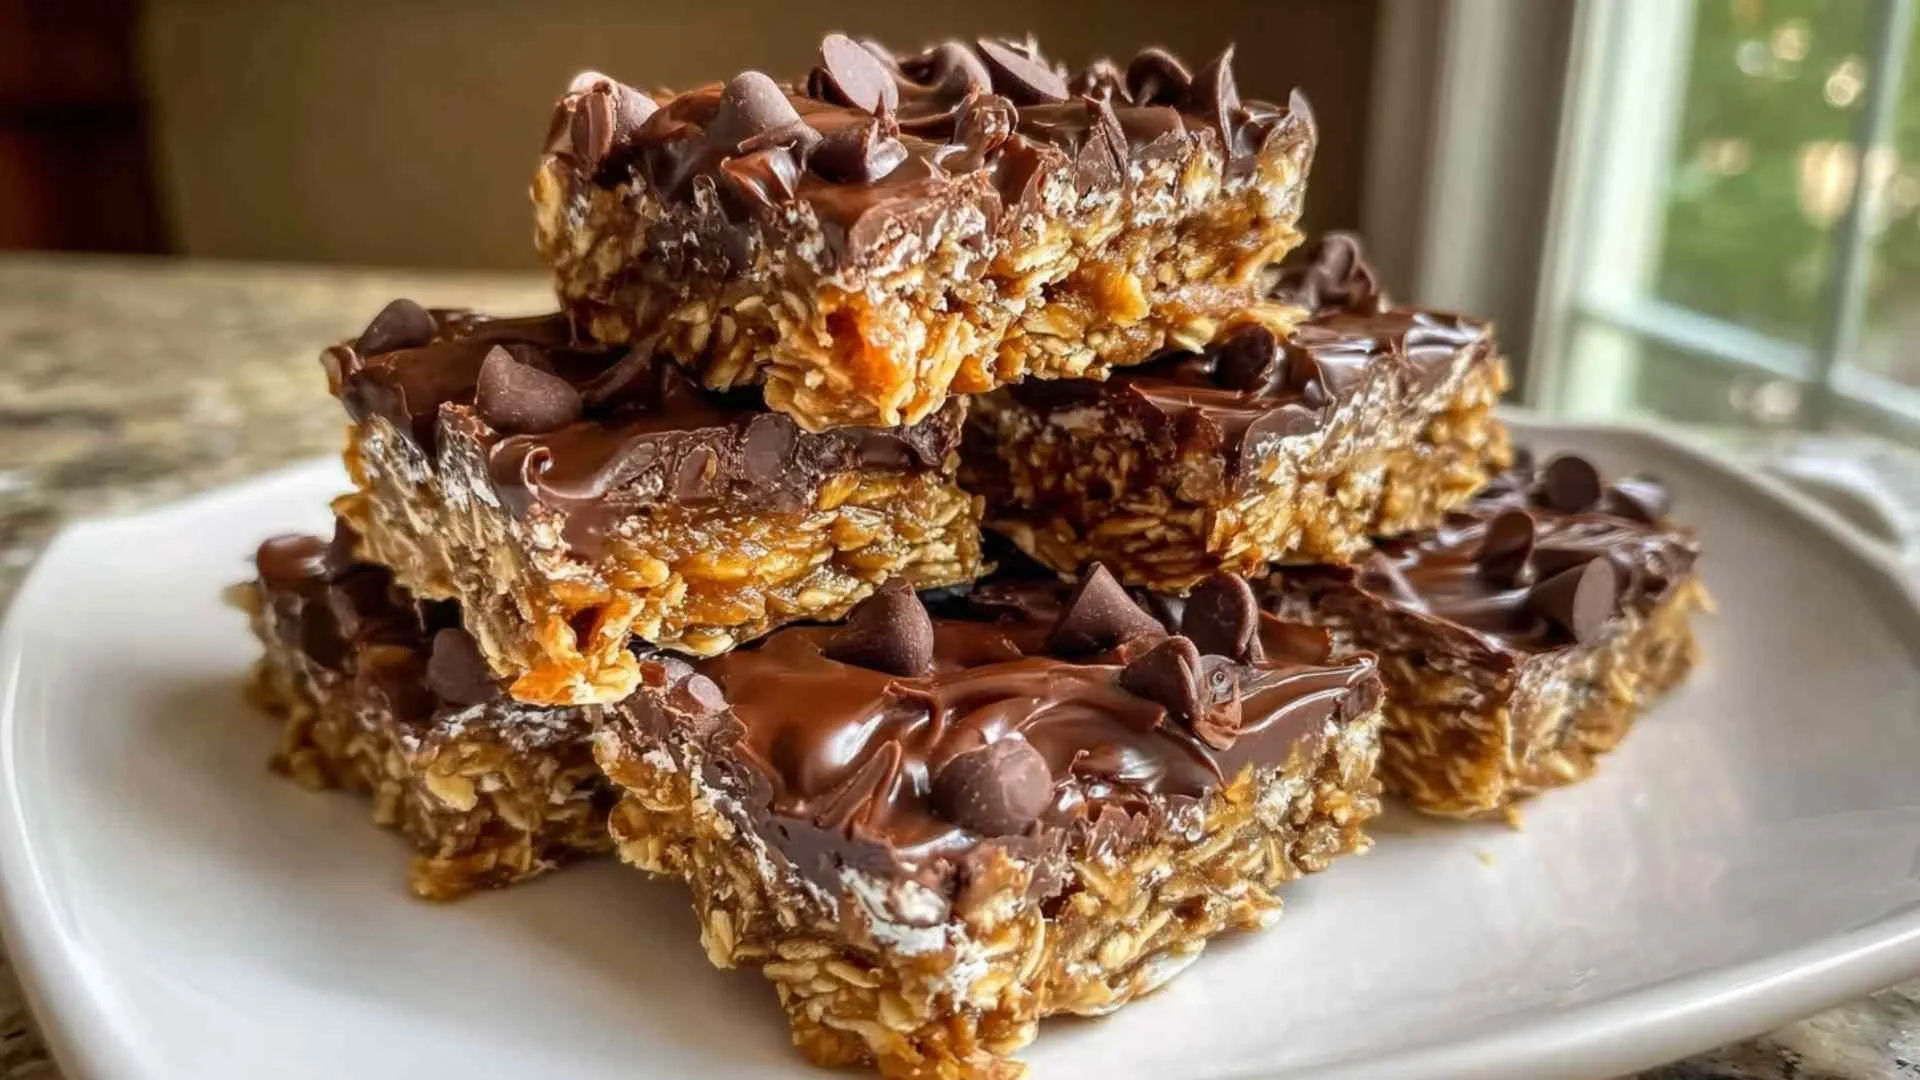
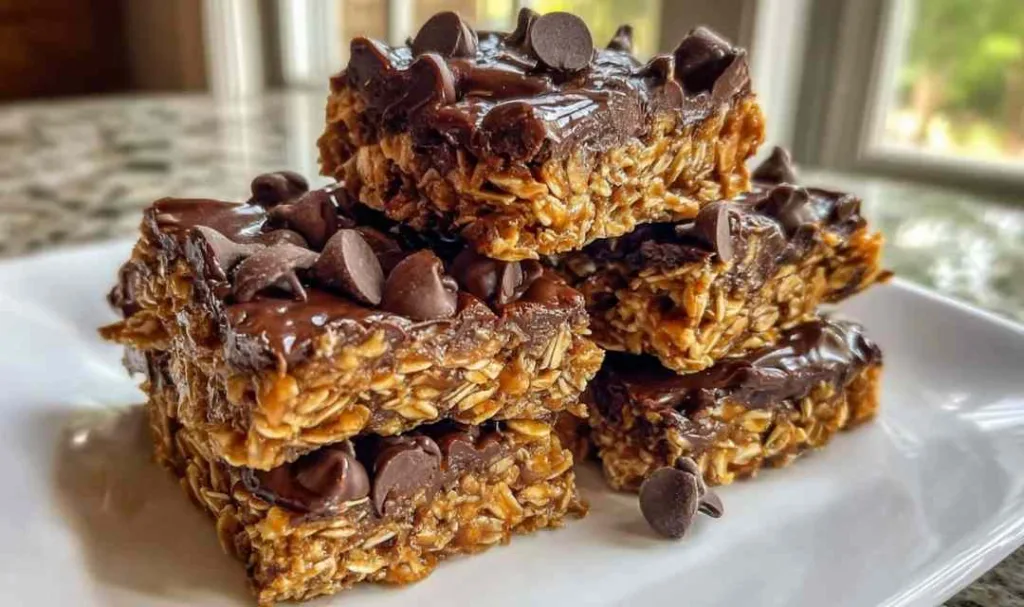
No-Bake Protein Bars are the absolute easiest healthy snack you will ever make, bringing back memories of my grandmother’s simple farm kitchen where we always kept something satisfying on hand. I can still picture the old wooden countertop on my grandma’s farm, where she’d press thick, chewy oat mixtures into pans to feed the hardworking hands after a long morning of chores. While she didn’t use protein powder back then, I’ve taken that same comforting, dense texture and given it a modern, nourishing twist for my own family. The smell of melting dark chocolate over rich peanut butter transports me right back to that cozy farmhouse, but with the fuel today’s busy bodies need. Your kitchen is about to smell incredible.
5 Reasons This No-Bake Protein Bar Recipe Works Every Time
Over the years, I’ve learned that the best recipes are the ones that don’t keep you tied to the stove when you have a house full of people. These homemade energy bites deliver that perfect combination of simple pantry staples and dependable results.
- Uses pantry staples you likely have sitting in your cupboard right now
- Comes together in just 10 minutes on busy evenings when you need a quick snack
- Delivers consistent, crowd-pleasing results that beat chalky store-bought versions
- Adapts easily to dietary preferences like vegan or keto lifestyles
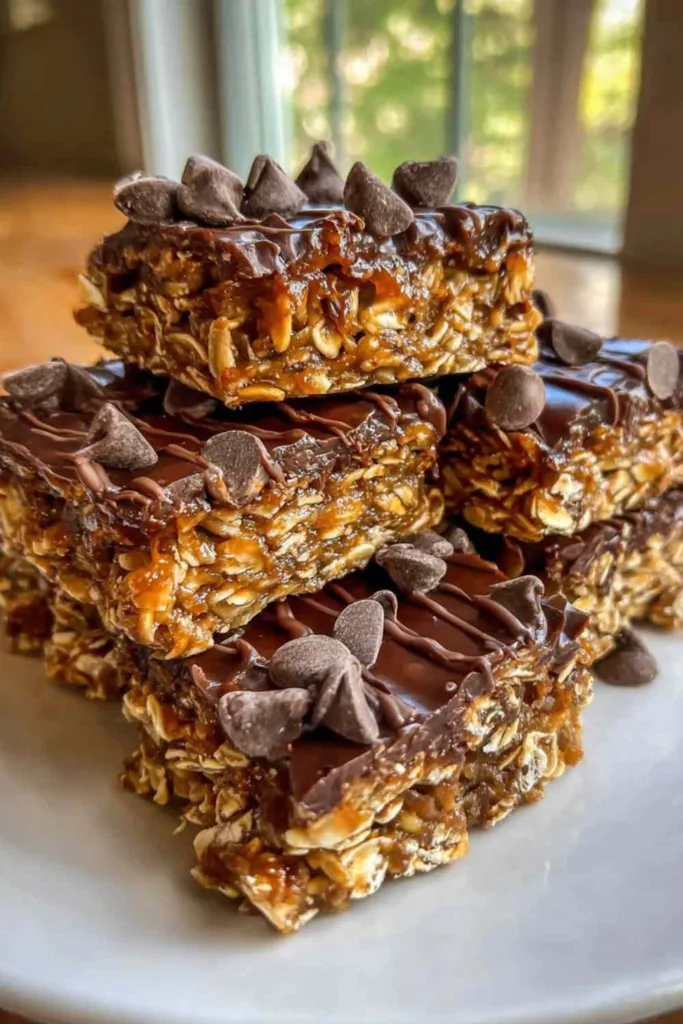
- Creates that perfect dense, wonderfully chewy texture my family craves
Ingredient Spotlight
1 cup rolled oats – This forms the hearty, chewy base of our bars, and I always choose old-fashioned rolled oats because they provide the best texture without turning to mush.
1/2 cup natural peanut butter – In my kitchen, I prefer natural peanut butter because it binds the bars together beautifully while adding that rich, roasted nutty flavor we all love.
1/2 cup protein powder – A good quality vanilla or unflavored powder is essential here to boost the nutrition without ruining the texture.
1/4 cup honey or maple syrup – This acts as our natural sweetener and glue. I love using local honey for its mild floral notes, though maple syrup works wonderfully for my vegan friends.
1/4 cup dark chocolate chips – An optional topping, but melting a little dark chocolate over the top adds a touch of elegance that reminds me of Sunday desserts.
From Start to Finish
Step 1. Betty always starts by lining an 8×8 inch baking pan with parchment paper, leaving an overhang on the sides so you can lift the bars out easily later.
Step 2. I’ve found that mixing the wet ingredients first makes this much easier. Stir the peanut butter and honey (or maple syrup) in a medium bowl until smooth.
Step 3. Add the rolled oats and protein powder to the wet mixture.
Step 4. Through trial and error, I learned that you really need to use your hands to stir this until a thick, uniform dough forms and everything is fully incorporated.
Step 5. If the dough is too crumbly, add one teaspoon of water or milk at a time until it holds together.
Step 6. Press the dough firmly and evenly into your prepared pan. My family prefers when I use the flat bottom of a measuring cup to really compact it and prevent crumbles.
Step 7. If you are using the chocolate, melt the chips in a microwave-safe bowl in 30-second intervals, stirring until smooth, and spread it right over the top.
Step 8. Place the pan in the refrigerator and chill for at least 1 hour, or until the no-bake protein bars are completely firm.
Step 9. The key I discovered for clean, professional-looking cuts is to run a sharp knife under hot water, wipe it dry, and slice the firm block into 10 to 12 equal bars.
Keeping This No-Bake Protein Bar Recipe Fresh
I typically store leftovers in an airtight container right in the refrigerator, where they stay perfectly fresh and chewy for up to one week. Betty’s freezing method works well because it lets you make a double batch without worrying about them going bad. Just layer the bars between pieces of parchment paper inside a freezer Ziploc bag, and they will keep nicely for up to a few weeks. Since these are meant to be enjoyed cold or at room temperature, there is no reheating required. I just pull one straight from the fridge for a quick pre-workout boost or an after-dinner treat.
Perfect Partners for No-Bake Protein Bars
- A tall glass of cold almond milk to wash down the rich peanut butter and chocolate flavors
- High Protein Overnight Oats for a dual-prep breakfast day that keeps you full all morning
- Protein Pancakes Recipe to round out a weekend brunch spread the whole family will enjoy
- High Protein Breakfast Burritos if you need a savory option to balance out these sweet snacks for your weekly meal prep
- High Protein Chocolate Chia Pudding for a lighter, make-ahead dessert option when you want something cold and satisfying
- Cottage Cheese Protein Bowl for a quick savory snack that pairs well on days you are focusing on your macro intake
FAQs
To prevent this issue, add one teaspoon of water or milk at a time until the mixture holds together perfectly. Protein powders vary greatly in how much liquid they absorb.
Many home cooks find success with this by simply swapping the honey for maple syrup and ensuring your protein powder is plant-based.
I recommend using a high-quality vanilla or unflavored protein powder, as cheap brands can make the texture gritty or ruin the flavor.

Easy 5-Ingredient No-Bake Peanut Butter Protein Bars
Ingredients
Equipment
Method
- Line an 8×8 inch baking pan with parchment paper, leaving an overhang on the sides for easy removal.
- Stir the peanut butter and honey (or maple syrup) in a medium bowl until smooth.
- Add the rolled oats and protein powder to the wet mixture.
- Stir all ingredients together until a thick, uniform dough forms. You may need to use your hands to fully incorporate everything. Add one teaspoon of water or milk at a time if the dough is too dry.
- Press the dough evenly into the prepared pan using the flat bottom of a measuring cup. Press firmly to compact the mixture.
- If using, melt the chocolate chips in a microwave-safe bowl in 30-second intervals, stirring until smooth. Spread the melted chocolate over the top of the bar mixture.
- Place the pan in the refrigerator and chill for at least 1 hour, or until firm.