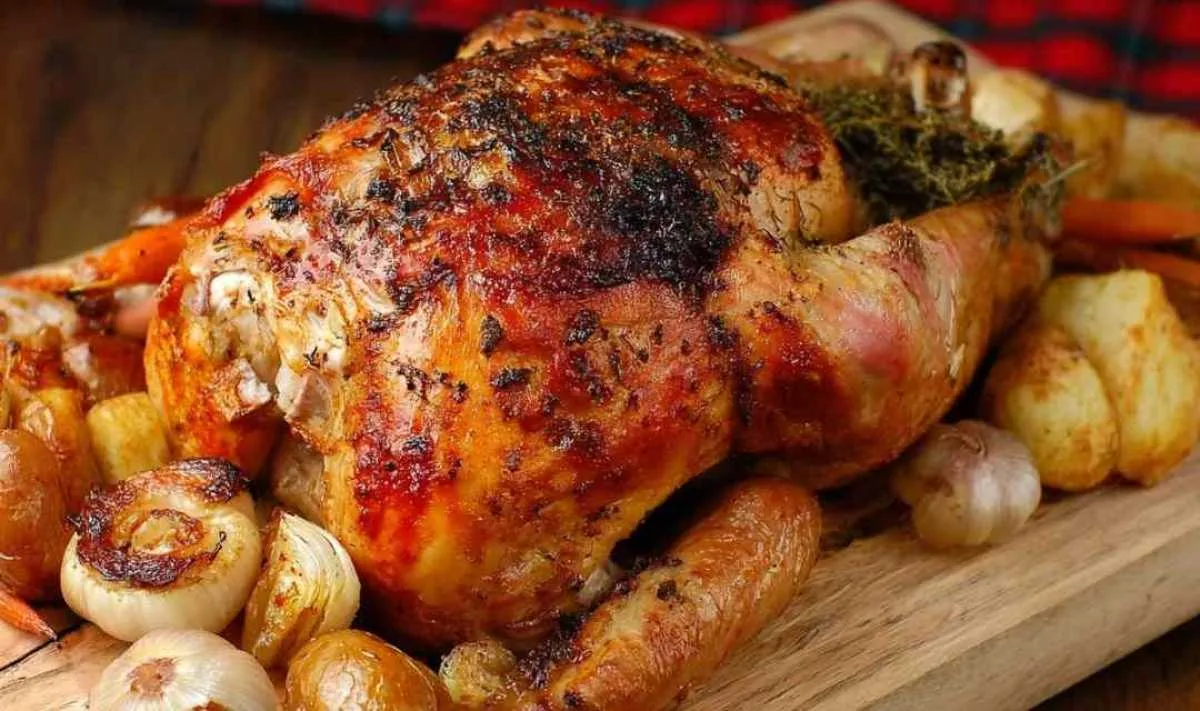
Small whole turkey was the centerpiece of my most treasured family gatherings growing up in the Midwest. That golden-brown bird, just 5 to 9 pounds, always yielded the most tender, succulent meat that had everyone reaching for seconds.
I remember when my grandmother first taught me to prepare a small turkey at her farmhouse. The kitchen windows fogged with aromatic steam as she showed me how to tuck herb-infused butter under the skin. “A smaller bird is more forgiving,” she’d say with a knowing smile, her hands working the butter into every crevice. “And the leftovers are just as wonderful.” The smell of rosemary and thyme would fill the air as the turkey roasted, promising a feast that brought everyone to the table with anticipation. Now, let’s get your kitchen filled with that same irresistible aroma!
What Makes This Small Whole Turkey Recipe So Special
My journey with cooking small turkeys began decades ago when I hosted my first Thanksgiving as a newlywed. After years of watching my mother wrestle with enormous birds, I discovered the joy of preparing a more manageable size.
- Perfect for families of 4-8 people without overwhelming your refrigerator with leftovers
- Cooks more evenly than larger birds, resulting in juicier breast meat and perfectly done thighs
- Takes significantly less time to defrost and roast, making it ideal for busy households
- Uses simple, accessible ingredients you likely already have in your pantry
- Features a maple glaze that creates that perfect sweet-savory balance and beautiful golden color
- Includes a complete timing guide for multiple turkey sizes so you can adapt to your needs
I’ve found that smaller turkeys are actually younger birds, which naturally means more tender meat and better flavor. This recipe has never failed to impress, even the most critical dinner guests!
Ingredient Spotlight
Turkey (3.6kg/8lbs): The star of the show needs to be the right size. In my kitchen, I prefer turkeys between 2-4kg (5-9lbs) because they cook more evenly and stay moist throughout the roasting process.
Butter: I always choose unsalted butter so I can control the exact amount of salt in the recipe. The butter creates a protective barrier that locks in moisture and adds richness.
Fresh herbs: Thyme and rosemary aren’t just for fragrance. They infuse the meat with woodland flavors that make turkey truly special. I grow these in my garden year-round for the freshest possible taste.
Maple syrup: After years of experimenting, I’ve found that maple syrup in the glaze caramelizes beautifully, creating that picture-perfect golden-brown skin everyone fights over. The subtle sweetness balances the savory herbs.
Lemon: The acidity from lemon quarters placed inside the cavity helps tenderize the meat from within while adding brightness to the flavor profile. My grandmother taught me this trick, and I’ve never roasted poultry without it since.
Onions and carrots: These vegetables serve double duty. They elevate the turkey off the pan bottom while releasing aromas that infuse the drippings (which will become your gravy). The natural sugars also caramelize to add depth to the final flavor.
How to Make This Small Whole Turkey Step by Step
Step 1. Begin preparations right
I’ve learned that bringing both the turkey and butter to room temperature for 30 minutes is non-negotiable. Cold butter won’t spread properly under the skin, and a cold turkey placed in a hot oven cooks unevenly. This simple step makes a world of difference.
Step 2. Prepare the herb butter
Betty’s tip: Combine the softened butter with finely chopped rosemary and thyme leaves, salt, and pepper. Mix thoroughly to ensure the herbs are evenly distributed throughout the butter. This flavored butter is our secret weapon for juicy meat.
Step 3. Prepare the turkey
Through trial and error, I discovered that thoroughly patting the turkey dry inside and out is essential for crispy skin. Check both cavities for the giblets and neck joint, removing them completely (save them for gravy if desired).
Step 4. Remove the wishbone
My family prefers when I remove the wishbone before cooking. Lift the skin at the neck end between the wings, feel for the V-shaped bone, slice down both sides of it with a sharp knife, then wiggle it free. This makes carving much easier later.
Step 5. Stuff the cavity
I always place quartered lemon, onions, and fresh herb sprigs inside the cavity. These aromatics infuse the meat from within during roasting, creating layers of flavor that just can’t be achieved with surface seasonings alone.
Step 6. Apply the butter
The key I discovered is to gently separate the skin from the meat without tearing it, then massage the herb butter mixture underneath. This allows the fat to baste the meat directly as it melts. Also spread butter over the external skin.
Step 7. Truss the turkey
Betty always starts by trussing at the neck, using kitchen twine to secure the wings close to the body, then wrapping around the breast and tightly tying the legs together. This ensures even cooking and a beautiful presentation.
Step 8. Prepare the roasting tray
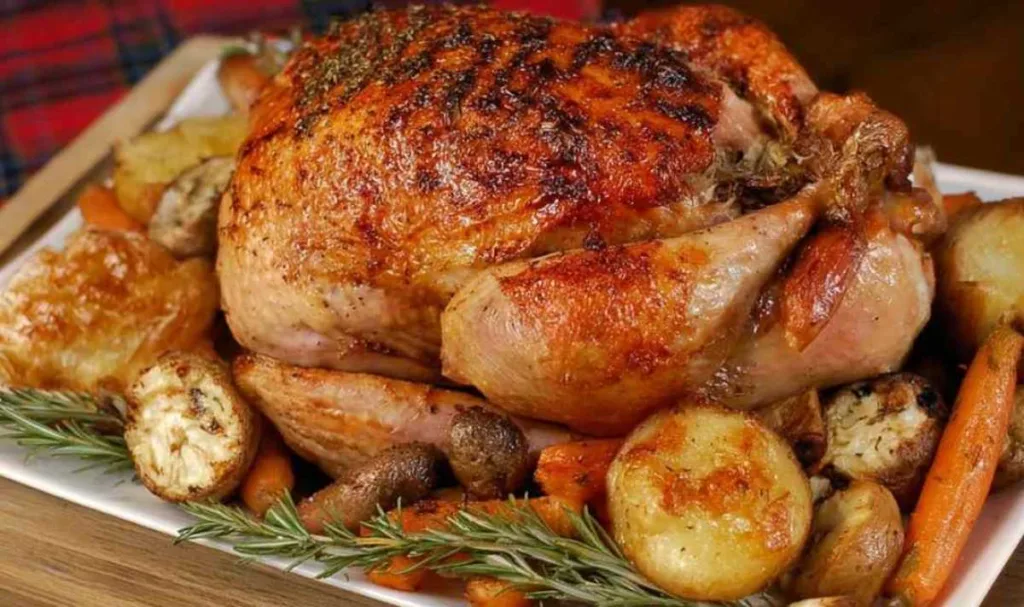
I’ve found that creating a vegetable platform using carrots and onions elevates the turkey for better air circulation. Pour chicken stock around (not over) the turkey. This creates steam in the oven for moist meat.
Step 9. Initial roasting
Cover the turkey loosely with foil, securing only the long edges of the roasting tin. This traps moisture while still allowing some steam to escape. For my 3.6kg turkey, I roast covered for 1 hour 40 minutes at 180°C fan/190°C/375°F.
Step 10. Glaze and finish
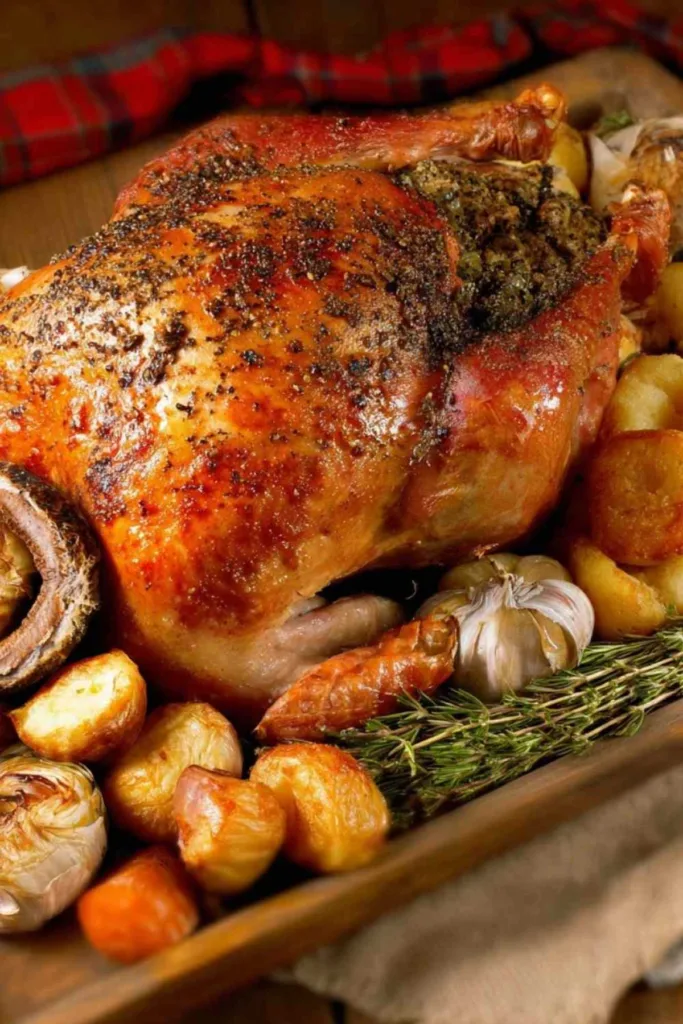
For the best texture, I remove the foil during the final 40 minutes of cooking, then brush the turkey completely with the maple-herb glaze. This creates that gorgeous caramelized exterior everyone loves while the meat stays perfectly juicy inside.
Step 11. Rest properly
After years of making this, I’ve learned that resting is just as important as cooking. Cover loosely with foil and let rest for at least 30 minutes (up to 90 minutes for larger birds) to allow juices to redistribute throughout the meat.
Storage and Reheating Tips
I typically store leftover turkey in airtight containers, separating the meat from the bones for more efficient use of space. When properly refrigerated, your turkey will stay fresh and delicious for up to 4 days. Plenty of time for turkey sandwiches, soups, and casseroles.
Betty’s freezing method works well because it preserves moisture: wrap portions tightly in plastic wrap, then in aluminum foil, and finally in a freezer bag with the air squeezed out. Label with the date and use within 2-3 months for best quality.
For the best texture, I reheat by adding a splash of stock or gravy to the meat, wrapping it in foil, and warming in a 180°C/350°F oven for 30-45 minutes until the internal temperature reaches 74°C/165°F. Avoid microwaving if possible, as it tends to dry out the meat and create a rubbery texture.
Perfect Partners for This Small Whole Turkey
- Classic herbed stuffing with celery, onions, and sage
- Creamy mashed potatoes with roasted garlic
- Homemade cranberry sauce with orange zest
- Green bean casserole with crispy onion topping
- Buttery dinner rolls for soaking up gravy
- Sweet potato casserole with pecan topping
These sides create the perfect balance of flavors and textures alongside your juicy turkey. I always include something creamy, something sweet, something tart, and something with crunch to create a well-rounded meal that satisfies everyone at the table.
FAQs
Can I stuff this small turkey with traditional stuffing? I recommend cooking stuffing separately for food safety. Small turkeys cook quickly, and the stuffing might not reach a safe temperature. If you do stuff, add 30 minutes to the cooking time and verify the stuffing reaches 74°C/165°F.
What’s the best way to check if my turkey is done without a thermometer? Betty’s solution is to pierce the thickest part of the thigh with a knife. If the juices run clear (not pink), your turkey is done. However, a meat thermometer is most reliable. The thigh should reach 75°C/165°F.
Can I prep this turkey the day before cooking? Many home cooks find success with preparing the herb butter and trussing the turkey the night before. Keep it refrigerated, then bring to room temperature for 30 minutes before roasting.
Is it normal for the meat near the joints to look slightly pink? Yes! I’ve learned that smaller, younger turkeys often have a slight pinkish tinge near the bones even when fully cooked. This is harmless as long as the temperature is correct.
Can I use dried herbs instead of fresh? To prevent this issue, use 1/3 the amount of dried herbs compared to fresh. However, I strongly recommend fresh herbs for this special dish. They make a noticeable difference in the final flavor.
How do I adjust cooking time if my turkey is slightly larger or smaller? The best approach I’ve tested is to calculate 20 minutes per pound (40 minutes per kg) plus an extra 20 minutes. Always verify doneness with a thermometer rather than relying solely on timing.

Perfect Small Whole Turkey
Ingredients
Equipment
Method
- Remove the turkey and butter from the fridge and let stand at room temperature for 30 minutes before prepping.
- Combine the softened butter with chopped rosemary and thyme leaves, salt, and pepper.
- Preheat the oven to 180°C fan/190°C/375°F/Gas mark 5.
- Pat the turkey dry inside and out with kitchen paper towel. Check both cavities and remove giblets and neck joint.
- Remove the wishbone by lifting the skin at the neck end, finding the V-shaped bone, slicing down both sides, and wiggling it free.
- Place quartered lemon, onion, and fresh herbs inside the cavity.
- Gently separate the skin from the meat and rub the herb butter underneath the skin and all over the top of breast, legs, and wings.
- Truss the turkey with kitchen twine, starting at the neck and securing the wings close to the body, then wrapping around the breast and tightly tying the legs.
- Place carrots and onions in the baking tray to create a platform for the turkey.
- Place the turkey on top of the vegetables, season with salt and pepper, and pour the chicken stock around (not over) the turkey.
- Cover the turkey loosely with foil, securing only the long edges of the roasting tin. For a 3.6kg turkey, roast covered for 1 hour 40 minutes.
- Mix the glaze ingredients: olive oil, maple syrup, and fresh herbs with salt and pepper.
- 40 minutes before the end of cooking time, remove the foil and baste the turkey with the glaze. Return to oven uncovered for the final 40 minutes to brown.
- Once cooked, remove the turkey from the tray and place onto a chopping board. Cover loosely with foil and rest for 30-90 minutes before carving.
- Reserve the cooking juices to make turkey gravy.
- Carve and serve with your favorite sides.