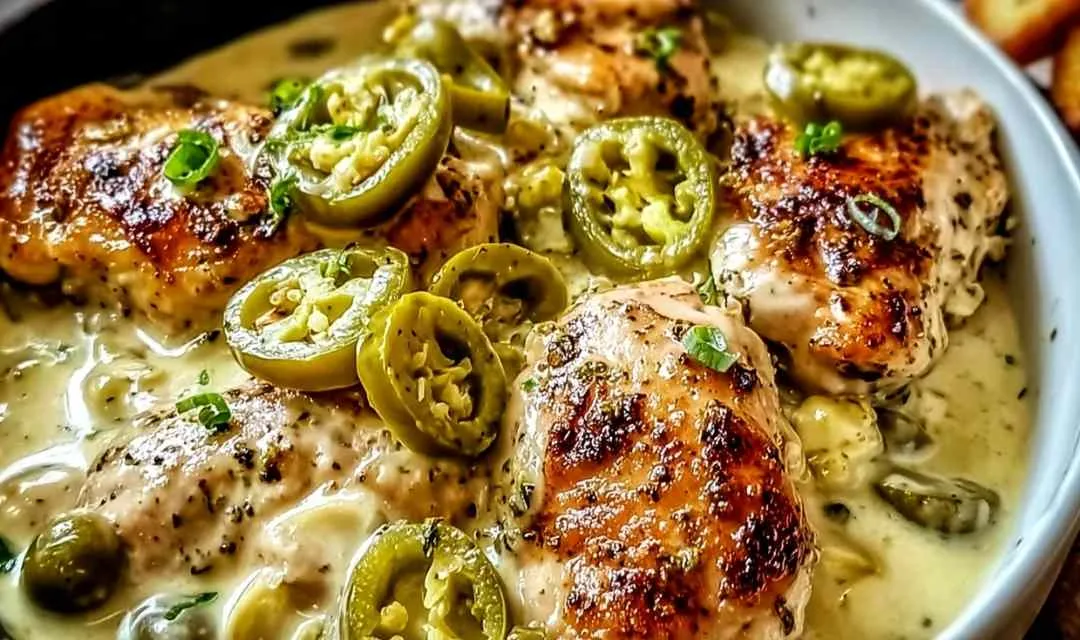
Thai Peanut Chicken brings restaurant-quality flavors straight to your weeknight dinner table with a rich, creamy sauce that’ll have everyone asking for seconds. I first tasted this dish at a potluck years ago, and I knew right away I had to master it in my own kitchen.
Growing up in the Midwest, exotic flavors weren’t exactly commonplace on our dinner table. But when my neighbor Mrs. Chen shared her love of Thai cooking with me one summer afternoon, everything changed. She taught me that the secret to incredible Thai peanut sauce isn’t complicated it’s about balancing sweet, savory, salty, and spicy in perfect harmony. Now, decades later, this Thai Peanut Chicken has become one of my family’s most-requested meals. The way that creamy peanut sauce coats tender chicken, with just enough heat to keep things interesting, never gets old. My grandkids practically run to the table when they smell that ginger and garlic sizzling in the pan. Time to get your kitchen smelling incredible!
What Makes This Thai Peanut Chicken So Special
I’ve been making Thai Peanut Chicken for over twenty years now, and it’s earned its place as a regular in my weekly rotation for good reason. This dish combines the comfort of familiar ingredients like peanut butter with the exciting flavors of authentic Thai cuisine.
- Quick weeknight solution – From start to finish, you’ll have dinner on the table in about 30 minutes, perfect for busy evenings when you don’t want to sacrifice flavor
- Pantry-friendly ingredients – Most of what you need is probably already in your kitchen; no specialty store trips required
- Customizable heat level – Whether you’re cooking for spice lovers or keeping it mild for the little ones, you control the sriracha
- Naturally versatile – Serve it over rice, toss it with noodles, or wrap it in crisp lettuce leaves for a lighter option
- Crowd-pleasing flavor – That creamy, nutty sauce with hints of ginger and lime appeals to adventurous eaters and picky ones alike
- Great for meal prep – The flavors actually improve overnight, making leftovers even better than the first serving
I love that this recipe gives you that takeout experience without the expense or the wait. Plus, you know exactly what’s going into your food.
Ingredient Spotlight
Boneless, skinless chicken breasts or thighs – I always choose thighs when I can because they stay more tender and flavorful, but breasts work beautifully if that’s what you have on hand.
Creamy peanut butter – This is the foundation of your sauce, providing that signature nutty richness; natural peanut butter works, but the stabilized kind gives you a smoother texture.
Coconut milk – Adding coconut milk brings authentic Thai creaminess and a subtle sweetness that balances the salty soy sauce perfectly.
Fresh ginger – I’ve learned that fresh ginger makes all the difference here; the bright, zesty flavor can’t be replicated with dried ginger powder.
Garlic – Fresh minced garlic provides the aromatic base that makes your kitchen smell incredible and adds depth to the peanut sauce.
Soy sauce – This brings the essential salty, umami flavor that ties all the other ingredients together and makes the Thai Peanut Chicken taste complex.
Rice vinegar – The mild acidity cuts through the richness of the peanut butter and adds a subtle tang that brightens the entire dish.
Sriracha – Control your heat level with this ingredient; I start with one tablespoon and let people add more at the table if they want.
Lime juice – Never skip this! That fresh citrus at the end wakes up all the flavors and adds brightness that transforms the sauce from good to exceptional.
Sesame oil – Just a teaspoon provides that distinctive nutty, toasted flavor that makes this taste authentically Asian-inspired.
How to Make Thai Peanut Chicken
Step 1. I’ve learned that starting with properly dried chicken (pat it with paper towels) helps it brown beautifully, so season your chicken breasts or thighs with salt and pepper, then heat vegetable oil in a large skillet over medium heat until it shimmers.
Step 2. Cook the chicken for 6-7 minutes on each side without moving it too much this creates that golden-brown crust we’re after; the chicken is done when it reaches 165°F internally.
Step 3. Remove the cooked chicken to a cutting board and let it rest for about 5 minutes before slicing; this keeps all those juices inside the meat instead of running onto your cutting board.
Step 4. Betty always sautés her aromatics in the same pan to pick up all those flavorful browned bits, so add your minced garlic and ginger to the skillet and cook for 1-2 minutes until fragrant but not browned.
Step 5. Through trial and error, I learned to whisk together the peanut butter, soy sauce, rice vinegar, honey, sriracha, and coconut milk before adding to the pan it prevents clumps and creates a smoother sauce.
Step 6. Pour your peanut sauce mixture into the skillet and stir constantly for 2-3 minutes, letting it bubble gently and come together into a creamy, unified sauce.
Step 7. The key I discovered is adding the lime juice and sesame oil at the end so their bright flavors don’t cook off; stir them in and taste your sauce, adjusting with more sriracha for heat or honey for sweetness.
Step 8. Slice your rested chicken into strips or cubes, return it to the skillet, and toss everything together so each piece gets coated in that gorgeous peanut sauce.
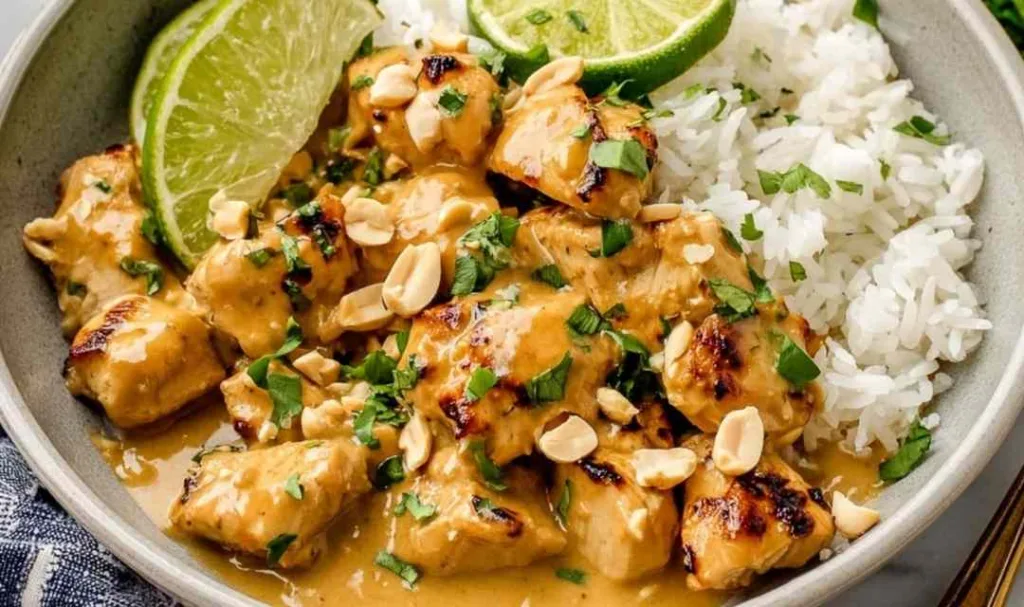
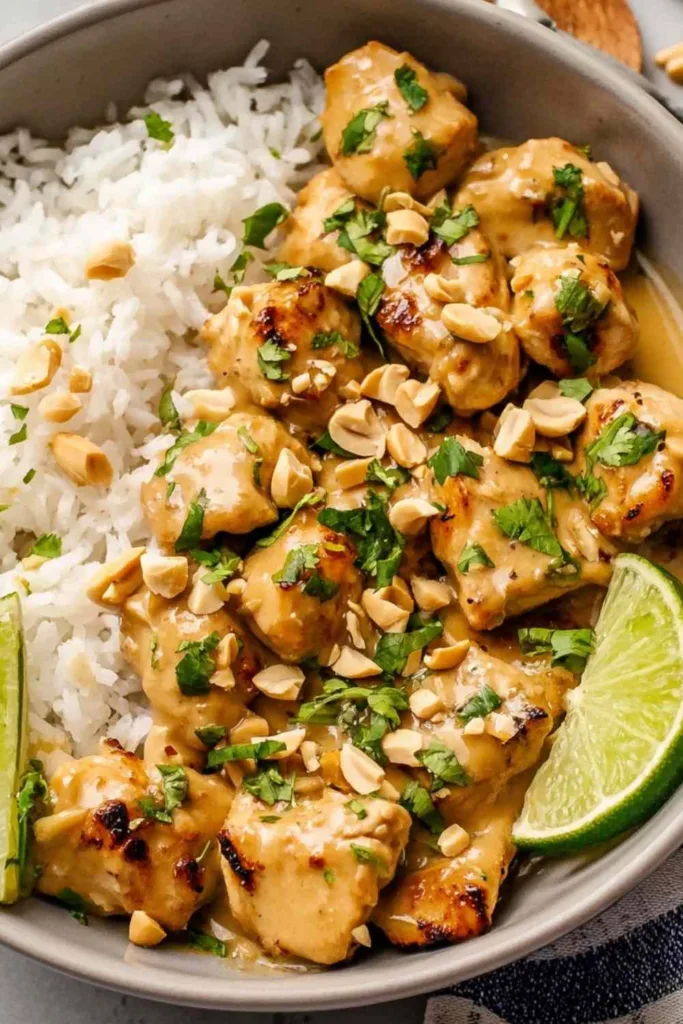
Step 9. My family prefers when I serve this immediately over steamed jasmine rice or rice noodles while everything is hot and the sauce is at its creamiest consistency.
Step 10. Garnish generously with chopped peanuts and fresh cilantro the crunch and herbaceous freshness make each bite more interesting and delicious.
Keeping This Thai Peanut Chicken Fresh
I typically store leftovers in an airtight container in the refrigerator where they’ll stay fresh for up to 3 days. The sauce actually thickens as it sits, which makes reheating easy you might just want to add a splash of coconut milk or water to loosen it back up. The flavors meld together overnight, so many folks tell me they actually prefer the leftovers to the fresh-cooked version.
Betty’s freezing method works well for this recipe if you want to meal prep. Let the Thai Peanut Chicken cool completely, then portion it into freezer-safe containers or bags, leaving a bit of headspace for expansion. It’ll keep frozen for up to 3 months. I usually freeze the chicken and sauce together, which makes reheating straightforward just thaw overnight in the fridge before warming.
For the best texture, I reheat by using the stovetop over medium-low heat, stirring frequently and adding a tablespoon or two of coconut milk to refresh the sauce. The microwave works in a pinch use 50% power and stir every minute to heat evenly. Avoid high heat when reheating because it can make the peanut sauce separate or become grainy. The chicken stays tender as long as you don’t overcook it during reheating.
Perfect Partners for Thai Peanut Chicken
- Jasmine rice or brown rice – The fluffy, slightly sticky texture of steamed rice is ideal for soaking up every bit of that creamy peanut sauce, and it provides a neutral base that lets the Thai flavors shine. For another rice-based meal with bold Asian flavors, try our Street Corn Chicken Rice Bowls.
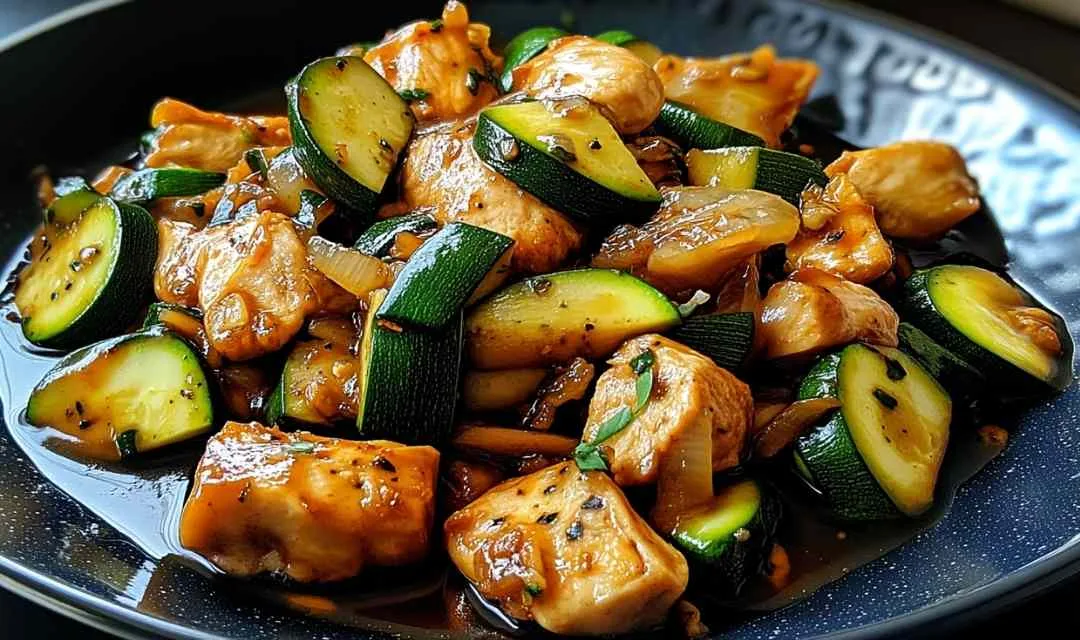
- Stir-fried vegetables – I love serving this with quickly sautéed bell peppers, snap peas, and broccoli for added color, nutrition, and a satisfying crunch that contrasts with the tender chicken. Our Chicken Zucchini Stir Fry makes a perfect vegetable side dish.
- Cucumber salad – A simple mix of sliced cucumbers, rice vinegar, and a pinch of sugar offers a cool, refreshing counterpoint to the rich, spicy peanut sauce.
- Rice noodles or soba noodles – When I want to make this feel more like a noodle bowl, I toss everything with cooked noodles for a complete one-bowl meal that’s even more filling. If you love Asian noodle dishes, check out our Slow Cooker Beef Ramen Noodles.
- Crisp lettuce wraps – For a lighter option, especially in summer, serve the Thai Peanut Chicken in butter lettuce leaves with shredded carrots and extra cilantro for a fresh, crunchy presentation. Our Asian Ground Beef Lettuce Wraps use a similar serving style.
- Spring rolls – Starting the meal with fresh spring rolls (or even store-bought) with sweet chili sauce creates an authentic Thai-inspired dinner that feels special. For another dish featuring peanut sauce, try our Chicken Satay Spring Roll Bowls.
FAQs
I recommend sticking with peanut butter for authentic Thai flavor, but almond butter or cashew butter can work in a pinch just know the taste will be slightly different and perhaps less rich.
Simply reduce or omit the sriracha entirely; the sauce will still be delicious with its sweet and savory elements, and adults can always add hot sauce at the table.
Many home cooks find success with preparing the sauce up to 3 days ahead and storing it separately, then cooking fresh chicken and combining everything just before serving for the best texture.
Thai Peanut Chicken
Ingredients
Equipment
Method
- Pat chicken dry with paper towels and season both sides with salt and pepper. Heat vegetable oil in a large skillet over medium heat until shimmering.
- Add chicken to the hot skillet and cook for 6-7 minutes on each side without moving, until golden brown and internal temperature reaches 165°F.
- Remove chicken to a cutting board and let rest for 5 minutes, then slice into strips or cubes.
- In the same skillet, add minced garlic and ginger. Sauté for 1-2 minutes until fragrant but not browned.
- Add peanut butter, soy sauce, rice vinegar, honey, sriracha, and coconut milk to the skillet. Whisk together and cook for 2-3 minutes, stirring constantly, until smooth and heated through.
- Stir in lime juice and sesame oil. Taste and adjust seasonings, adding more sriracha for heat or honey for sweetness if desired.
- Return sliced chicken to the skillet and toss to coat evenly in the peanut sauce.
- Serve immediately over steamed rice or noodles. Garnish generously with chopped peanuts and fresh cilantro.