Valentine Cookies Decorated
Valentine’s Day is a special occasion filled with love, joy, and sweet treats. One delightful way to celebrate this day is by baking Valentine Cookies Decorated. These cookies are not just delicious; they also serve as a heartfelt gift for friends, family, and that special someone in your life. The act of baking and decorating cookies can be a fun activity that brings people together, creating lasting memories.

The Significance of Valentine Cookies Decorated
Cookies have a unique charm that makes them perfect for any celebration. When it comes to Valentine’s Day, decorated cookies symbolize love and affection. Each cookie can be personalized with colors and designs that reflect your feelings. Whether you choose to create simple heart shapes or intricate designs, these cookies convey a message of care and thoughtfulness. Sharing these treats can strengthen bonds and spread happiness, making them a wonderful addition to your Valentine’s Day festivities.
Why You Should Make Valentine Cookies Decorated This Year
This year, why not add a personal touch to your Valentine’s Day celebrations? Making Valentine Cookies Decorated allows you to express your creativity while enjoying a delicious treat. It’s an excellent opportunity to involve your loved ones in the baking process, making it a fun family activity. Plus, the joy of sharing homemade cookies is unmatched. They can be packaged beautifully and given as gifts, or simply enjoyed together at home. So, roll up your sleeves and get ready to create some sweet memories this Valentine’s Day!
Ingredients for Valentine Cookies Decorated
Essential Ingredients for the Cookies
To create the perfect Valentine Cookies Decorated, you need a few essential ingredients. Each component plays a vital role in achieving that delightful taste and texture. Here’s what you’ll need:
- All-purpose flour: 2 3/4 cups for the base of the cookies.
- Baking soda: 1 teaspoon to help the cookies rise.
- Baking powder: 1/2 teaspoon for added fluffiness.
- Unsalted butter: 1 cup, softened for a rich flavor.
- White sugar: 1 1/2 cups to sweeten the dough.
- Egg: 1 large egg to bind the ingredients together.
- Vanilla extract: 1 teaspoon for a warm, sweet aroma.
- Almond extract: 1/2 teaspoon to enhance the flavor.
- Salt: 3/4 teaspoon to balance the sweetness.
These ingredients combine to create a soft, flavorful cookie that serves as the perfect canvas for your decorations. Make sure to measure them accurately for the best results!
Ingredients for the Royal Icing
Royal icing is what makes your Valentine Cookies Decorated truly special. It adds a beautiful finish and allows for creative designs. Here’s what you’ll need:
- Egg whites: 3, which provide the base for the icing.
- Powdered sugar: 4 cups to sweeten and thicken the icing.
- Lemon juice: 1 teaspoon to add a touch of acidity and help with consistency.
- Food coloring: Optional, for adding vibrant colors to your icing.
With these ingredients, you can create a smooth and glossy royal icing that will make your cookies stand out. Get ready to unleash your creativity and make your Valentine’s Day extra special!
Step-by-Step Preparation of Valentine Cookies Decorated
Step 1: Make the Cookie Dough
Preheat the Oven
First things first, you need to preheat your oven. Set it to 375°F (190°C). This step is crucial as it ensures your cookies bake evenly. While the oven heats up, you can prepare the dough.
Combine Dry Ingredients
In a medium bowl, whisk together the all-purpose flour, baking soda, and baking powder. This mixture is the foundation of your cookies. By combining these dry ingredients first, you ensure they are evenly distributed throughout the dough.
Cream Butter and Sugar
Next, take a large mixing bowl and cream together the softened unsalted butter and white sugar. Use a hand mixer or stand mixer to beat them until the mixture is smooth and fluffy. This process incorporates air into the butter, making your cookies light and tender. Then, add in the egg, vanilla extract, and almond extract. Beat until everything is well combined.
Mix Dry Ingredients
Now, gradually blend in the dry ingredients you set aside earlier. Mix until the dough comes together. Be careful not to overmix, as this can lead to tough cookies. Once combined, your cookie dough is ready for shaping!
Step 2: Shape and Bake Cookies
Roll Out Dough
On a lightly floured surface, roll out your cookie dough to about 1/4 inch thick. This thickness is perfect for achieving a nice, soft cookie. Use cookie cutters to cut out heart shapes or any fun Valentine-themed shapes you like. The more creative, the better!
Place on Baking Sheet
Carefully place the cut-out cookies onto ungreased baking sheets. Make sure to leave some space between each cookie, as they will spread slightly while baking. This step helps them bake evenly without sticking together.
Bake the Cookies
Now it’s time to bake! Place the baking sheets in the preheated oven and bake for 8 to 10 minutes. Keep an eye on them; you want the edges to be lightly golden. Once done, remove the cookies from the oven and let them cool on wire racks. This cooling process is essential before decorating.
Step 3: Prepare Royal Icing
Beat Egg Whites
While your cookies cool, it’s time to prepare the royal icing. In a clean bowl, beat the egg whites until they become frothy. This step is important as it helps create a stable base for your icing.
Color the Icing
Gradually add the powdered sugar and lemon juice to the beaten egg whites. Mix until the icing is smooth and glossy. If you want to add some color, divide the icing into separate bowls and add food coloring. This way, you can create a variety of vibrant colors for decorating your cookies!
Step 4: Decorate Cookies
Get Creative with Decoration
Once your cookies are completely cooled, it’s time to decorate! Use piping bags or a small spatula to apply the royal icing. Let your creativity shine! You can create simple designs or go all out with intricate patterns. The choice is yours!
Let the Icing Dry
After decorating, allow the icing to dry completely. This step is crucial to ensure your designs stay intact. Depending on the humidity, this may take a few hours. Once dry, your beautifully decorated Valentine Cookies Decorated are ready to be enjoyed or gifted!

Variation of Valentine Cookies Decorated
Alternative Flavors for the Cookies
While the classic flavor of Valentine Cookies Decorated is delightful, you can easily switch things up with alternative flavors. Here are some ideas to inspire your baking:
- Chocolate Cookies: Substitute 1 cup of flour with cocoa powder for rich, chocolatey cookies. These are perfect for chocolate lovers!
- Spiced Cookies: Add 1 teaspoon of cinnamon and a pinch of nutmeg to the dough for a warm, spiced flavor. This twist adds a cozy touch to your treats.
- Lemon Cookies: Replace the vanilla extract with lemon extract and add the zest of one lemon. This will give your cookies a refreshing citrus flavor.
- Red Velvet Cookies: Incorporate 1 tablespoon of red food coloring and 1 teaspoon of cocoa powder for a festive red velvet twist. These cookies are not only tasty but also visually stunning!
Experimenting with flavors can make your Valentine Cookies Decorated even more special. Choose a flavor that resonates with you and your loved ones!
Different Decorating Techniques for Valentine Cookies Decorated
Decorating your cookies is where the fun truly begins! Here are some creative techniques to elevate your Valentine Cookies Decorated:
- Flooding Technique: After outlining your cookies with royal icing, use a thinner icing to fill in the center. This creates a smooth, glossy finish.
- Marbling: Mix two colors of icing together on the cookie surface using a toothpick. This technique creates beautiful swirls and patterns.
- Sprinkles and Edible Glitter: Add sprinkles or edible glitter on top of wet icing for a festive touch. This adds texture and sparkle to your cookies.
- Stenciling: Use stencils to create intricate designs. Simply place the stencil on the cookie and dust with powdered sugar or cocoa powder for a stunning effect.
These decorating techniques will help you create unique and eye-catching Valentine Cookies Decorated. Let your imagination run wild and enjoy the process!
Cooking Note for Valentine Cookies Decorated
Tips for Perfectly Baked Cookies
To ensure your Valentine Cookies Decorated turn out perfectly every time, follow these helpful tips:
- Use Room Temperature Ingredients: Make sure your butter and egg are at room temperature. This helps them blend smoothly into the dough.
- Measure Accurately: Use measuring cups and spoons for precise measurements. Too much flour can lead to dry cookies.
- Chill the Dough: If your dough is too soft, chill it in the refrigerator for about 30 minutes. This makes it easier to roll out and cut shapes.
- Don’t Overbake: Keep an eye on your cookies while they bake. They should be lightly golden around the edges but still soft in the center.
- Cool Completely: Allow cookies to cool completely on wire racks before decorating. This prevents the icing from melting.
By following these tips, you’ll create delicious and beautifully shaped cookies that everyone will love!
Common Mistakes to Avoid
Even the best bakers can make mistakes. Here are some common pitfalls to watch out for when making Valentine Cookies Decorated:
- Skipping the Dry Ingredients: Always mix your dry ingredients separately before adding them to the wet mixture. This ensures even distribution.
- Overmixing the Dough: Mixing too much can lead to tough cookies. Mix just until combined for a tender texture.
- Not Preheating the Oven: Always preheat your oven before baking. This helps cookies bake evenly and rise properly.
- Using Cold Icing: If your royal icing is too cold, it may not spread well. Let it sit at room temperature for a bit before using.
- Rushing the Drying Process: Allow your decorated cookies to dry completely. Rushing this step can ruin your designs.
Avoiding these common mistakes will help you achieve the best results with your Valentine Cookies Decorated. Happy baking!
Serving Suggestions for Valentine Cookies Decorated
Creative Ways to Present Your Cookies
Once you’ve baked and decorated your Valentine Cookies Decorated, it’s time to think about how to present them. A beautiful presentation can make your cookies even more special. Here are some creative ideas:
- Gift Boxes: Place your cookies in decorative gift boxes. You can line the boxes with tissue paper or cellophane for an elegant touch. This makes for a lovely gift for friends or loved ones.
- Cookie Jars: Fill a clear glass jar with your cookies. Tie a ribbon around the jar for a charming look. This is a great way to showcase your decorated cookies while keeping them fresh.
- Platter Display: Arrange your cookies on a beautiful platter. You can mix different shapes and colors for a vibrant display. This is perfect for parties or gatherings.
- Individual Treat Bags: Package each cookie in a small treat bag. You can seal them with a sticker or a twist tie. This is a fun way to share cookies at school or with coworkers.
These presentation ideas will not only enhance the visual appeal of your Valentine Cookies Decorated but also make them feel like a special treat for anyone who receives them!
Pairing Ideas for Valentine Cookies Decorated
To elevate your cookie experience, consider pairing your Valentine Cookies Decorated with complementary treats and beverages. Here are some delightful pairing ideas:
- Hot Chocolate: A warm cup of hot chocolate pairs perfectly with your cookies. The rich chocolate flavor complements the sweetness of the cookies.
- Tea: Serve your cookies with a selection of herbal or floral teas. Chamomile or rose tea can enhance the romantic vibe of your Valentine’s Day.
- Milk: Classic and simple, a glass of cold milk is always a great choice. It balances the sweetness of the cookies and makes for a nostalgic treat.
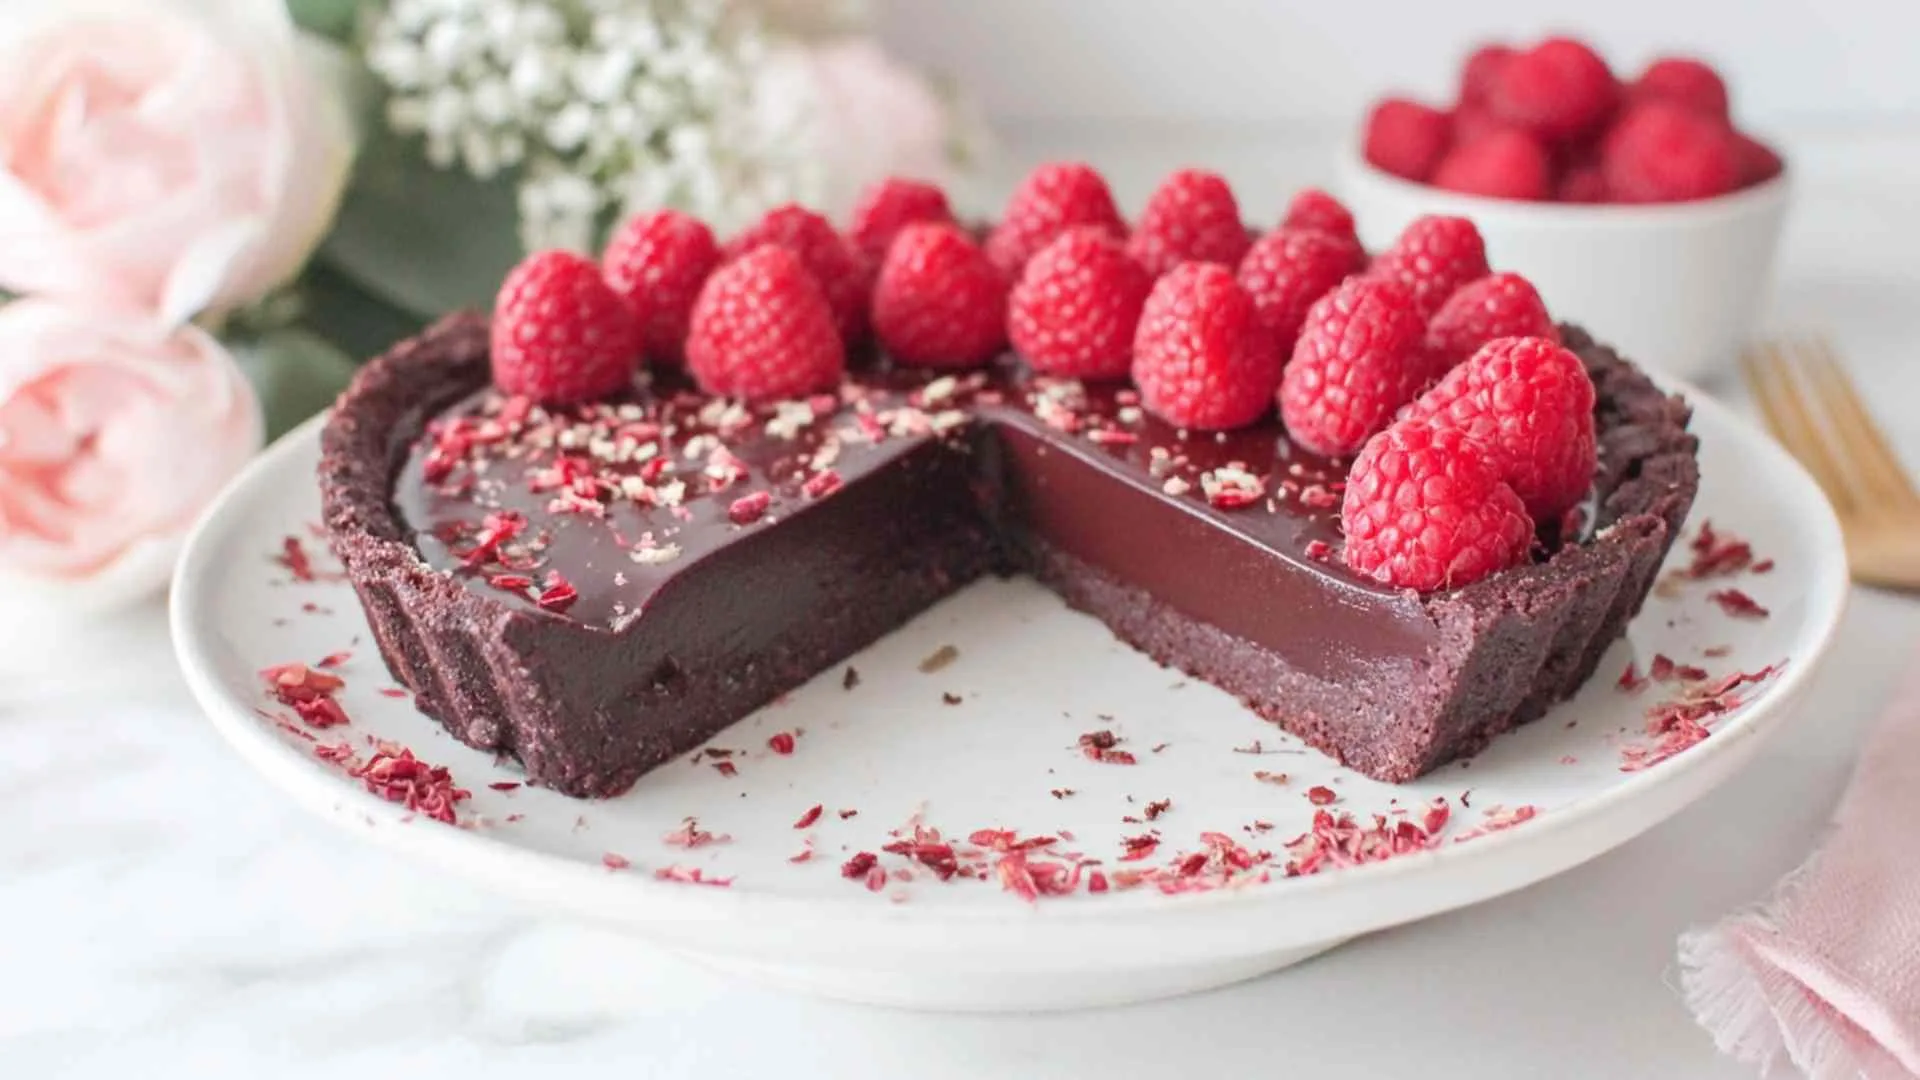
- Fruit Platter: Fresh fruits like strawberries or raspberries can add a refreshing contrast to the sweetness of your cookies. They also add a pop of color to your dessert table.
These pairing ideas will not only enhance the enjoyment of your Valentine Cookies Decorated but also create a delightful experience for you and your loved ones. Enjoy every bite!
Tips for Making the Best Valentine Cookies Decorated
Storage Tips for Freshness
To keep your Valentine Cookies Decorated fresh and delicious, proper storage is key. Here are some helpful tips:
- Cool Completely: Always let your cookies cool completely before storing them. This prevents moisture buildup, which can make them soggy.
- Use Airtight Containers: Store your cookies in airtight containers. This keeps them fresh and prevents them from absorbing odors from other foods.
- Layer with Parchment Paper: If stacking cookies, place parchment paper between layers. This helps prevent them from sticking together and keeps decorations intact.
- Keep in a Cool, Dry Place: Store your cookies in a cool, dry area away from direct sunlight. This helps maintain their texture and flavor.
- Freeze for Longer Storage: If you want to keep your cookies for an extended period, consider freezing them. Place them in a single layer on a baking sheet, freeze until solid, then transfer to a freezer-safe container. They can last up to three months in the freezer!
By following these storage tips, your Valentine Cookies Decorated will stay fresh and tasty, ready to be enjoyed whenever you like!
How to Customize Your Cookies
Customizing your Valentine Cookies Decorated can make them even more special. Here are some fun ideas to personalize your cookies:
- Personalized Messages: Use royal icing to write sweet messages on your cookies. Phrases like “Be Mine” or “Love You” add a personal touch.
- Different Shapes: While hearts are classic, don’t hesitate to use other shapes. Stars, flowers, or even initials can make your cookies unique.
- Flavor Variations: Experiment with different extracts or spices in your cookie dough. Try peppermint extract for a minty twist or orange zest for a citrusy flavor.
- Decorative Toppings: Add toppings like chocolate chips, nuts, or dried fruits to the dough before baking. This adds texture and flavor to your cookies.
- Theme-Based Designs: Match your decorations to a specific theme. For example, use pastel colors for a spring vibe or bold colors for a festive look.
These customization ideas will help you create Valentine Cookies Decorated that are not only delicious but also reflect your personality and creativity. Enjoy the process of making them truly your own!
Breakdown of Time for Valentine Cookies Decorated
Prep Time
Preparing your Valentine Cookies Decorated is a fun and engaging process. The prep time includes gathering your ingredients, mixing the dough, and rolling it out. On average, this step takes about 30 minutes. Make sure to have everything ready before you start to make the process smoother!
Cooking Time
Once your cookies are shaped and placed on the baking sheets, it’s time to bake! The cooking time for your cookies is approximately 8 to 10 minutes. Keep an eye on them to ensure they don’t overbake. You want them to be lightly golden around the edges while remaining soft in the center.
Total Time
In total, you can expect to spend around 40 minutes from start to finish when making Valentine Cookies Decorated. This includes both prep and cooking time. However, don’t forget to factor in additional time for cooling and decorating your cookies. Allowing the icing to dry completely can take a few hours, so plan accordingly if you want to serve or gift them later!
Nutritional Information for Valentine Cookies Decorated
Calories and Macronutrients
Understanding the nutritional content of your Valentine Cookies Decorated can help you enjoy them in moderation. Here’s a general breakdown of the calories and macronutrients per cookie, assuming you make about 24 cookies from the recipe:
- Calories: Approximately 150 calories per cookie.
- Carbohydrates: 22 grams, primarily from sugar and flour.
- Protein: 2 grams, mainly from the egg and egg whites.
- Fat: 7 grams, coming from the butter.
- Sugar: 10 grams, which contributes to the sweetness of the cookies.
These values can vary based on the size of your cookies and the specific ingredients used. It’s always a good idea to check the labels of your ingredients for more accurate information. Enjoying these cookies as an occasional treat can fit well into a balanced diet!
Healthier Alternatives
If you’re looking to make your Valentine Cookies Decorated a bit healthier, consider these alternatives:
- Whole Wheat Flour: Substitute half or all of the all-purpose flour with whole wheat flour. This adds fiber and nutrients.
- Reduce Sugar: Cut down the sugar by 1/4 cup. You can also use natural sweeteners like honey or maple syrup, but adjust the liquid ingredients accordingly.
- Butter Alternatives: Use unsweetened applesauce or coconut oil instead of butter. This can lower the fat content while keeping the cookies moist.
- Egg Substitutes: For a vegan option, replace the egg with a flaxseed meal or chia seed mixture (1 tablespoon of seeds mixed with 2.5 tablespoons of water equals one egg).
- Dark Chocolate Chips: If you want to add chocolate, opt for dark chocolate chips. They contain less sugar and more antioxidants than regular chocolate.
By making these simple swaps, you can enjoy your Valentine Cookies Decorated while still being mindful of your health. Baking can be both fun and nutritious!

FAQs About Valentine Cookies Decorated
Can I use different shapes for the cookies?
Absolutely! While heart shapes are classic for Valentine’s Day, feel free to get creative. You can use cookie cutters in various shapes like stars, flowers, or even initials. The key is to have fun and make cookies that reflect your personality and the spirit of the occasion. Different shapes can add variety and excitement to your Valentine Cookies Decorated.
How long do the decorated cookies last?
When stored properly, your Valentine Cookies Decorated can last for about one week at room temperature. Make sure to keep them in an airtight container to maintain their freshness. If you want to keep them longer, consider freezing them. Just remember to let them cool completely before storing them to prevent moisture buildup.
Can I freeze the cookies after decorating?
Yes, you can freeze your decorated cookies! To do this, place the cookies in a single layer on a baking sheet and freeze until solid. Then, transfer them to an airtight container or freezer bag. They can last up to three months in the freezer. When you’re ready to enjoy them, simply let them thaw at room temperature. Just keep in mind that the texture of the icing may change slightly after freezing.
What can I use instead of egg whites for royal icing?
If you’re looking for an egg-free alternative for royal icing, you can use meringue powder. Mix 2 tablespoons of meringue powder with 4 tablespoons of water to replace the egg whites. This option works well and provides a similar texture and stability for your Valentine Cookies Decorated. Another option is to use aquafaba, the liquid from canned chickpeas. Three tablespoons of aquafaba can replace one egg white in your icing recipe.
Conclusion on Valentine Cookies Decorated
Final Thoughts on Making Valentine Cookies Decorated
Making Valentine Cookies Decorated is not just about baking; it’s about creating memories. The process of mixing, rolling, and decorating brings joy and excitement. Each cookie you create is a reflection of your love and creativity. Whether you’re baking for family, friends, or that special someone, these cookies are sure to bring smiles. Remember, the best part is sharing them with others. So, don’t hesitate to get your loved ones involved in the fun!
Encouragement to Share and Enjoy
As you finish your baking adventure, take a moment to appreciate your beautifully decorated cookies. They are not just treats; they are tokens of affection. Share them with those you care about, and watch as their faces light up with joy. Whether you package them as gifts or enjoy them together at home, the love you put into each cookie will shine through. So, gather your loved ones, enjoy your delicious creations, and celebrate the spirit of Valentine’s Day with your Valentine Cookies Decorated. Happy baking!

Valentine Cookies Decorated
Ingredients
Equipment
Method
-
Preheat your oven to 375°F (190°C).
-
In a bowl, whisk together flour, baking soda, and baking powder. Set aside.
-
In a large bowl, cream together softened butter and sugar until smooth. Beat in the egg, vanilla extract, and almond extract until well combined.
-
Gradually add the dry ingredients to the butter mixture, stirring until the dough comes together.
-
On a lightly floured surface, roll out the dough to about 1/4 inch thick. Use cookie cutters to cut out shapes.
-
Place the cut-out cookies onto ungreased baking sheets, leaving space between each cookie.
-
Bake in the preheated oven for 8 to 10 minutes, until the edges are lightly golden. Remove from the oven and let cool on wire racks.
-
While cookies cool, prepare the royal icing by beating egg whites until frothy. Gradually add powdered sugar and lemon juice, mixing until smooth and glossy.
-
If desired, divide the icing into bowls and add food coloring to create different colors.
-
Once cookies are completely cooled, decorate with royal icing using piping bags or spatulas. Allow the icing to dry completely.