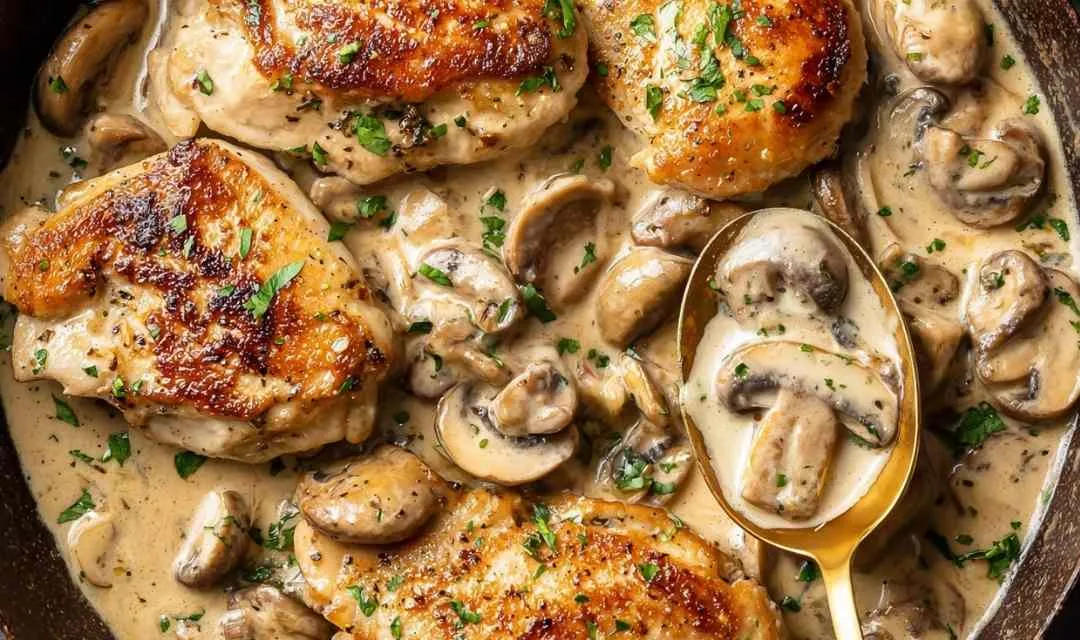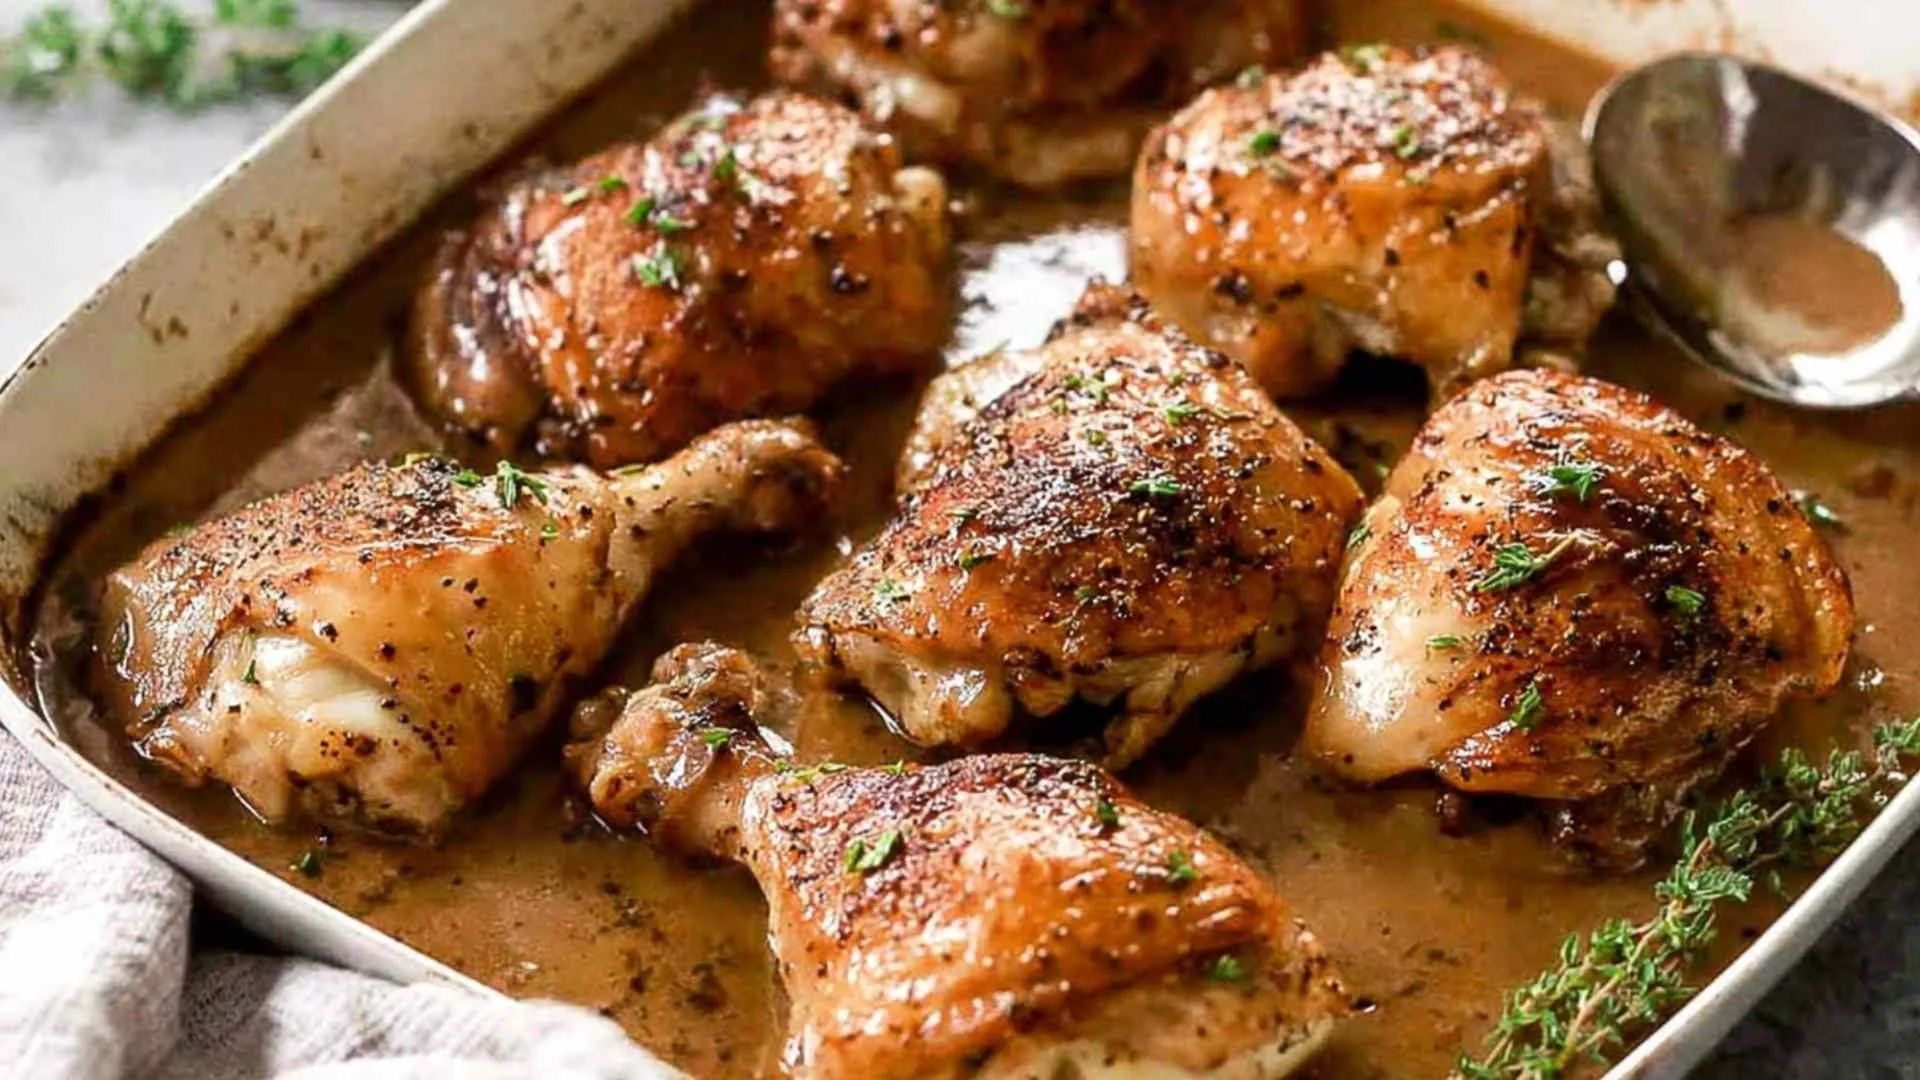
Gravy baked chicken thighs and drumsticks are the kind of dinner that saves a Tuesday night without asking anything of you. I still remember standing in my grandmother’s farmhouse kitchen, watching her slide a pan of golden chicken into the oven and walk away. No hovering, no basting, no fuss. Just the quiet confidence of someone who had done it a hundred times. That smell of paprika and thyme slowly filling the house is still one of my favorite memories, and this recipe brings it right back every single time.
What I love most about this dish is that the gravy makes itself. You pour a simple flour and beef stock mixture around the chicken before it goes in, and fifty minutes later you pull out crispy-skinned chicken sitting in a rich, dark, glossy gravy that tastes like it took hours. No canned soup. No extra pots. Just honest home cooking that delivers every time. Roll up your sleeves and let your oven do the heavy lifting.
Why This Recipe Belongs in Your Weeknight Rotation
Nonna Betty grew up in a Midwest kitchen where practicality and flavor went hand in hand. This gravy baked chicken recipe checks every box she has always looked for in a weeknight dinner: fast to prepare, forgiving to cook, and genuinely delicious at the table.
Here is what makes it stand out:
- Only 5 minutes of hands-on prep before the oven takes over
- One pan means one cleanup, nothing extra to wash
- The gravy forms on its own from the pan drippings and beef stock, no shortcuts needed
- Budget-friendly bone-in chicken pieces deliver far more flavor than boneless cuts
- Works equally well with all thighs, all drumsticks, or any combination
- Zero maintenance while it bakes, freeing you up for everything else on your plate
Key Players in This Recipe
Every ingredient in this dish has a job to do, and Nonna Betty has learned over the years that understanding your ingredients is half the battle.
Bone-in, skin-on chicken thighs and drumsticks are non-negotiable here. The bone keeps the meat juicy through the long bake, and the skin renders into a crispy golden shell on top while the underside braises gently in the gravy below. I always use fresh chicken when possible since thawed chicken releases extra water that can thin out your gravy.
Olive oil helps the seasoning cling to the skin and encourages a deep, even browning across the surface. Any neutral oil works in a pinch.
Paprika is what gives this chicken its warm amber color and gentle depth of flavor. Sweet paprika is my preference here since it adds color and aroma without any heat.
Dried thyme brings an earthy, herbal quality that pairs perfectly with roasted chicken and complements the beef stock gravy. In my kitchen, thyme is non-negotiable for any baked chicken dish.
Onion powder adds a mellow savory sweetness throughout the seasoning blend. Garlic powder is a fair swap if that is what you have on hand.
All-purpose flour is the quiet workhorse of the gravy. Whisked into the beef stock before baking, it gradually thickens during the 50-minute roast, turning thin broth into a proper, glossy gravy without any extra steps.
Beef stock is the real secret here. It gives the gravy a deep mahogany color and a richness that chicken stock cannot match. I have tested both and beef wins every single time for both flavor and appearance.
How to Make Gravy Baked Chicken Thighs and Drumsticks
Step 1. Preheat your oven to 390 degrees Fahrenheit, or 180 degrees with a fan-forced setting. A properly preheated oven is essential for developing that crispy skin from the start, so don’t rush this step.
Step 2. Combine the paprika, dried thyme, onion powder, salt, and black pepper in a small bowl. Betty always mixes the seasoning first so it is ready to go before the chicken touches the pan.
Step 3. Place the chicken pieces in your 9 x 13 inch baking pan. Drizzle with olive oil and rub the seasoning all over each piece, concentrating most of it on the skin side. Arrange them skin side up.
Step 4. In a separate bowl or jug, whisk the flour into roughly half a cup of beef stock until completely smooth and lump-free. Then whisk in the remaining stock and the black pepper for the gravy. Adding the liquid gradually is the key to a smooth, lump-free base.
Step 5. Pour the gravy mixture around the chicken pieces in the pan, not over them. Keeping the skin exposed to the dry oven heat is what makes it crisp up properly while the underside of the chicken braises in the liquid below.
Step 6. Bake uncovered for 50 minutes. No basting, no stirring, no peeking every ten minutes. The oven handles everything from here.
Step 7. When the chicken is golden and the skin is deeply crisp, remove the pieces from the pan and set them on a plate. The gravy may look thick and congealed at this point, which is completely normal. Give it a vigorous whisk for about 30 seconds and it will smooth out into a glossy, silky sauce.
Step 8. Taste the gravy and season with additional salt and pepper as needed. If it is too thick, add a small splash of hot water and whisk again. If it looks a little thin, return the pan to the oven for a few minutes without the chicken and it will tighten quickly.
Step 9. Pour the gravy into a warm jug and serve it alongside the chicken so everyone at the table can help themselves. That is exactly how Betty has always done it.
Storage and Reheating Tips
One of the best things about this dish is how well the leftovers hold up. Store the chicken and gravy in separate airtight containers in the refrigerator, where they will keep well for up to four days. Keeping them separate prevents the skin from going soft during storage.
For freezing, allow everything to cool completely before transferring to freezer-safe containers or zip-lock bags. The gravy freezes particularly well and can be stored for up to three months. Freeze the chicken and gravy separately for the best results when it comes time to reheat.
To reheat, place the chicken on a wire rack set over a baking tray and warm it at 375 degrees Fahrenheit for 12 to 15 minutes. This brings back most of the crispiness that refrigeration tends to take away. Reheat the gravy gently in a small saucepan over low heat, whisking as it warms to keep it smooth. If you are short on time, the microwave works fine for the gravy and the chicken can go in a skillet skin side down over medium heat to revive a bit of its crunch.
What to Serve with Gravy Baked Chicken
This dish is the kind of main that pairs well with almost anything comforting and hearty. Here are some of Nonna Betty’s favorite ways to round out the plate:
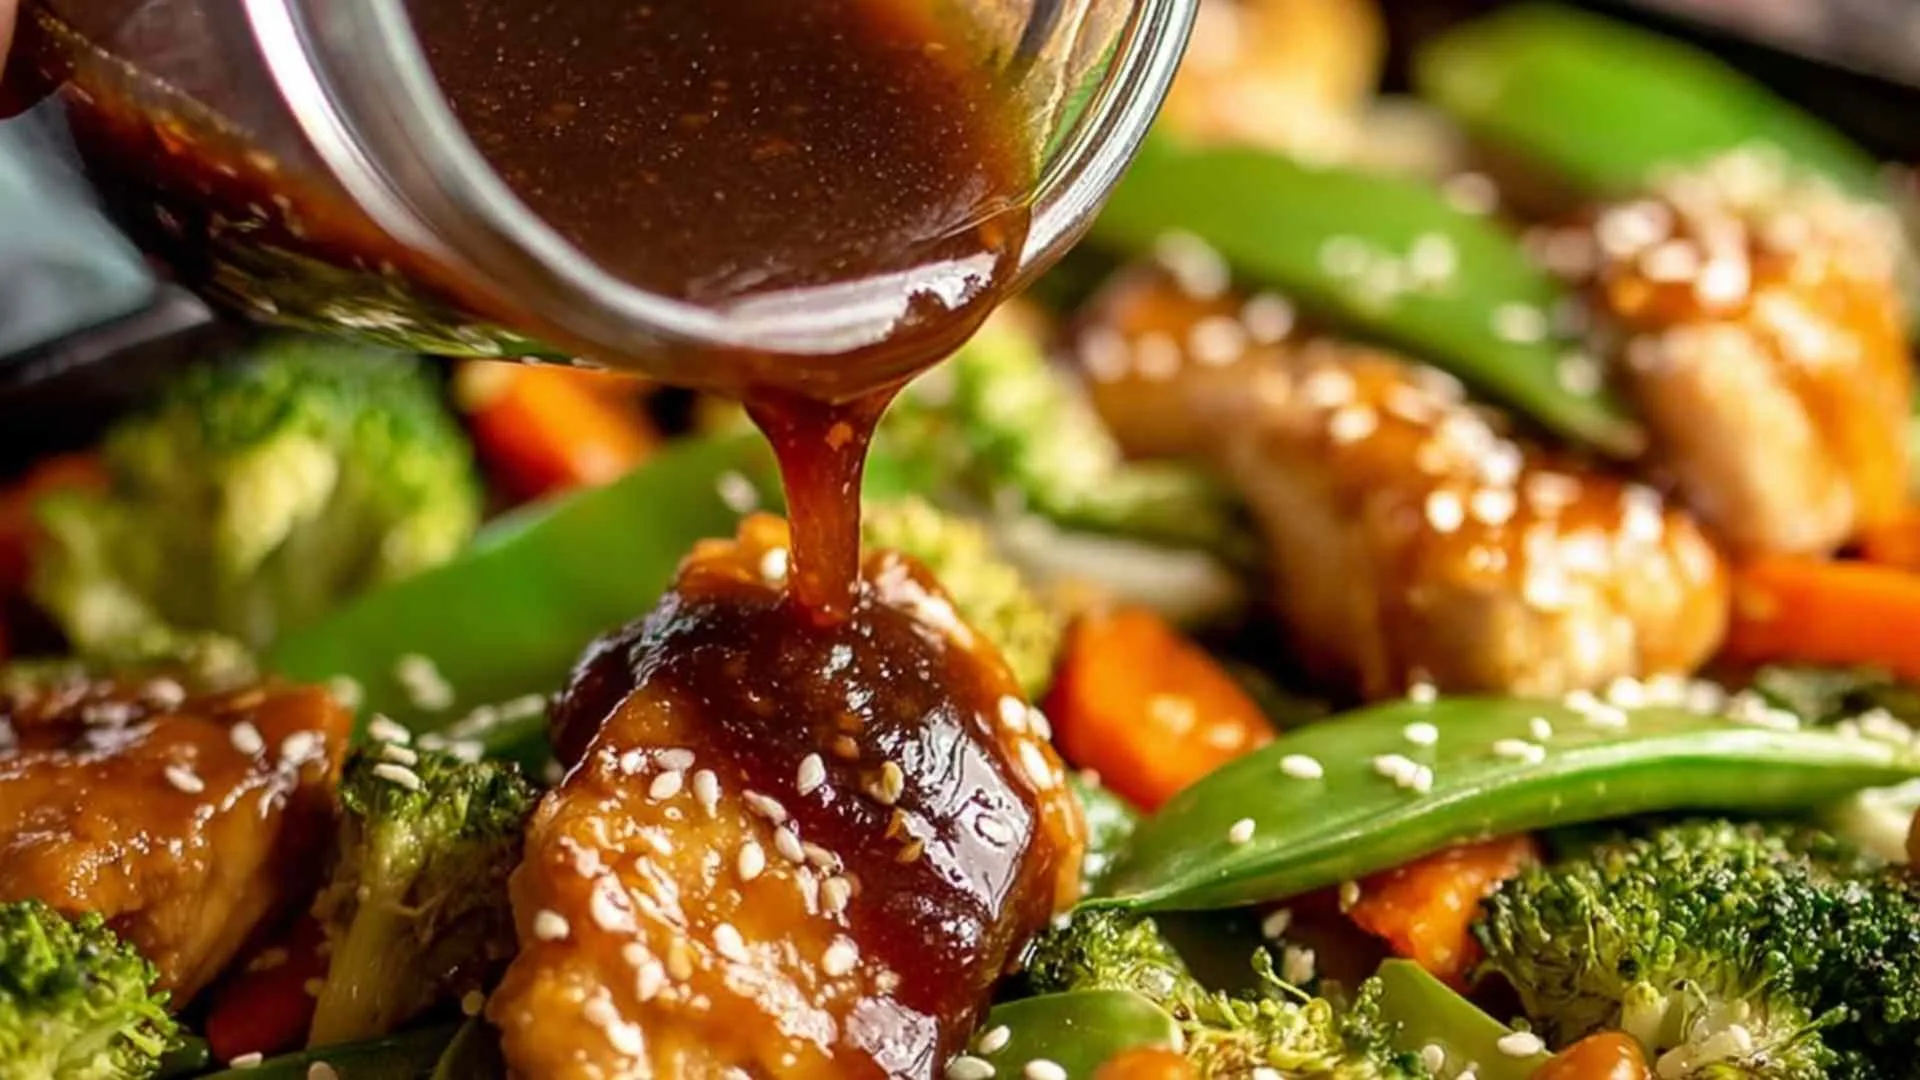
- Coconut Chicken Brothy Rice makes a flavorful base that complements the peanut sauce beautifully.
- Lemon Rice adds a bright citrus contrast that cuts through the richness of the coconut curry.
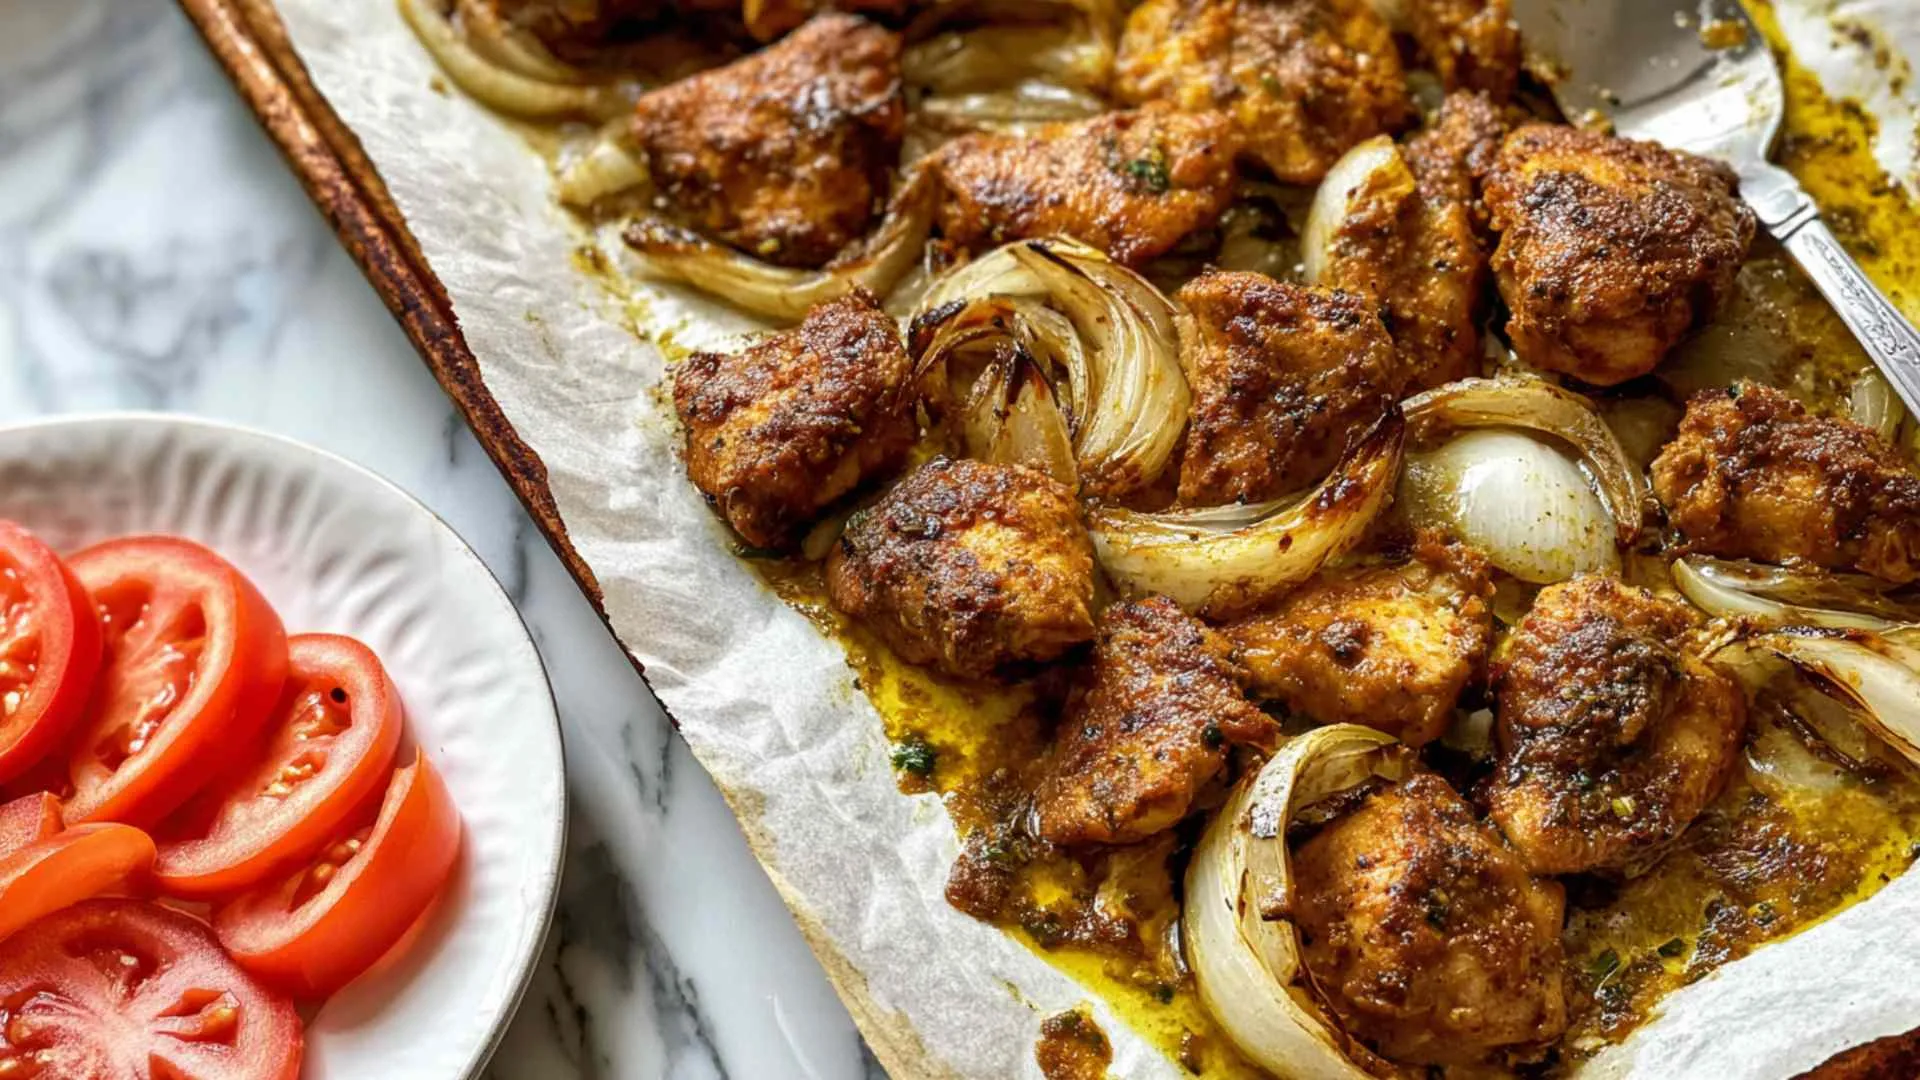
- Fresh sliced cucumber and tomato wedges served plain with no dressing, a very traditional Southeast Asian accompaniment that cools each bite.
- Crispy Garlic Parmesan Brussels Sprouts for a roasted vegetable side that adds texture and substance to the plate.
- Maple Glazed Carrots and Brussels Sprouts bring a gentle sweetness that plays off the savory curry.
- Asian Mango Glazed Chicken if you are feeding a crowd and want a lighter second protein option alongside the curry.
FAQs
Chicken breasts cook much faster than bone-in pieces, so the standard method won’t work here without adjustment. I recommend placing the pan with just the gravy mixture into the oven for 20 minutes first, then adding the breasts and baking for another 20 minutes.
You can, but the gravy will be noticeably paler and milder in flavor. Beef stock is what gives this gravy its rich brown color and depth, so it is worth keeping a carton on hand specifically for this recipe.
This happens every time and is completely normal. The key is to whisk it vigorously for at least 30 seconds after removing the chicken. If you still see lumps, strain the gravy through a fine mesh sieve as you pour it into the jug.
Gravy Baked Chicken Thighs and Drumsticks
Ingredients
Equipment
Method
-
Preheat oven to 390 degrees Fahrenheit, or 180 degrees fan-forced.
-
Mix the paprika, dried thyme, onion powder, salt, and black pepper together in a small bowl to form the seasoning blend.
-
Place chicken pieces in the 9×13 inch baking pan. Drizzle with olive oil and rub the seasoning all over each piece, using most of it on the skin side. Arrange skin side up.
-
Pour the gravy mixture around the chicken pieces in the pan, not over them, so the skin stays exposed to dry oven heat.
-
Bake uncovered for 50 minutes, or until the chicken skin is crispy and deep golden brown.
-
Remove chicken to a plate. Whisk the pan gravy vigorously until smooth. If too thick, add a splash of hot water. If too thin, return the pan to the oven for a few minutes without the chicken.
-
Taste the gravy and season with salt and pepper as needed. Pour into a warm jug and serve alongside the chicken.