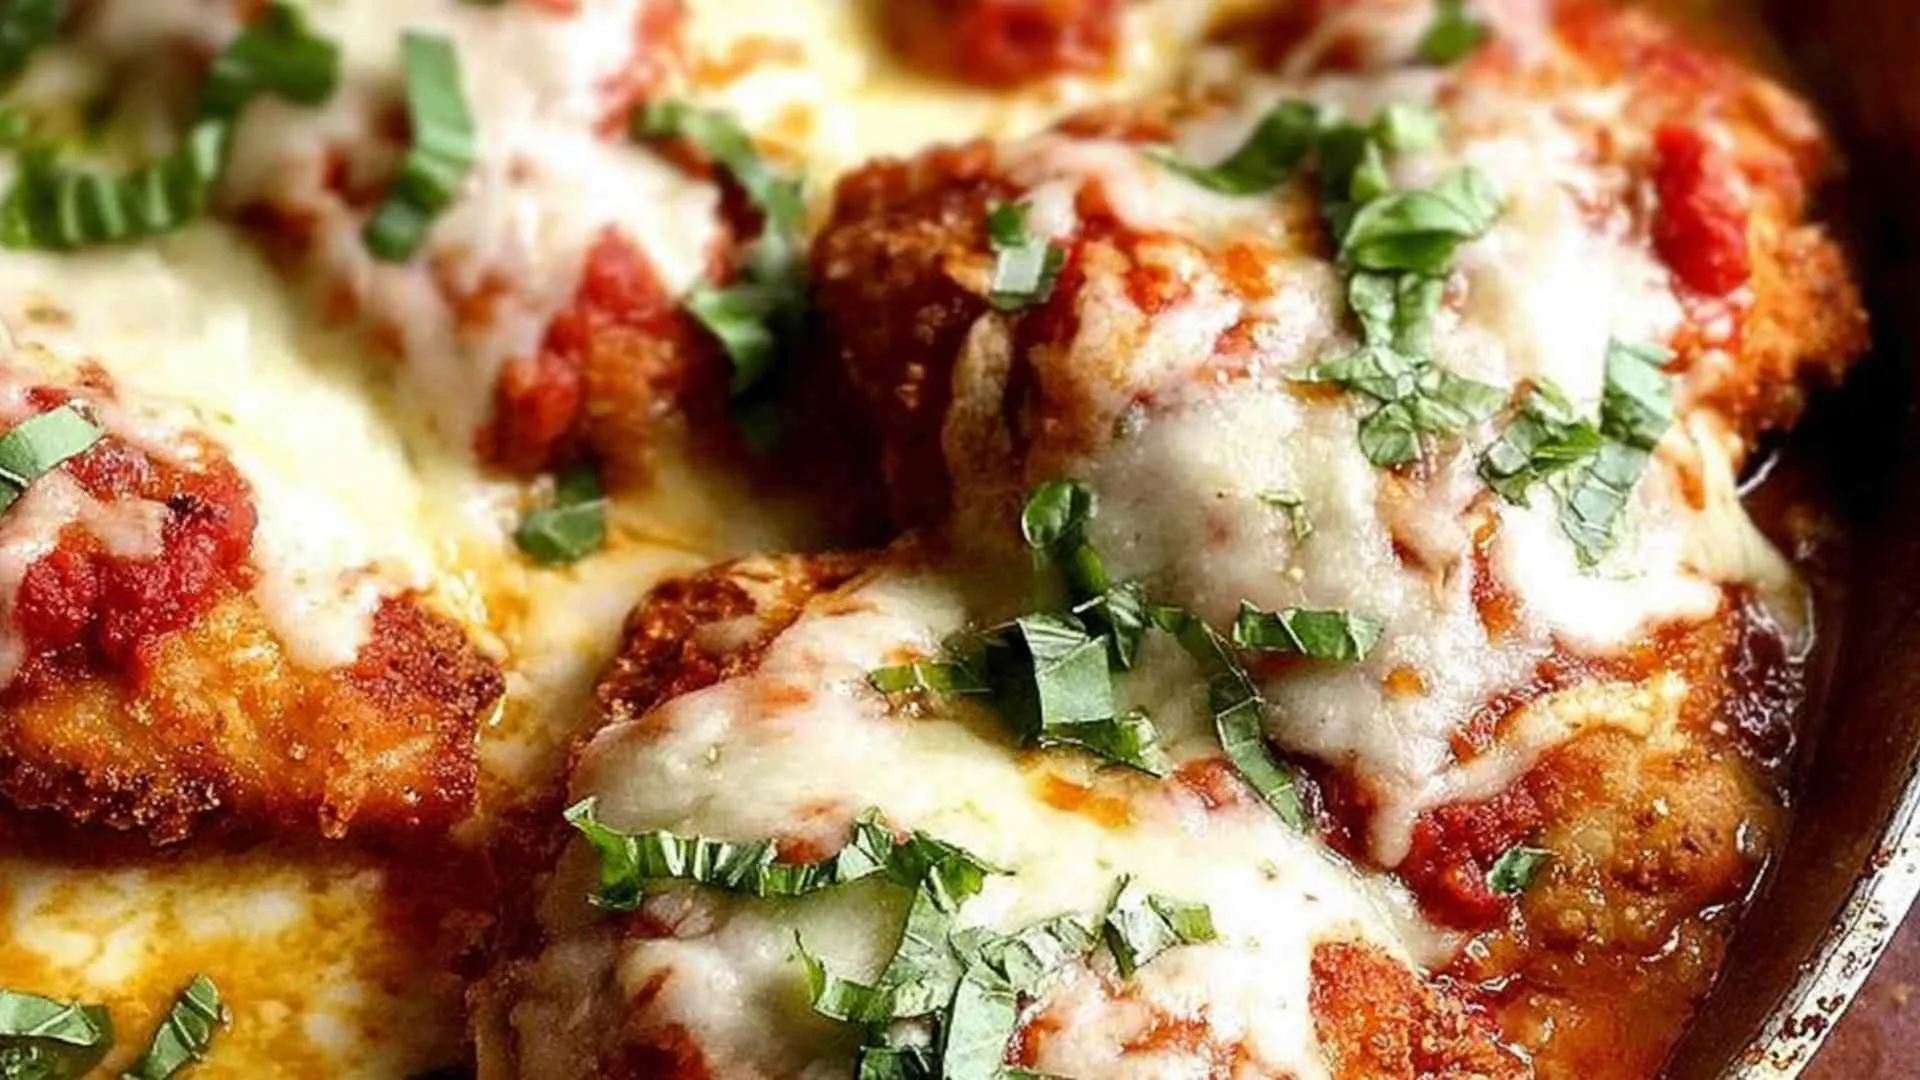
Chicken Parmigiana is one of those recipes that stops people mid-bite. I made this for a big family Sunday dinner last fall, and my son-in-law, who swears he does not cook, called me two days later asking for the recipe step by step. That is the kind of dish this is. The crust stays shatteringly crispy even after the sauce goes on, the chicken is juicy all the way through, and the melted cheese situation on top is exactly what a cold evening calls for. My grandmother would have called it a showstopper, and she was not wrong.
Growing up on the farm in the Midwest, our Sunday suppers were never complicated, but they were always layered with flavor. Grandma believed in seasoning every single component of a dish, not just the meat at the end. That philosophy is the backbone of this Chicken Parmigiana recipe. You season the chicken during the brine, the flour, the egg wash, and the breadcrumbs. Each layer builds on the last, so every single bite has something going on. This is not a 20-minute weeknight shortcut. It is a real, proper Chicken Parmesan worth sitting down for. Time to get your hands a little floury.
What Makes This Chicken Parmigiana So Special
This recipe came together after many rounds of testing in my kitchen, including a few versions where the crust turned soggy the moment the sauce hit it. Through trial and error, I landed on a method that genuinely holds up.
- The dry brine draws moisture out of the chicken and then pulls it back in seasoned, keeping the meat juicy through both the frying and baking stages without any wet marinade that would ruin the crust.
- Panko breadcrumbs mixed with finely grated parmesan create a crust that is airy and crunchy in a way that regular breadcrumbs simply cannot match.
- Leaving the edges of the chicken exposed when saucing means those edges stay completely crispy while the center goes saucy and molten.
- The homemade parmigiana sauce uses white wine and chicken stock for a depth of flavor that no jar sauce can replicate, and it takes about ten minutes to put together.
- With 46 grams of protein per serving, this is a satisfying, high-protein dinner that does not feel like diet food.
- A baked no-fry option is included for nights when you want all the flavor with less mess.
If you love cheesy chicken dishes, you might also enjoy this Crispy Parmesan Chicken with Creamy Garlic Sauce for another weeknight winner.
Key Players in This Recipe
Chicken breasts are halved horizontally into thinner cutlets. This gives you more surface area for crust, more even cooking, and a better portion size per serving. I always look for breasts around 10 oz each.
Kosher salt is my choice for the dry brine because the larger crystals distribute evenly across the surface. If you only have table salt, use about three-quarters of the amount called for.
Panko breadcrumbs are non-negotiable here. Their open, flaky texture fries up dramatically crunchier and less greasy than fine breadcrumbs. In my kitchen, I never substitute these out.
Parmesan in the breadcrumb mixture seasons the crust and helps it brown deeply thanks to the natural sugars and proteins in aged cheese. I prefer the store-bought finely grated, sand-like parmesan for this step since it distributes more evenly.
Tomato passata is sold as tomato puree in the US. Look for the Mutti brand at Walmart. It gives the sauce a smooth, concentrated tomato flavor without the chunky texture of diced tomatoes.
White wine adds brightness and acidity that balances the richness of everything else. It is technically optional, but I have made this recipe both ways and the wine version is noticeably better.
Chicken stock thins the sauce while adding savory depth that water cannot provide. A good store-bought broth works well here.
Shredded mozzarella melts far more evenly than fresh mozzarella slices. I always choose shredded for this recipe.
Freshly grated parmesan for the topping melts smoothly rather than sitting in dry clumps. Save the finely grated store-bought kind for the breadcrumb mix and use freshly grated on top.
A drizzle of extra virgin olive oil over the cheese before baking is the detail that makes the difference between parmesan that melts properly and parmesan that crisps into a dry layer.
How to Make Chicken Parmigiana Step by Step
Step 1. Sprinkle both sides of each chicken cutlet with kosher salt, black pepper, and Italian herbs. Refrigerate uncovered for 30 minutes. I learned after skipping this once that the chicken comes out noticeably drier, so I never rush past this step.
Step 2. While the chicken brines, start your parmigiana tomato sauce. Heat a tablespoon of olive oil in a saucepan over medium heat. Add the finely minced garlic and onion and cook for about 3 minutes until soft and translucent. Add the red pepper flakes and herbs and stir for 15 seconds.
Step 3. Pour in the white wine, increase the heat, and let it simmer rapidly until mostly evaporated. Add the tomato passata, chicken stock, salt, and pepper. Cover and simmer on low for 10 minutes until the sauce thickens slightly. Keep it warm while you set up for crumbing.
Step 4. Preheat your oven to 350 degrees F. Set up three shallow bowls: one with all-purpose flour, one with the whisked eggs combined with minced garlic, salt, pepper, and Italian herbs, and one with the panko, parmesan, salt, and pepper mixed together.
Step 5. Press each piece of brined chicken into the flour and shake off the excess firmly. Too much flour left on creates a pasty layer under the egg. Coat in the egg wash and let the excess drip off, then press firmly into the breadcrumb mixture on both sides so it adheres all over. Set on a plate and repeat.
Step 6. Place a wire rack on top of a paper-towel-lined tray and set it nearby. Heat about three-quarters of an inch of oil in a large skillet over medium-high heat until it reaches 350 degrees F. I always use a thermometer here because oil that is too cool makes greasy chicken and oil that is too hot burns the crust before the chicken cooks through.
Step 7. Fry 2 to 3 pieces at a time for 2 minutes on the first side until deeply golden, then flip and cook 1 and a half minutes on the other side. Do not crowd the pan. Transfer to the rack to drain. Repeat with remaining chicken.
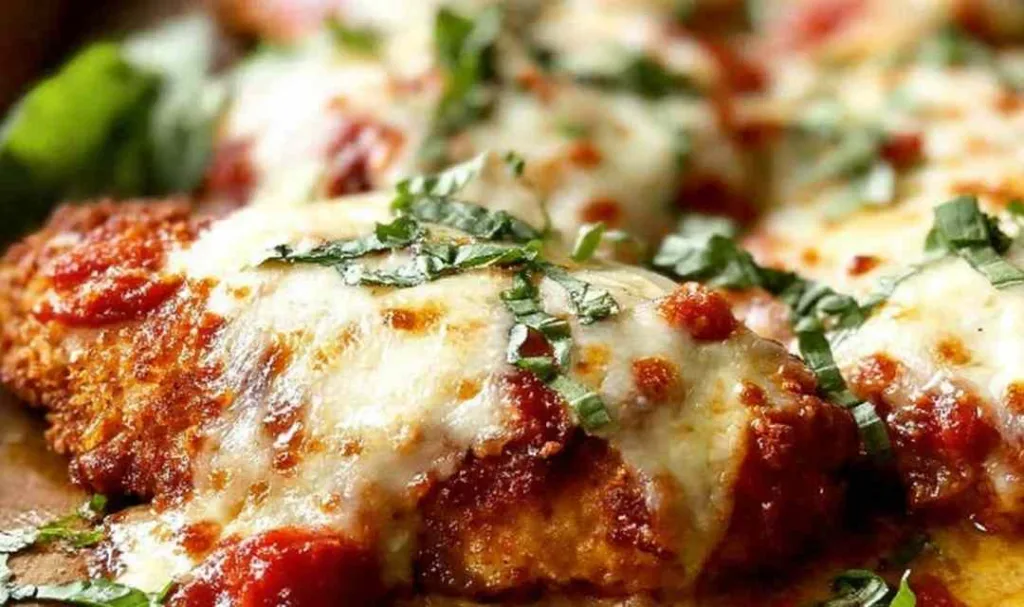
Step 8. Place the fried chicken on a clean baking tray. Spoon about one-third cup of sauce over each piece, covering roughly 80 percent of the surface. Leave the edges bare. This is the detail that keeps your Chicken Parmigiana crust from going completely soft under the sauce.
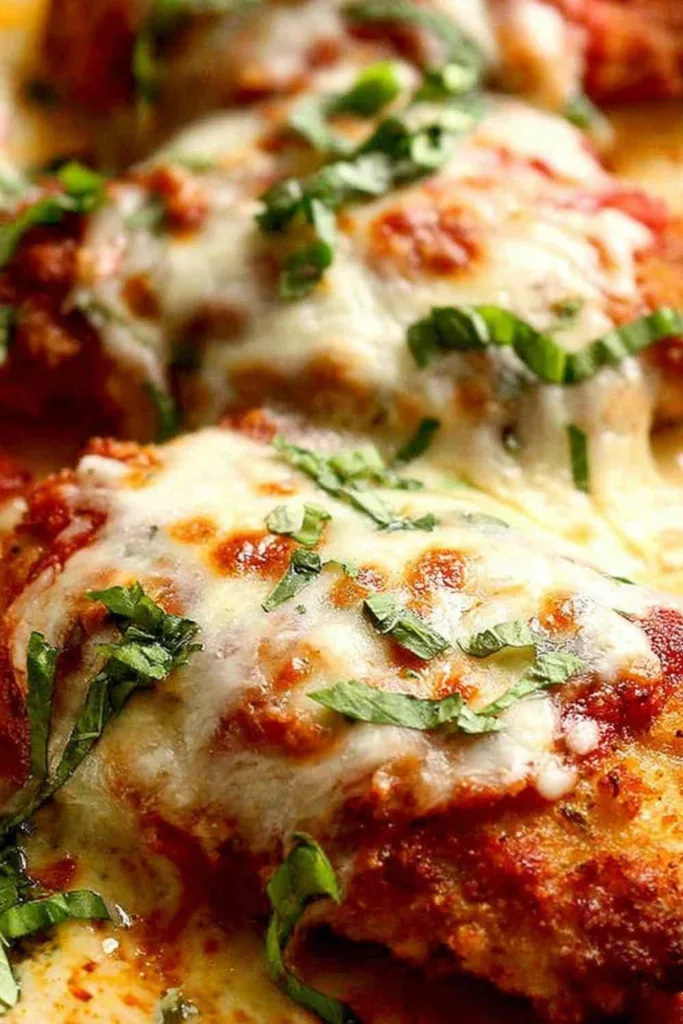
Step 9. Scatter the chopped basil over the sauce, pile on the shredded mozzarella, then top generously with freshly grated parmesan. Drizzle a little extra virgin olive oil over the parmesan.
Step 10. Bake for exactly 15 minutes until the cheese is melted with light golden spots. Do not go beyond 15 minutes. Serve immediately with fresh basil scattered on top.
Baked No-Fry Option
Toast the panko breadcrumbs in a dry pan until golden, then mix in the grated parmesan. Crumb the chicken using the same flour, egg, and crumb sequence. Arrange on a baking rack set over a tray, spray generously with cooking oil on all sides, and bake at 390 degrees F for 15 minutes. Then proceed with the sauce, cheese, and second bake exactly as described above. The crust will not be quite as deeply golden as the fried version but it holds up well and the flavor is genuinely good.
Keeping Your Chicken Parmigiana Fresh
Chicken Parmigiana is at its very best eaten straight from the oven, while the crust is at peak crunch and the cheese is still bubbling. That said, this recipe stores better than most when you handle it correctly.
Keep the fried schnitzel and the tomato sauce in separate airtight containers in the refrigerator for up to 2 days. When you are ready to eat, reheat the schnitzel in a 430 degree F oven for 3 to 5 minutes until it crisps back up, then add the sauce and cheese and bake for another 15 minutes. Reheating the assembled dish tends to steam the crust soft, so separating the components for storage makes a real difference.
You can crumb the raw chicken up to 24 hours in advance and refrigerate it uncovered on a plate. The breadcrumbs actually stick a little better after a night in the fridge, and you can fry straight from cold when you are ready to cook. The tomato sauce keeps well refrigerated for up to 3 days, or frozen for up to 3 months. Making a double batch of sauce is always worth the extra ten minutes.
What to Serve with Chicken Parmigiana
The right sides turn this from a great main into a proper spread. Here is what works best alongside it.
- A leafy green salad dressed with balsamic vinegar cuts right through the richness of the fried chicken and melted cheese. The acidity is a natural contrast to the sweet tomato sauce.
- Perfect Parmesan Garlic Bread is the non-negotiable addition in our house. You need something to scoop up every last bit of that parmigiana sauce from the pan.
- Creamy Lemon Chicken Pasta served simply with butter and parmesan makes this a full Italian-American spread. Keep the pasta plain so it does not compete with the main dish.
- Air-fried French fries or chips are my family’s personal pick alongside this. Crispy chicken and crispy fries is one of those combinations that just makes sense.
- Steamed broccolini or green beans with a little garlic add color to the plate and a slightly bitter note that balances the richness.
- Crusty Italian bread rounds out the table for any guests who arrive hungry.
Want to use up leftover sauce or turn this into a full Parmesan-themed dinner? Try this Baked Chicken Parmesan Pasta or this cozy Crock Pot Creamy Chicken Parmesan Soup later in the week.
FAQs
Yes. Toast the panko first, crumb the chicken the same way, spray generously with oil, and bake at 390 degrees F for 15 minutes before adding sauce and cheese. It will not be identical to the fried version but it is genuinely delicious.
The two most common causes are skipping the dry brine and baking longer than 15 minutes. The brine protects the meat through both the frying and baking stages. Set a timer for the final bake so you do not lose track.
You can. Boneless skinless thighs work well and are naturally a bit juicier. Pound them to an even thickness before crumbing so they cook through at the same rate.

Chicken Parmigiana
Ingredients
Equipment
Method
-
Sprinkle both sides of each chicken cutlet with kosher salt, black pepper, and Italian herbs. Refrigerate uncovered for 30 minutes. Do not skip this step.
-
Heat olive oil in a saucepan over medium heat. Cook garlic and onion for 3 minutes until soft and translucent. Add red pepper flakes and herbs and stir for 15 seconds.
-
Add white wine, increase heat, and simmer rapidly until mostly evaporated. Add tomato passata, chicken stock, salt, and pepper. Cover and simmer on low for 10 minutes until slightly thickened. Keep warm.
-
Press each piece of brined chicken into the flour and shake off the excess firmly. Coat in the egg wash letting excess drip off. Press firmly into the breadcrumb mixture on both sides. Set on a plate and repeat with remaining chicken.
-
Place a wire rack on a paper-towel-lined tray. Heat three-quarters of an inch of frying oil in a large skillet over medium-high heat to 350 degrees F. Use a thermometer for accuracy.
-
Fry 2 to 3 pieces at a time for 2 minutes on the first side until deeply golden. Flip and cook 1 and a half minutes on the other side. Do not crowd the pan. Transfer to the wire rack to drain.
-
Place fried chicken on a clean baking tray. Spoon about one-third cup of sauce over each piece covering roughly 80 percent of the surface. Leave the edges bare so they stay crispy.
-
Scatter chopped basil over the sauce. Pile on shredded mozzarella then top with freshly grated parmesan. Drizzle a little extra virgin olive oil over the cheese.
-
Bake for exactly 15 minutes until the cheese is melted with light golden spots. Do not bake longer. Garnish with fresh basil and serve immediately.


