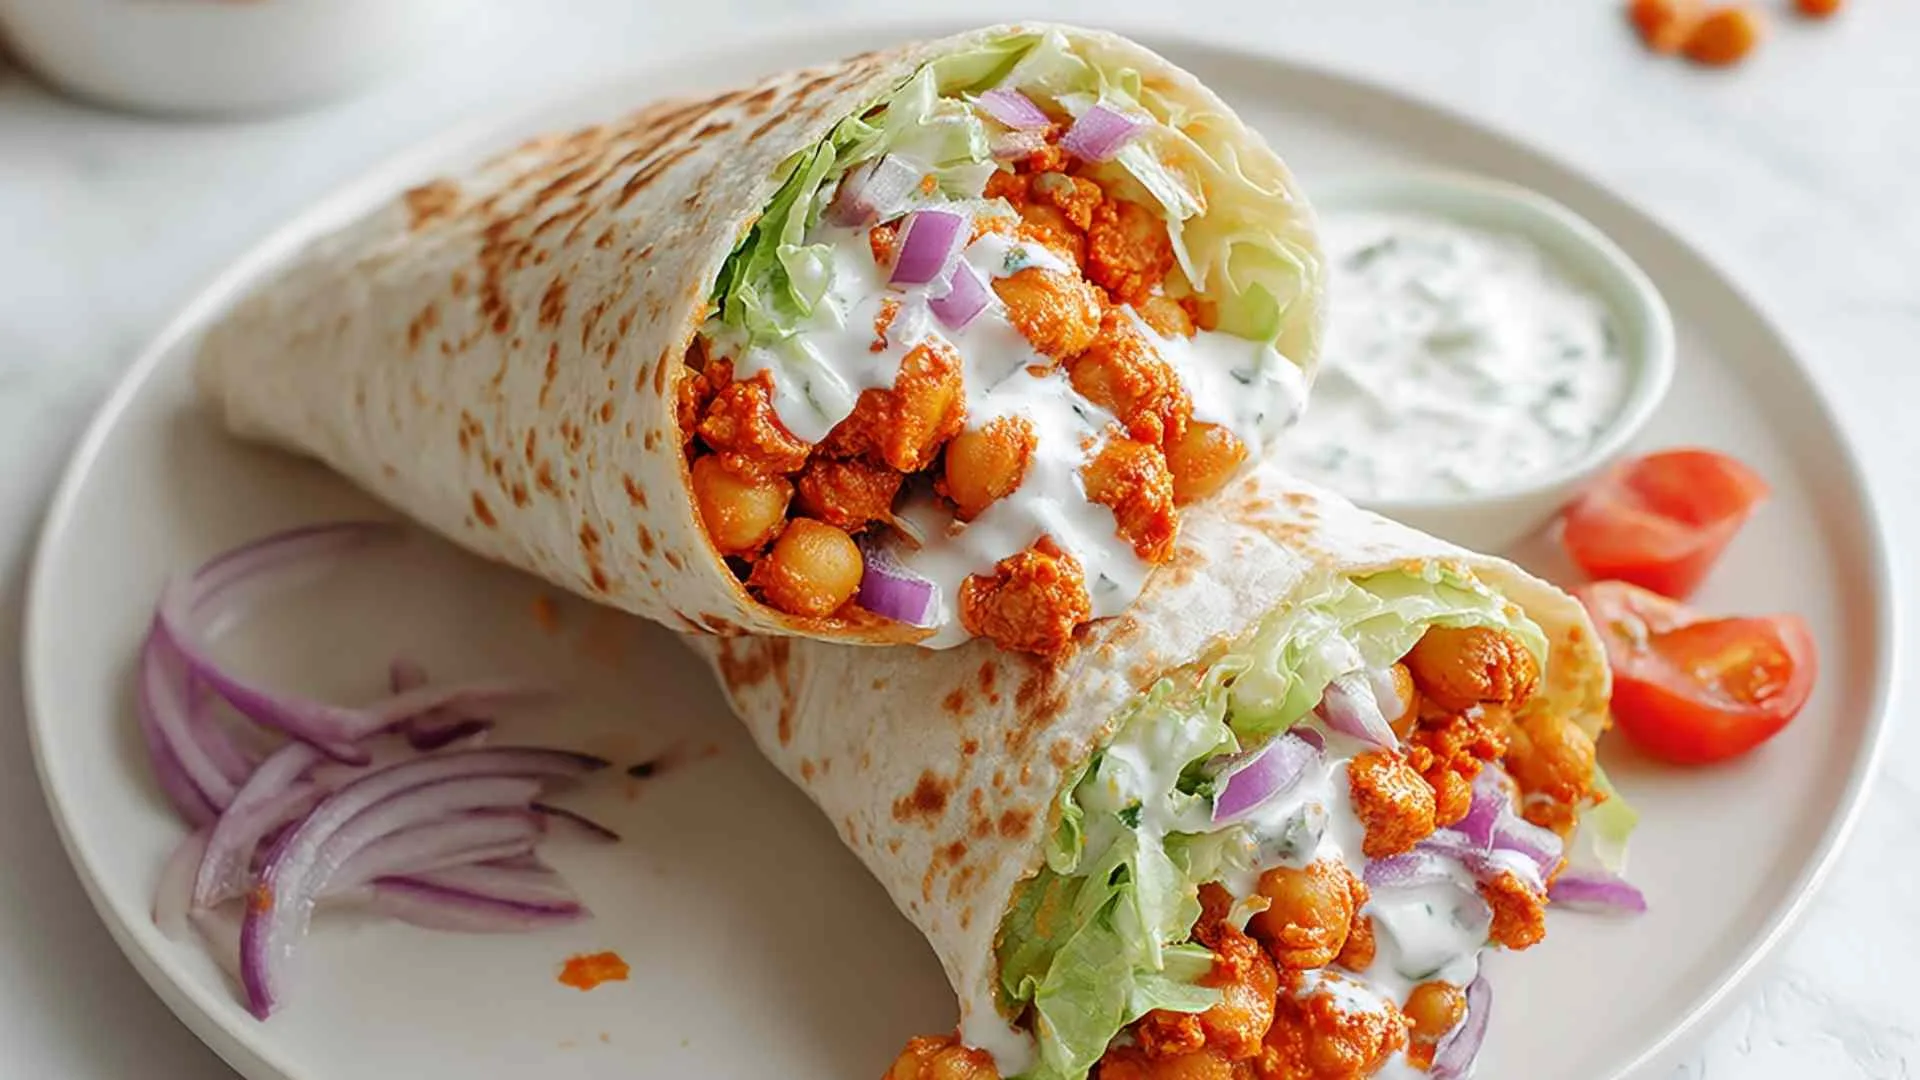
This Buffalo Chickpea Wrap is the perfect solution for a quick, hearty lunch or dinner that does not skimp on flavor. Growing up in the Midwest, I learned that a good meal brings people together, and while we usually stuck to classic casseroles, this modern twist on a spicy favorite has certainly earned its spot at my family table.
There is a specific joy found in the simplicity of a wrap done right. I remember rainy afternoons in my grandmother’s farmhouse kitchen, watching her whip up simple, satisfying meals with whatever we had on hand. While she might not have had buffalo sauce on her pantry shelf, the spirit of this recipe, that resourceful combination of pantry staples and fresh crunch, would have made her smile. This Buffalo Chickpea Wrap captures that same comforting feeling, balancing the bold heat of the sauce with the cool creaminess of yogurt, all wrapped up in a warm tortilla. It reminds me that good food does not need to be complicated to be memorable. Time to get our hands a little saucy!
Why This Buffalo Chickpea Wrap Is A Keeper
In my kitchen, a recipe has to pass a few tests before it becomes a regular. It needs to be practical, delicious, and family approved. This wrap checks all those boxes and more.
- Uses Pantry Staples: You likely have canned chickpeas and basic spices in your cupboard right now.
- Ready in 25 Minutes: On busy weeknights when the grandkids are visiting, this comes together in a flash.
- Versatile for Any Diet: It is naturally high in protein and easily adaptable for vegan family members.
- Make Ahead Friendly: The filling stores beautifully, making lunch prep for the week a breeze.
- Crowd Pleasing Flavor: That spicy, tangy buffalo kick has a way of making everyone ask for seconds.
- Texture Perfection: The contrast between the creamy filling and crisp veggies is simply irresistible.
The Heart of the Wrap
Every great recipe starts with understanding your ingredients. I have found that treating each component with a little care makes all the difference in the final dish.
- Canned Chickpeas: These little beans are the workhorse of the recipe. I always rinse them thoroughly to remove the canning liquid, which helps the buffalo sauce stick better. They provide a wonderful, nutty base that mashes just enough to feel hearty without losing their texture.
- Buffalo Sauce: This is where the bold personality of the dish comes from. It brings that signature vinegary heat that wakes up your palate. I like to use a trusted brand I know has the right balance of spice and tang.
- Plain Greek Yogurt: A staple in my fridge for years, Greek yogurt offers a cool, creamy contrast to the heat of the sauce. It mimics the richness of sour cream but adds that extra protein boost we all look for.
- Large Flour Tortillas: I prefer the 10 inch size because it gives you plenty of room to fold everything in securely. Warming them is a non negotiable step for me because it prevents tearing and makes the wrap tender.
- Fresh Vegetables: The lettuce, tomatoes, and red onion add the essential crunch and freshness. Using crisp, cold lettuce straight from the fridge creates a wonderful temperature contrast against the warm filling.
How to Put It All Together
Cooking should be a stress free experience. Follow these steps, and you will have a restaurant quality wrap in no time.
Step 1. I always start by heating my nonstick skillet over medium heat. Getting the pan ready first ensures the chickpeas start sizzling as soon as they hit the oil.
Step 2. In a medium bowl, lightly mash the chickpeas with a fork. Betty’s tip: Do not puree them! You want to leave some chunks for a better bite. Stir in the buffalo sauce, garlic powder, onion powder, salt, and black pepper until everything is well coated.
Step 3. Add the olive oil to your warm skillet, then pour in the chickpea mixture. Cook for 5 to 7 minutes, stirring occasionally. I have learned that letting it sit for a minute between stirs helps develop a slight crust on the chickpeas.
Step 4. While the filling cooks, mix the Greek yogurt and lemon juice in a small bowl. This simple dressing is the secret to cooling down the spice.
Step 5. In a separate dry skillet, warm each tortilla for about 20 seconds per side. This softens them up perfectly for rolling.
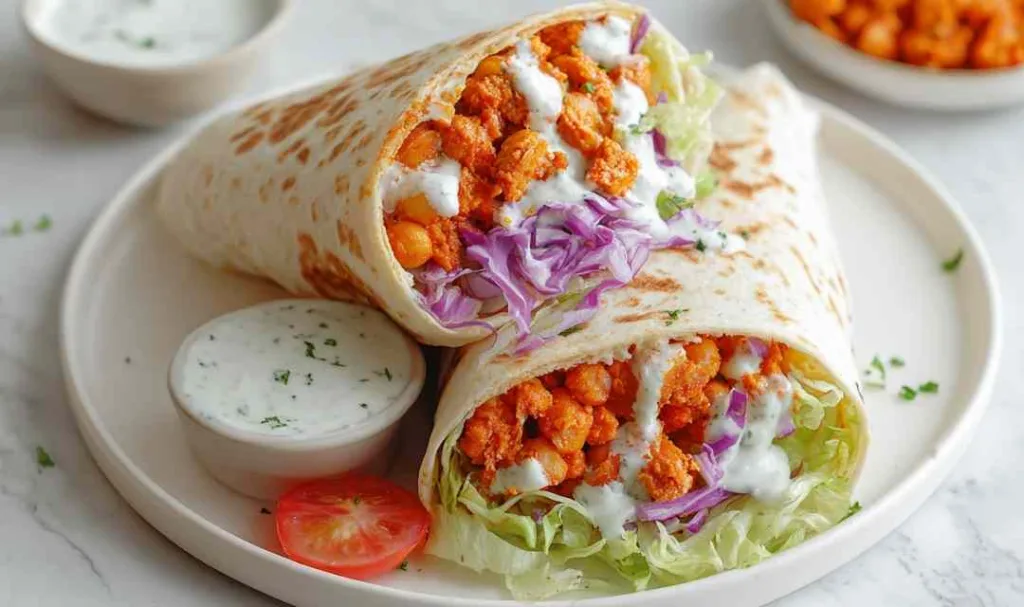
Step 6. Assemble your wraps by spooning the buffalo chickpea mixture onto the center. Top with shredded lettuce, diced tomatoes, red onion, and a generous drizzle of that yogurt dressing.
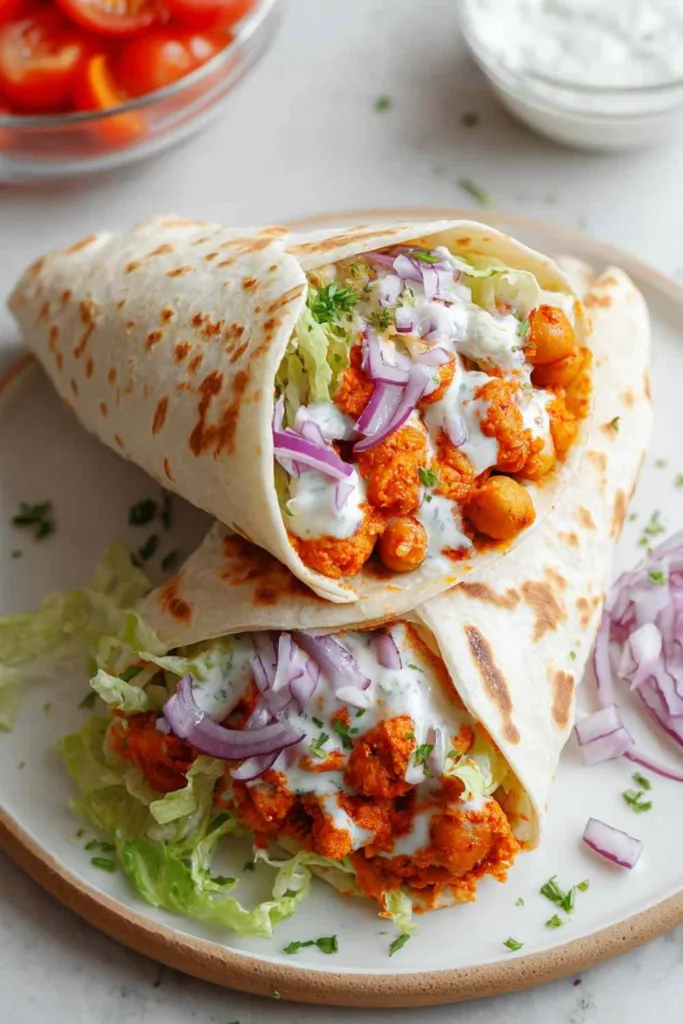
Step 7. Fold in the sides and roll it up tight. I like to slice mine in half on a diagonal because it just looks prettier that way!
Keeping It Fresh
One thing I often get asked is how to store leftovers without ending up with a soggy wrap.
Refrigerator Storage: I typically store the chickpea filling in an airtight container for up to 3 days. It actually gets more flavorful as it sits! However, keep your veggies and dressing separate to maintain that fresh crunch.
Freezing Guidelines: The chickpea mixture freezes wonderfully for up to one month. Just thaw it overnight in the fridge. I do not recommend freezing the assembled wraps, as the lettuce and tomatoes will not hold up well.
Reheating: For the best texture, reheat the filling gently in a skillet over medium low heat. You can microwave it, but the stovetop brings back that slight crispiness I love.
What to Serve Alongside
Building a complete meal is easy when you have a few trusty sides. Here are some of my family’s favorites that pair perfectly with this wrap.
- Crispy Garlic Parmesan Brussels Sprouts: The savory crunch of these sprouts is a fantastic match for the spicy wrap. Crispy Garlic Parmesan Brussels Sprouts
- High Protein Chicken Street Corn Salad: This salad adds a fresh, zesty element to your plate and boosts the protein even more. High Protein Chicken Street Corn Salad
- Easy Chicken Caesar Wrap: If you have family members who prefer a milder flavor, this classic wrap is a great alternative to serve alongside the spicy buffalo version. Easy Chicken Caesar Wrap
- Southwest Chicken Wrap: For another variation on a handheld favorite, this wrap offers bold flavors that complement the theme nicely. Southwest Chicken Wrap
FAQs
It has a moderate kick, but I have found you can easily control the heat by adjusting the amount of buffalo sauce you use. Start with less if you are sensitive to spice.
Absolutely! Simply swap the plain Greek yogurt for your favorite dairy free yogurt alternative. The texture and cooling effect remain the same.
Yes, you can! Bake at 375 degrees F for about 15 minutes, stirring halfway through. This works great if you are making a double batch for a crowd.

Buffalo Chickpea Wrap
Ingredients
Equipment
Method
- Heat a nonstick skillet over medium heat.
- In a medium bowl, lightly mash the chickpeas with a fork, leaving some texture. Stir in buffalo sauce, garlic powder, onion powder, salt, and black pepper until evenly combined.
- Add olive oil to the skillet, then add the chickpea mixture. Cook for 5 to 7 minutes, stirring occasionally, until heated through and slightly thickened.
- In a small bowl, mix Greek yogurt and lemon juice until smooth to create the dressing.
- Warm each tortilla in a dry skillet for about 20 seconds per side until soft and pliable.
- Spoon the buffalo chickpea mixture onto the center of each tortilla. Top with shredded lettuce, diced tomatoes, red onion, and drizzle with the yogurt dressing.
- Fold in the sides, roll tightly, slice in half if desired, and serve immediately.