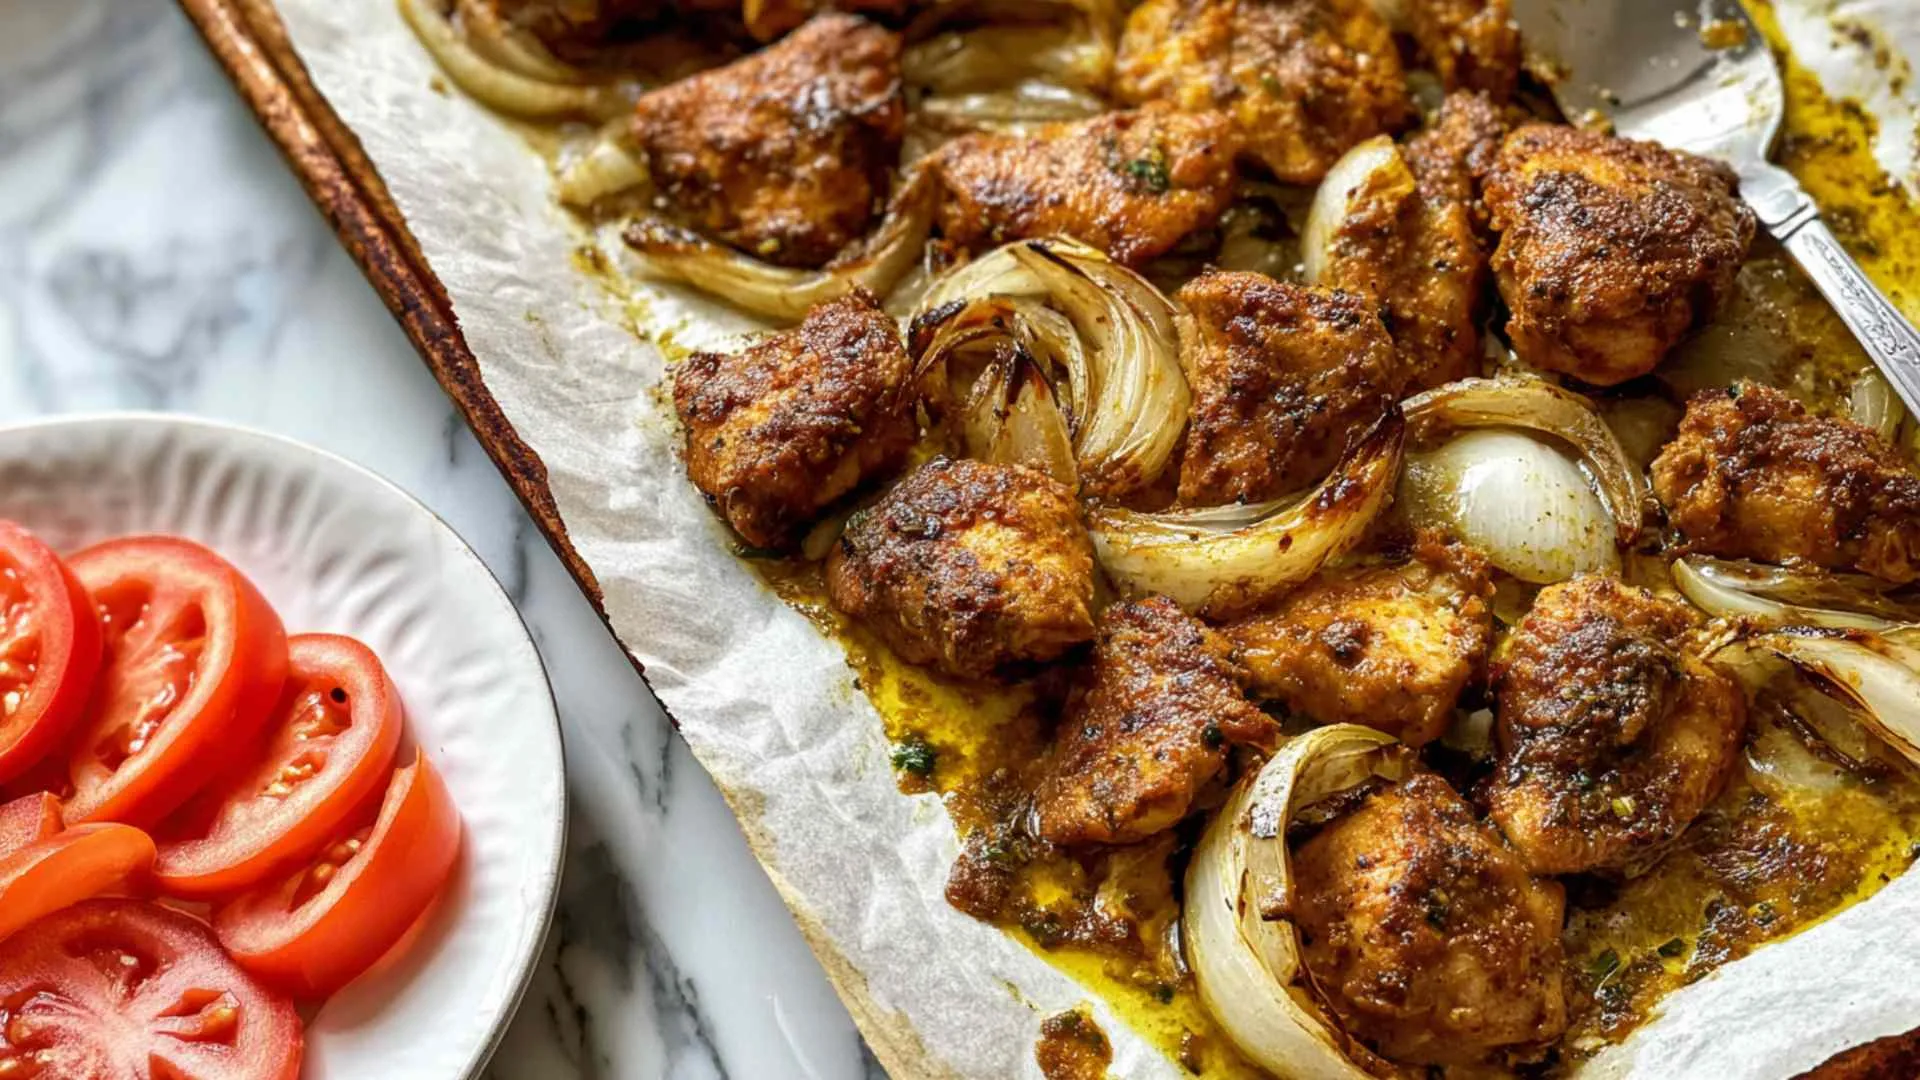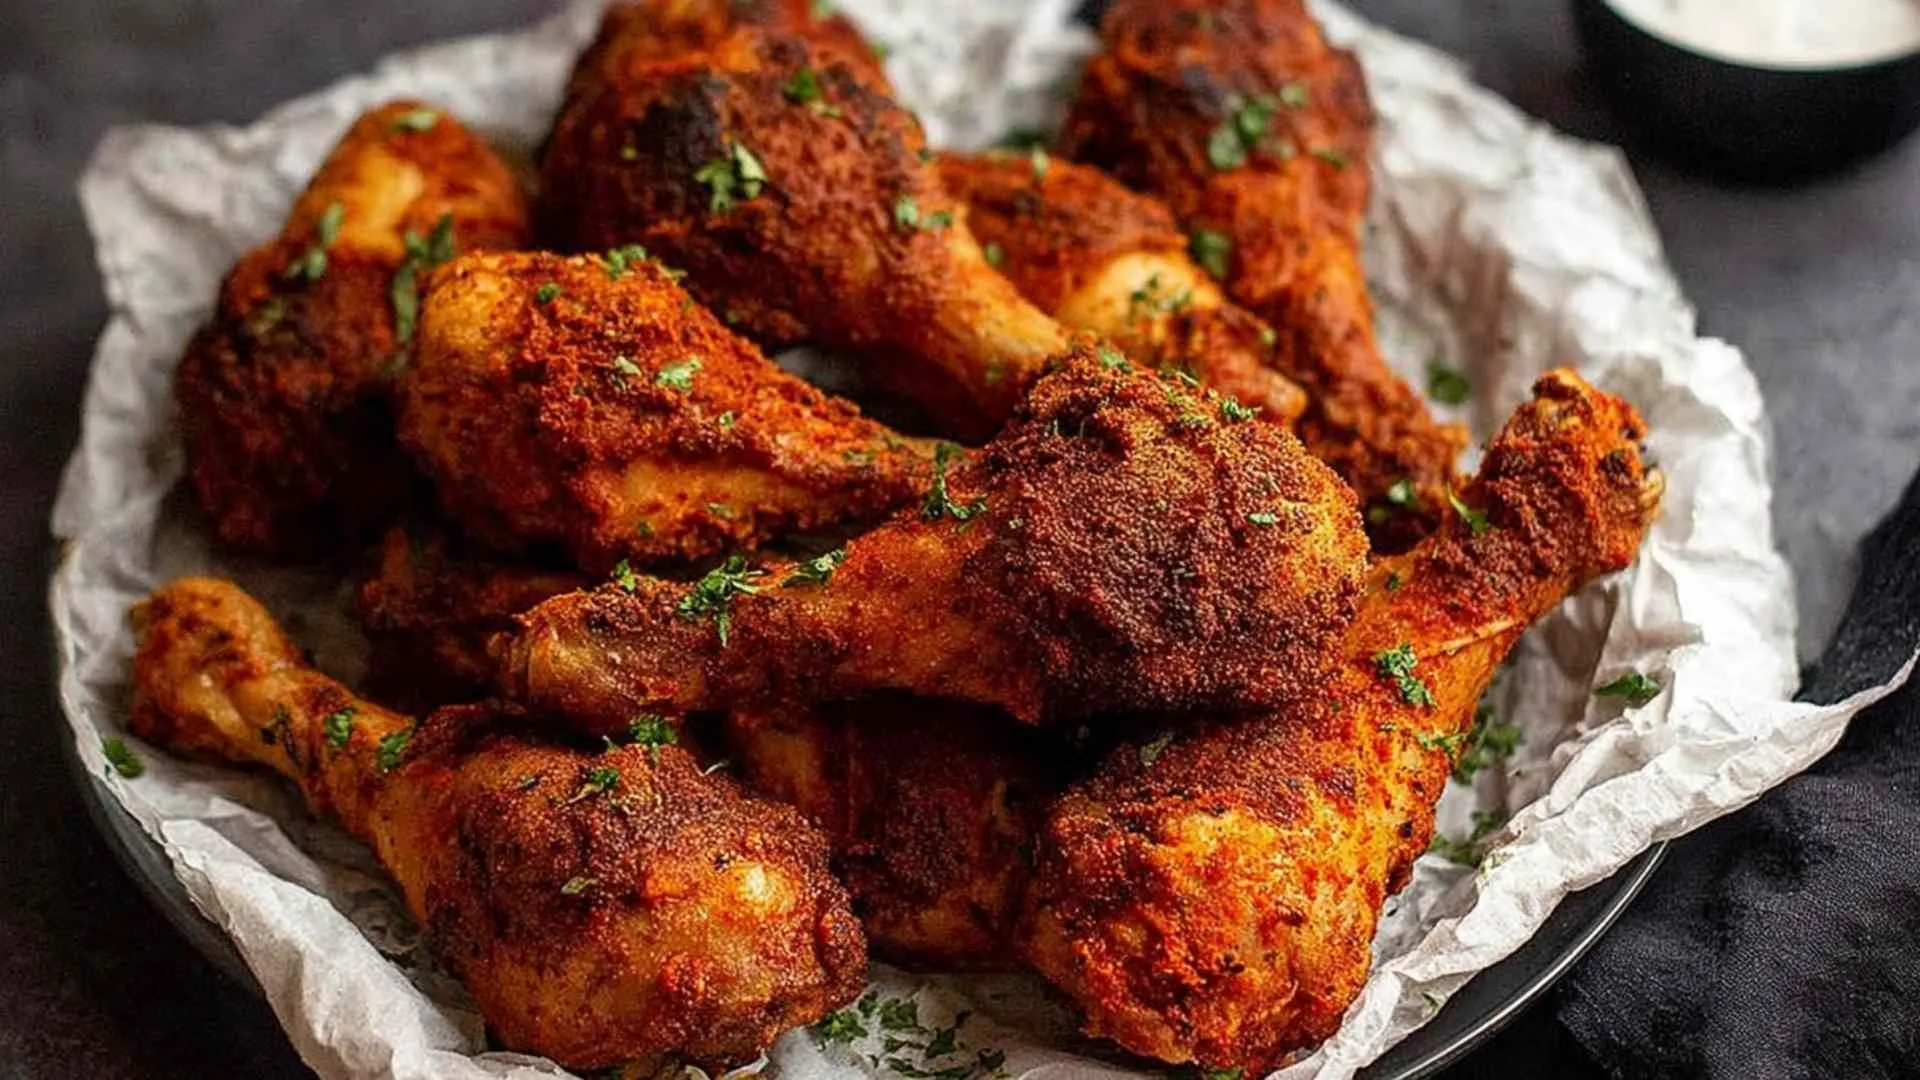
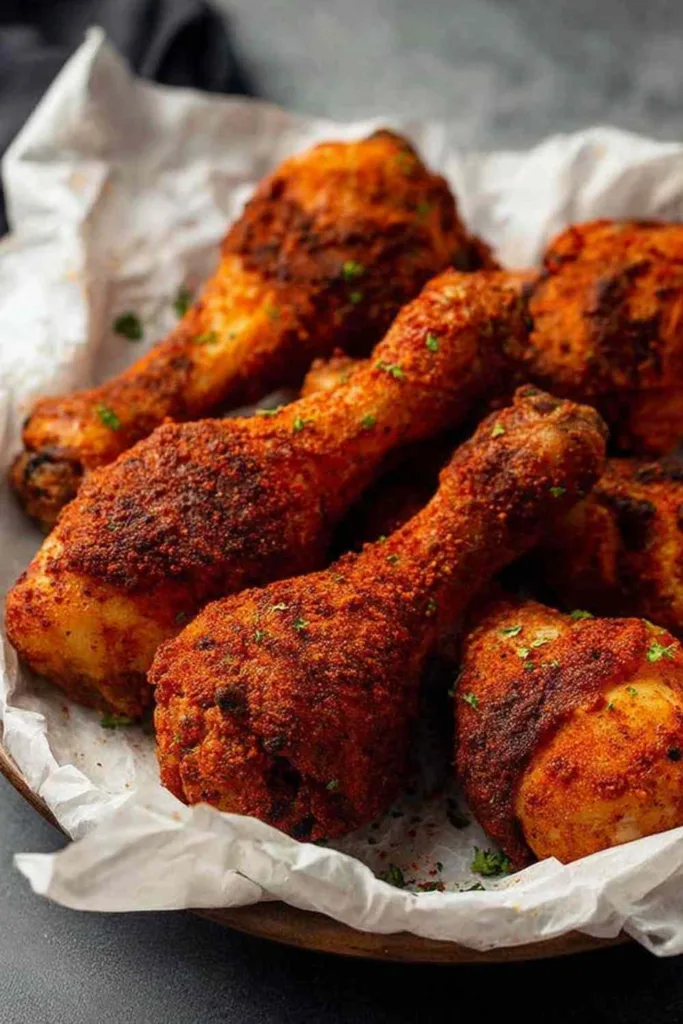
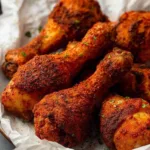
Crispy baked chicken drumsticks are one of those recipes that should live permanently in every home cook’s rotation. They come together fast, use spices you already have, and turn out deeply golden without a single drop of frying oil. I have been making these in my Midwest kitchen for years, and the secret has always been the same: a pinch of baking powder in the spice mix and a little patience with the oven temperature at the end.
Growing up, Sundays at my grandmother’s farmhouse always meant chicken. Cast iron, screaming hot, bubbling in fat. Beautiful, but not something a busy weeknight could hold. When I became a mother myself and started feeding three kids on a real-life schedule, I needed that same deep flavor and crackling skin without standing over a stove. It took more than a few batches to figure it out. The flour-and-spice coating crisps up where fried chicken gets its bite. The rack in the oven lets heat move under the drumsticks so the bottom does not steam. And that baking powder, which sounds strange at first, genuinely changes the texture of the skin in a way nothing else does. Your kitchen is about to smell like Sunday.
Why Crispy Baked Chicken Drumsticks Belong in Your Recipe Box
I have tested a lot of oven chicken recipes over the years, and this one earns its spot on the table every single week. It does not ask much of you and delivers something that genuinely tastes like effort. Here is what makes it work:
- No deep frying needed – the oven does the heavy lifting for golden, crispy skin
- Uses pantry staples you almost certainly already own
- No marinating – season and bake, start to finish under 60 minutes
- Works equally well with chicken wings or bone-in thighs
- Foil-lined tray means cleanup takes about two minutes
- Budget-friendly and reliably crowd-pleasing for both kids and adults
What Goes Into This Recipe
Simple ingredients, each one doing a specific job.
Chicken Drumsticks: You want skin-on legs here. That skin is what crisps up in the oven. Bone-in, skin-on thighs or wings will also work with minor timing adjustments.
Extra Virgin Olive Oil: Coats the chicken so the spice mix sticks, and helps the exterior brown evenly as it bakes.
Smoked Paprika: The backbone of the BBQ-style rub. Gives these drumsticks their deep color and subtle smokiness. Regular sweet paprika works if that is what you have.
Garlic Powder and Onion Powder: A reliable, time-tested duo. They add savory depth without any extra prep. If you are out of one, just add a little more of the other.
Black Pepper: Freshly ground if possible. Adds a gentle heat that plays well against the smoky paprika.
Cooking Salt: Kosher or cooking salt distributes more evenly across the coating than fine table salt.
All-Purpose Flour: Not a batter – just enough to bulk out the seasoning so it coats every surface of the drumstick evenly. Use white rice flour for a gluten-free version.
Baking Powder (NOT Baking Soda): This is the one ingredient that separates a good result from a great one. Baking powder draws moisture from the skin and helps it crisp in the oven. Baking soda is three times stronger and will ruin the flavor – do not swap them.
How to Make Crispy Baked Chicken Drumsticks
Follow these steps in order. Each one matters.
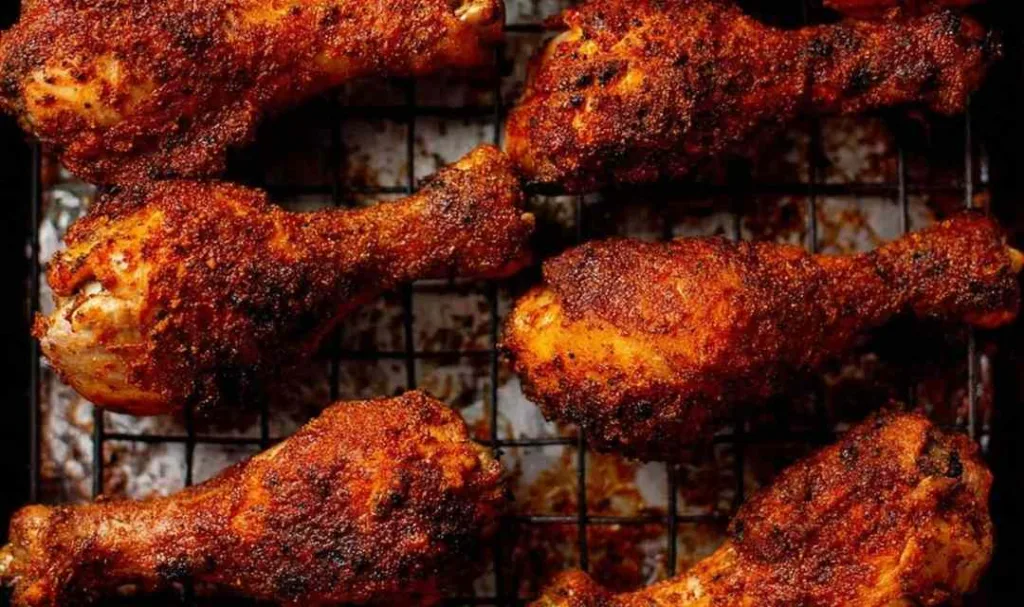
- Preheat the oven to 390 degrees F (180 degrees C fan-forced). Line a baking tray with aluminum foil and set a wire rack on top. The rack is what lets heat circulate under the chicken so the bottom crisps instead of steaming.
- Mix the seasoning. Combine the garlic powder, onion powder, smoked paprika, black pepper, salt, flour, and baking powder in a shallow bowl. A wide, shallow bowl makes coating the legs much easier than a deep one.
- Coat in oil. Toss the drumsticks in olive oil using your hands until every surface is covered. This is what makes the seasoning stick.
- Stretch the skin. Pull the chicken skin over as much of the flesh as possible on each drumstick. More skin coverage means more surface area for crisping. Some will shrink back in the oven, so start with it pulled as tight as you can.
- Coat in seasoning and shake off the excess. Dip each drumstick into the seasoning mix, turn it to coat all sides, then shake off the extra before placing it on the rack. Too much coating turns thick and pasty – you want a light, even layer.
- Spray with oil generously. Give the coated legs a good spray all over. This creates an almost frying-like effect in the oven and is what gets you that deep golden color.
- Bake for 30 minutes, rotating the tray halfway through. This helps them color evenly no matter how your oven runs.
- Crank the oven to 430 degrees F (200 degrees C fan) and bake for another 15 minutes. This final blast of heat is what pushes the skin from golden to genuinely crispy. If it still needs a few more minutes after that, give it 5 more. Every oven is a little different.
- Serve immediately. Crispy baked chicken drumsticks are at their best straight from the oven.
Tips for the Best Results
- Stretch the skin before coating. More skin over the flesh means more surface area to crisp. Do not skip this.
- Shake off excess coating. A light dusting is what you want. A thick crust does not crisp up the same way.
- Be generous with the oil spray. This mimics the effect of frying and is key to that golden finish.
- Use a rack whenever possible. Without one, the underside steams instead of crisps. If you do not have a rack, use parchment paper, flip the drumsticks halfway, and add 5 to 10 extra minutes.
- Give it more time if needed. If the skin looks pale after the cook time, add 5 more minutes. Trust your eyes.
- Gluten-free swap. White rice flour works just as well as all-purpose flour in this recipe.
Important Notes
On baking powder: Do not substitute baking soda. Baking soda is significantly stronger and will leave a metallic taste on the chicken. Always use baking powder.
Other chicken cuts: Wings use the same cook time and temperature as drumsticks. Bone-in, skin-on thighs need about 35 minutes at 390 degrees F followed by 15 minutes at the higher heat.
Spice swaps: Garlic powder and onion powder can stand in for each other. Smoked paprika can be replaced with regular sweet paprika for a milder result.
No rack: Line the tray with parchment paper instead, flip the drumsticks halfway through cooking, and expect to add 5 to 10 extra minutes for the top to crisp properly.
How to Store and Reheat These Drumsticks
I store leftovers in an airtight container in the refrigerator, where they keep well for 3 to 4 days. The skin softens overnight – that is just what happens with baked chicken – but it comes back with the right reheating method.
For freezing, lay the cooled drumsticks on a tray to freeze individually first, then transfer to a zip-lock freezer bag. They keep for up to 3 months. Thaw overnight in the refrigerator before reheating.
For the best texture, reheat in the oven at 375 degrees F or in an air fryer for a few minutes. Both bring the skin back to life. The microwave will warm them through but the crispiness will not survive it.
What to Serve with Crispy Baked Chicken Drumsticks
These drumsticks are versatile enough to sit alongside almost anything. Here are some combinations my family comes back to again and again:
- Bang Bang Fried Rice – The smoky, savory seasoning on these drumsticks pairs beautifully with a big bowl of fried rice. One of my family’s favorite weeknight plates.
- Creamy Garlic Butter Lobster Tails – For a special occasion, serving these drumsticks alongside a rich buttery lobster tail makes for an unforgettable spread.
- Crispy Garlic Parmesan Brussels Sprouts – A crunchy, flavorful vegetable side that holds its own next to bold seasoned chicken.
- Garlic Herb Chicken with Creamy Mash and Roasted Carrots – Creamy mashed potatoes and roasted carrots round out the plate into a full comfort dinner.
- Easy Honey Glazed Carrots and Green Beans – Sweet glazed vegetables are a classic contrast to the smoky BBQ spice rub on these drumsticks.
- Maple Glazed Carrots and Brussels Sprouts – A great seasonal vegetable side that comes together quickly while the chicken is in the oven.
FAQs
No. Baking soda is roughly three times stronger and will leave a metallic, unpleasant taste on the chicken. Always use baking powder for this recipe.
The most common reasons are skipping the rack, not spraying enough oil, or leaving too much seasoning on the legs without shaking off the excess. Give the oven an extra 5 minutes and check again – most ovens have temperature variations that affect crisping.
Yes. Wings use the same cook time and temperature as drumsticks. For bone-in, skin-on thighs, bake 35 minutes at 390 degrees F, then increase to 430 degrees F for a final 15 minutes.
Crispy Baked Chicken Drumsticks
Ingredients
Equipment
Method
-
Preheat oven to 390 degrees F (180 degrees C fan-forced). Line a baking tray with aluminum foil and place a wire rack on top.
-
Mix garlic powder, onion powder, smoked paprika, black pepper, salt, flour, and baking powder together in a shallow bowl.
-
Toss drumsticks in olive oil until all surfaces are evenly coated.
-
Stretch and pull the chicken skin over as much of the flesh as possible on each drumstick.
-
Coat each drumstick in the seasoning mix, shake off the excess, and place on the wire rack.
-
Spray the drumsticks generously with oil spray all over.
-
Bake for 30 minutes, rotating the tray halfway through.
-
Increase oven to 430 degrees F (200 degrees C fan) and bake for a further 15 minutes until skin is golden and crispy. Serve immediately.