These crunchy baked chicken taco fingers have become one of the most-requested meals in my kitchen, and once you make them, you will understand why. The first time I pulled a tray of these from the oven, my grandkids stood at the kitchen door because the smell of toasted cumin and golden panko pulled them in before I even called them to the table.
Growing up on a Midwest farm, my grandmother made everything from scratch, and her kitchen always had that warm buzz of something good in progress. We did not do tacos back then, but we did know how to take a simple cut of chicken and turn it into something the whole family talked about long after supper. That spirit is exactly what I brought to this recipe. The panko gets toasted in a seasoned taco spice blend, the chicken gets coated in a simple batter that does most of the work for you, and the whole thing bakes in about twelve minutes. No frying, no greasy splatter, no fuss. Just the kind of golden crunch that makes everyone reach for seconds. Time to get cooking!
Why These Crunchy Baked Chicken Taco Fingers Belong in Your Recipe Box
Betty’s kitchen rule has always been simple: a recipe earns a permanent spot when it delivers great flavor without making your evening complicated. This one does both.
- Baked, not fried, yet the crunch rivals anything that comes out of a deep fryer thanks to the pre-toasted panko technique.
- A single dredge batter replaces the messy three-bowl flour, egg, and breadcrumb process most crumbing recipes demand.
- Homemade taco seasoning built from pantry staples you almost certainly have on hand right now.
- Only 16 pieces to crumb instead of dozens of small chunks, which keeps the prep fast and efficient.
- Ready in about 30 minutes from start to table.
- Works just as well as standalone chicken fingers with a dipping sauce if you want to skip the taco build entirely.
- Easily adapted to gluten-free with a simple swap on the panko and flour.
Key Players in This Recipe
Chicken tenderloins are the ideal cut for this recipe because their natural shape is already finger-like. A single cut lengthways gives you 16 strips that fit neatly inside a taco shell. They are also more tender than breast meat, which means the chicken stays juicy even through a hot oven bake.
Panko breadcrumbs are what separate a truly crunchy baked coating from a pale, soft disappointment. The larger, airier crumb structure creates a coating that shatters when you bite into it. Find them in the Asian aisle at most grocery stores. Regular breadcrumbs will work in a pinch but the texture difference is noticeable.
Homemade taco seasoning goes directly into the panko so every crumb carries flavor. Cumin, paprika, garlic powder, onion powder, dried oregano, and an optional pinch of cayenne come together into a blend I have used on everything from grilled chicken to roasted vegetables. It makes about eight teaspoons total, so keep that in mind if you consider swapping in a store-bought packet.
Mayonnaise in the dredge batter is the ingredient most people raise an eyebrow at, but after years of testing baked crumbed recipes, I can tell you it is the single best trick for getting golden color from the inside of the crumb, not just the surface. Two tablespoons is all you need. If you genuinely cannot use mayo, one tablespoon of extra virgin olive oil delivers a similar effect.
Two large eggs combined with plain all-purpose flour form the strong batter that makes panko stick through the bake. I tested this with one egg and the coating slipped on half the pieces. Two eggs is not optional.
Olive oil spray applied generously right before the pan goes in the oven is what finishes the job. A thin, even mist covers every crumb in a way that brushing liquid oil simply cannot match.
How to Make Crunchy Baked Chicken Taco Fingers
Step 1. Preheat the oven to 400 degrees F (200 degrees C), or 180 degrees C if you are using a fan-forced oven. Getting the oven fully up to temperature before anything goes in matters here because these cook fast.
Step 2. Toast the panko. Mix the panko and all of the taco seasoning together in a large bowl. Pour the mixture onto a baking tray, then spray with olive oil from a distance, aiming straight down so the lightweight crumbs stay put. Spread them out and spray once more. Bake for 7 minutes, stirring once halfway through, until the crumbs are deep golden brown. Transfer into an 8-inch square pan or any similar dish that lets you lay multiple pieces of chicken in the crumbs at the same time.
Step 3. Set up the rack. Place a wire rack on the now-empty baking tray and spray the rack with oil. The rack keeps air circulating under the chicken so the underside crisps instead of steaming against the hot metal.
Step 4. Make the dredge batter. Whisk the eggs, flour, mayonnaise, and a pinch of salt together vigorously in a large bowl. It will look quite thick at first, but keep whisking and it will thin out to something close to maple syrup in consistency. Add all of the chicken strips and toss until every piece is coated.
Step 5. Crumb the chicken. Use your left hand as the wet hand and your right hand as the dry hand throughout this step. With your wet hand, pick up one piece of chicken, let the excess batter drip off for a moment, and lay it in the toasted panko. Do the same with two or three more pieces. Then use your dry hand to press crumbs firmly onto all sides of each piece. Transfer each finished strip to the rack. Repeat until all 16 pieces are crumbed.
Step 6. Bake. Spray all the crumbed chicken generously with olive oil. Divide the tortillas into two stacks, wrap each stack in foil, and put them in the oven alongside the chicken. Bake for 10 minutes for thin strips around half an inch wide, or 12 minutes for slightly thicker ones around three quarters of an inch. The internal temperature should read at least 152.6 degrees F (67 degrees C) when checked with a meat thermometer.
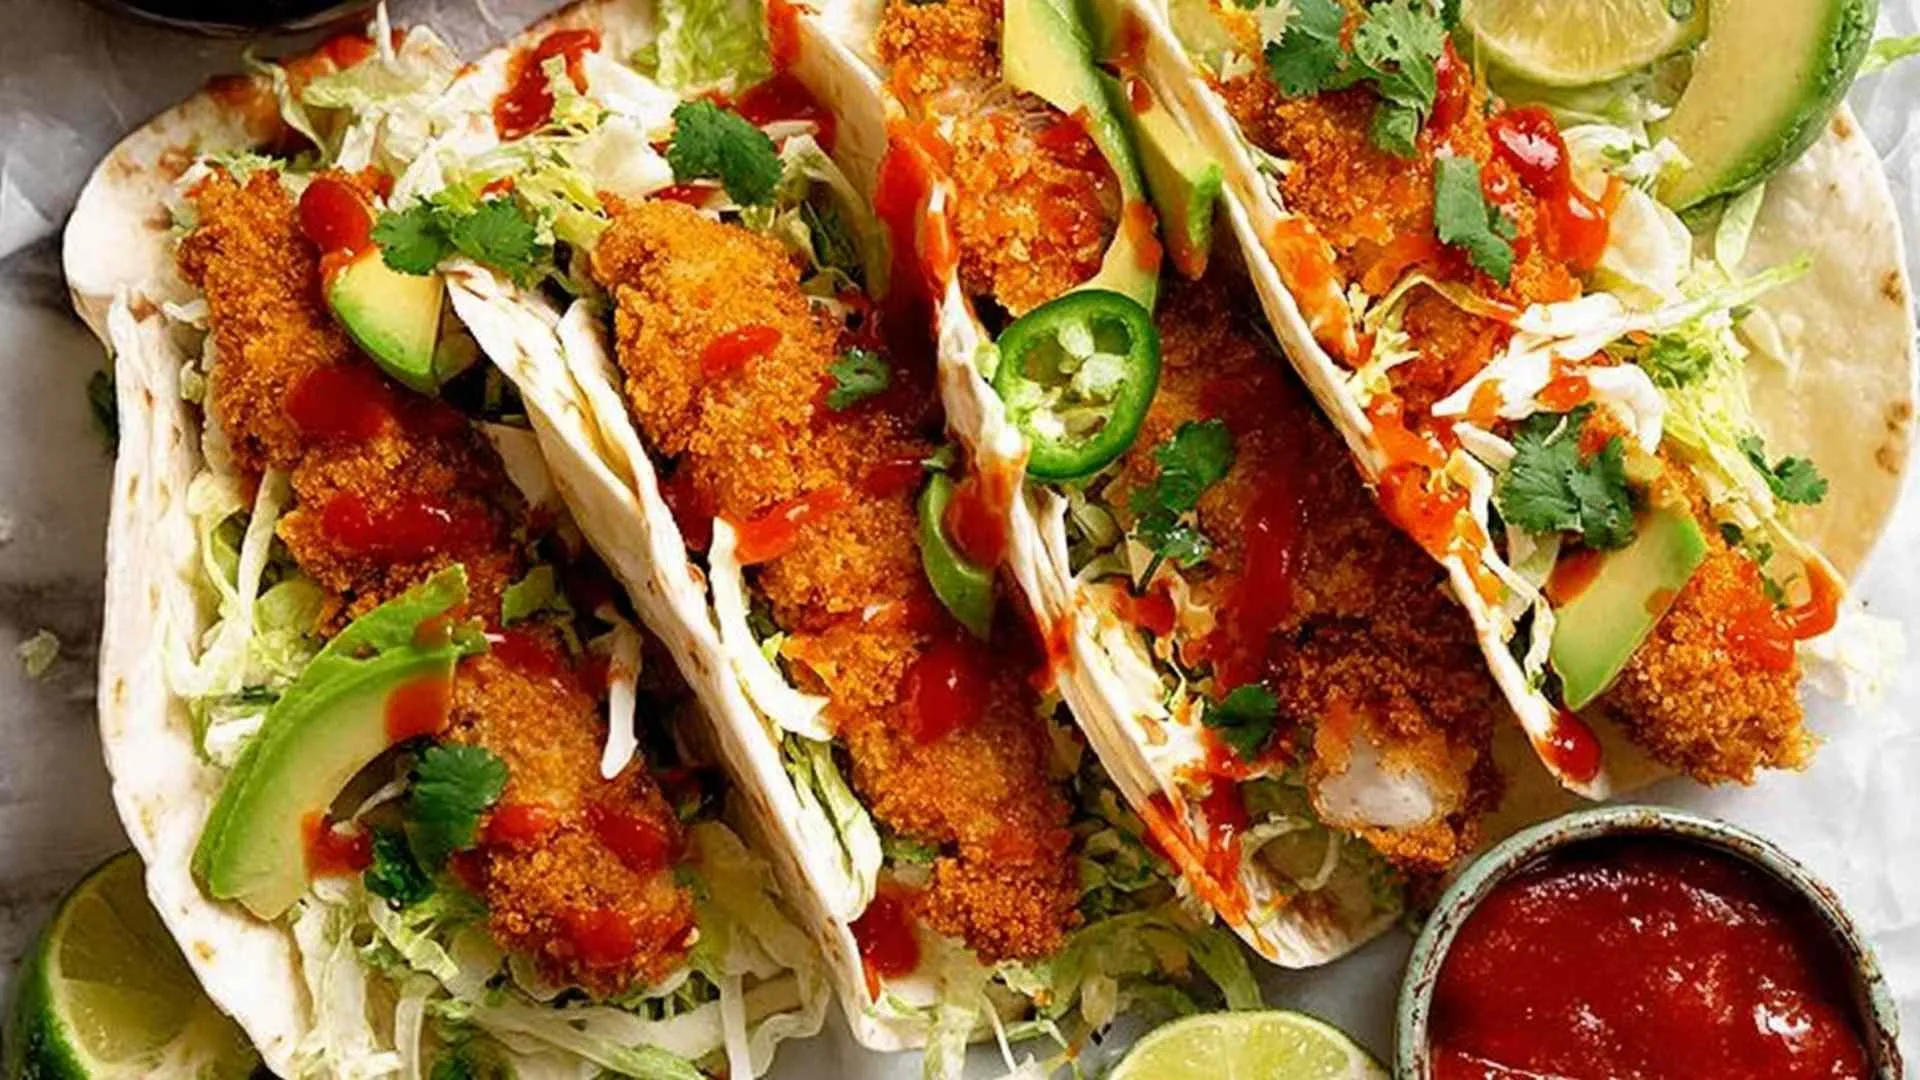
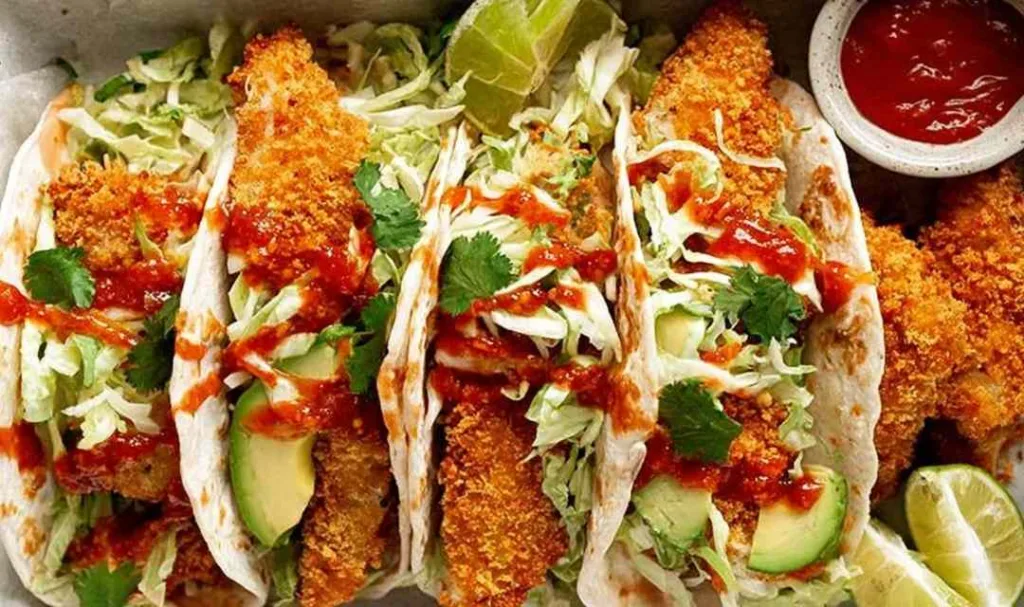
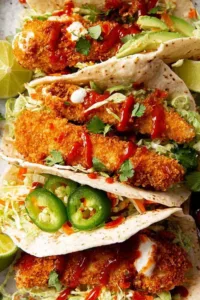
Step 7. Serve. Lay a warm tortilla flat, pile on a generous amount of Taco Slaw, add two avocado slices, place a crunchy chicken finger on top, drizzle with sriracha, and scatter fresh cilantro over everything. Serve immediately.
Betty’s Tips for the Best Results
Never skip pre-toasting the panko. The chicken bakes for only 10 to 12 minutes, which is nowhere near long enough for raw panko to turn golden. Pre-toasting takes seven minutes and is completely non-negotiable if you want the crunch this recipe promises.
Spray the chicken generously with oil before it goes in the oven. This single step is what drives even, all-over browning across every crumb. Light or patchy spraying leads to uneven results.
Stick to the left-hand, right-hand crumbing method. Keeping one hand in the wet batter and the other in the dry crumbs means your fingers stay clean and the coating goes on cleanly rather than clumping.
Do not crumb the chicken ahead of baking. The dredge batter soaks into the panko within minutes and the crunch is gone before the tray ever hits the oven. Crumb and bake in the same session, every time.
If you do not own a wire rack, crumple a large sheet of foil into a rough ball, then flatten it back out while keeping the surface wrinkled. The raised ridges act as a DIY rack and keep the underside of the chicken off the hot pan surface.
Check internal temperature with a meat thermometer rather than guessing by color. Thin strips cook fast and can dry out quickly if left in even two minutes too long. Pull them at 152.6 degrees F and they will continue cooking slightly on the rack.

Storage and Reheating
I typically store leftover cooked chicken fingers in an airtight container in the refrigerator for up to three to four days. They reheat beautifully in an oven set to 400 degrees F for about five minutes, which brings the crunch right back. Do not use a microwave or you will end up with a soft, steamed coating that bears no resemblance to what came out of the oven.
Freezing is not something I recommend for this recipe. The panko coating does not survive the freeze-thaw cycle in a way that is worth the effort.
Crumbing the chicken in advance and baking later is also not a good idea. The batter absorbs into the crumbs as they sit and the coating loses its structure before it even sees the oven. Make, crumb, and bake in the same sitting.
What to Serve With Crunchy Baked Chicken Taco Fingers
These chicken taco fingers are wonderful on their own inside warm tortillas, but pairing them with the right sides turns a quick weeknight dinner into something that feels a little more special.
A crisp slaw is the most natural companion. It adds crunch, tang, and just enough moisture to balance the dry heat of the seasoned panko coating. If you want something more substantial on the side, my High Protein Chicken Street Corn Salad brings bold Mexican-inspired flavors that complement the taco seasoning perfectly.
For a full Mexican-inspired spread, serve a warm bowl of Easy Chicken Tortilla Soup alongside the tacos. The brothy warmth is a natural contrast to the crispy fingers and it rounds out the meal without much extra effort.
If you love the idea of a crispy baked taco night, my Crispy Chicken Taquitos are another version of the same spirit and make a great addition to a larger spread or as a standalone appetizer before the main event.
For a different take on taco night entirely, try these Pineapple Chicken Tacos which bring a sweet and savory angle that plays beautifully with a taco slaw on the side.
Want to round out the table with something fresh and light? My Apple Walnut Cranberry Salad with Homemade Maple Dressing adds color and a touch of sweetness that works surprisingly well against spiced chicken.
FAQs
Yes. Cut the breast into strips first, then slice each strip into finger-shaped batons. Keep in mind that breast meat is slightly less tender than tenderloins and can dry out a little faster in the oven, so check the internal temperature closer to the 10-minute mark.
Yes, absolutely. The bake time for the chicken is too short for raw panko to turn golden. Pre-toasting is what gives these the crunch people expect. Skipping it produces pale, soft, disappointing results.
Easily. Swap in gluten-free panko and gluten-free all-purpose flour in the dredge batter, and use corn tortillas instead of flour ones. The technique stays exactly the same.
Crunchy Chicken Taco Fingers (Baked!)
Ingredients
Equipment
Method
- Preheat the oven to 400 degrees F (200 degrees C), or 180 degrees C for a fan-forced oven.
- Toast the panko: Mix the panko and all the taco seasoning together in a bowl. Pour onto a baking tray and spray with olive oil from a height, aiming straight down so the crumbs do not blow around. Spread out and spray once more. Bake for 7 minutes, stirring once, until deep golden brown. Transfer into an 8-inch square pan or similar dish for easy crumbing.
- Set up the rack: Place a wire rack on the now-empty baking tray and spray the rack with olive oil.
- Make the dredge batter: Whisk together the eggs, flour, mayonnaise, and a pinch of salt in a large bowl until smooth. It will seem thick at first but will thin out to a maple syrup consistency. Add all the chicken strips and toss to coat.
- Crumb the chicken using the left-hand right-hand method: With your wet hand pick up one piece of chicken, let the excess batter drip off, and lay it in the toasted panko. Repeat with 2 to 3 more pieces. Use your clean dry hand to press crumbs firmly onto all sides until fully coated. Transfer to the rack. Repeat with remaining chicken.
- Bake: Spray all crumbed chicken pieces generously with olive oil. Divide tortillas into 2 stacks and wrap each in foil. Place the chicken tray and the foil-wrapped tortillas in the oven together. Bake for 10 minutes for thin strips around half an inch wide, or 12 minutes for slightly thicker ones. Internal temperature should reach at least 152.6 degrees F (67 degrees C).
- Serve: Lay a warm tortilla flat, pile on Taco Slaw, add 2 avocado slices, place one crunchy chicken finger on top, drizzle with sriracha, and scatter fresh cilantro. Serve immediately.