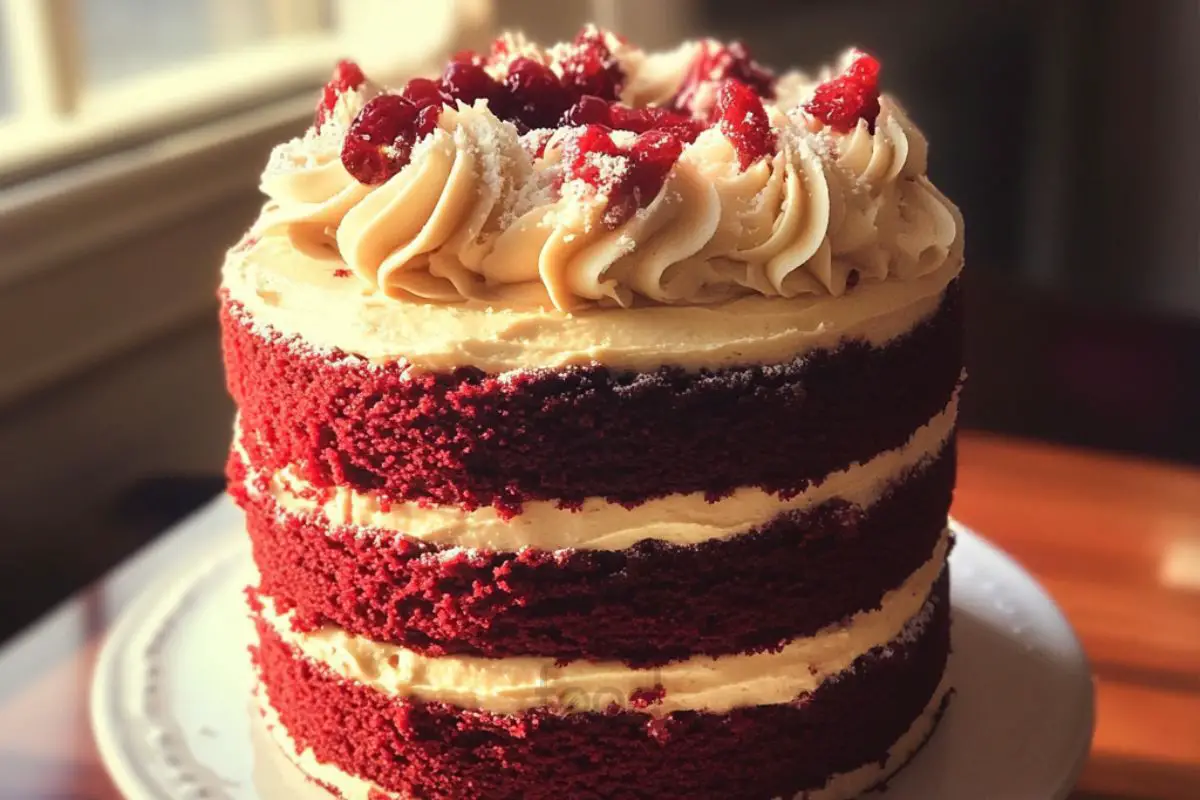
Valentines Day is a special occasion that celebrates love and affection. One of the sweetest ways to express your feelings is through a delightful cake. A Valentines Day cake not only serves as a delicious treat but also symbolizes the love shared between partners, friends, and family. This year, why not surprise your loved ones with a homemade red velvet cake topped with creamy frosting? It’s a classic dessert that’s sure to impress!
The Significance of Valentines Day Cake
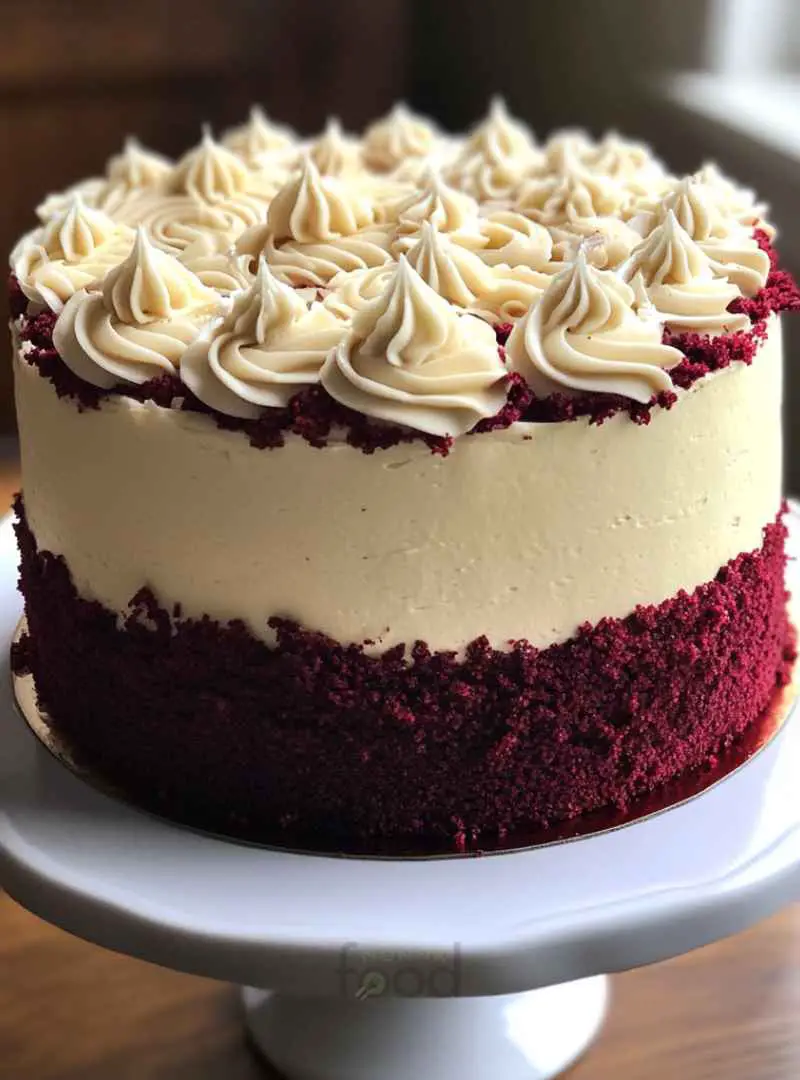
A cake on Valentine’s Day is more than just a dessert; it represents the joy of sharing moments together. The rich, red color of red velvet cake symbolizes passion and romance, making it the perfect choice for this day of love. When you bake a cake, you’re not just creating a sweet treat; you’re crafting a memory. Each slice shared brings people closer, creating bonds that last a lifetime.
Moreover, baking a cake can be a fun and engaging activity. It allows you to express your creativity and show your loved ones how much you care. Whether you’re celebrating with a partner, friends, or family, a Valentines Day cake can elevate the occasion, making it even more special. So, gather your ingredients and get ready to create a masterpiece that will delight everyone!
Ingredients for Valentines Day Cake
To create the perfect Valentines Day cake, you need to gather all the essential ingredients. Each component plays a vital role in achieving that rich flavor and delightful texture. Here’s what you’ll need:
For the Red Velvet Cake:
- 2 1/2 cups all-purpose flour
- 1 1/2 cups granulated sugar
- 1 teaspoon baking soda
- 1 teaspoon salt
- 1 teaspoon cocoa powder
- 1 1/2 cups vegetable oil
- 1 cup buttermilk, room temperature
- 2 large eggs, room temperature
- 2 tablespoons red food coloring
- 1 teaspoon vanilla extract
- 1 teaspoon white vinegar
For the Cream Cheese Frosting:
- 1 cup unsalted butter, softened
- 8 oz cream cheese, softened
- 4 cups powdered sugar
- 1 teaspoon vanilla extract
- A pinch of salt
These ingredients come together to create a moist and flavorful cake that’s perfect for celebrating love. The vibrant red color of the cake, combined with the creamy frosting, makes it visually appealing as well. So, make sure to gather everything before you start baking. This will ensure a smooth and enjoyable baking experience!
Preparation of Valentines Day Cake
Now that you have all your ingredients ready, it’s time to dive into the fun part: preparing your Valentines Day cake! Follow these simple steps to create a delicious red velvet cake that will surely impress your loved ones.
Step 1: Prepare the Cake Batter
Preheat the Oven
First things first, preheat your oven to 350°F (175°C). This step is crucial as it ensures your cake bakes evenly. While the oven heats up, you can prepare your cake pans. Grease and flour two 9-inch round cake pans to prevent sticking.
Mix Dry Ingredients
In a large mixing bowl, sift together the dry ingredients. Combine 2 1/2 cups of all-purpose flour, 1 1/2 cups of granulated sugar, 1 teaspoon of baking soda, 1 teaspoon of salt, and 1 teaspoon of cocoa powder. Sifting helps to aerate the flour, making your cake light and fluffy.
Combine Wet Ingredients
In another bowl, whisk together the wet ingredients. Mix 1 1/2 cups of vegetable oil, 1 cup of room temperature buttermilk, 2 large eggs, 2 tablespoons of red food coloring, 1 teaspoon of vanilla extract, and 1 teaspoon of white vinegar. Make sure everything is well combined for a smooth batter.
Combine Mixtures
Now, it’s time to bring the two mixtures together. Gradually add the wet ingredients to the dry ingredients. Stir gently until just combined. Be careful not to overmix, as this can make your cake dense. You want a smooth batter that’s ready for baking!
Step 2: Bake the Cake
Pour Batter
Once your batter is ready, divide it evenly between the two prepared cake pans. Use a spatula to spread the batter evenly, ensuring both layers bake uniformly.
Bake
Place the pans in the preheated oven and bake for 25-30 minutes. To check if your cakes are done, insert a toothpick into the center. If it comes out clean, your cakes are ready!
Cool
After baking, allow the cakes to cool in the pans for about 10 minutes. Then, carefully transfer them to wire racks to cool completely. This step is important, as frosting a warm cake can cause the frosting to melt.
Step 3: Make the Cream Cheese Frosting
Beat Butter and Cream Cheese
While your cakes are cooling, it’s time to make the delicious cream cheese frosting. In a large bowl, beat together 1 cup of softened unsalted butter and 8 oz of softened cream cheese. Mix until the mixture is creamy and smooth.
Add Sugar and Flavor
Gradually add 4 cups of powdered sugar to the butter and cream cheese mixture. Mix until combined. Then, add 1 teaspoon of vanilla extract and a pinch of salt. Beat the frosting until it’s fluffy and ready to spread.
Step 4: Assemble the Cake
Frost the Layers
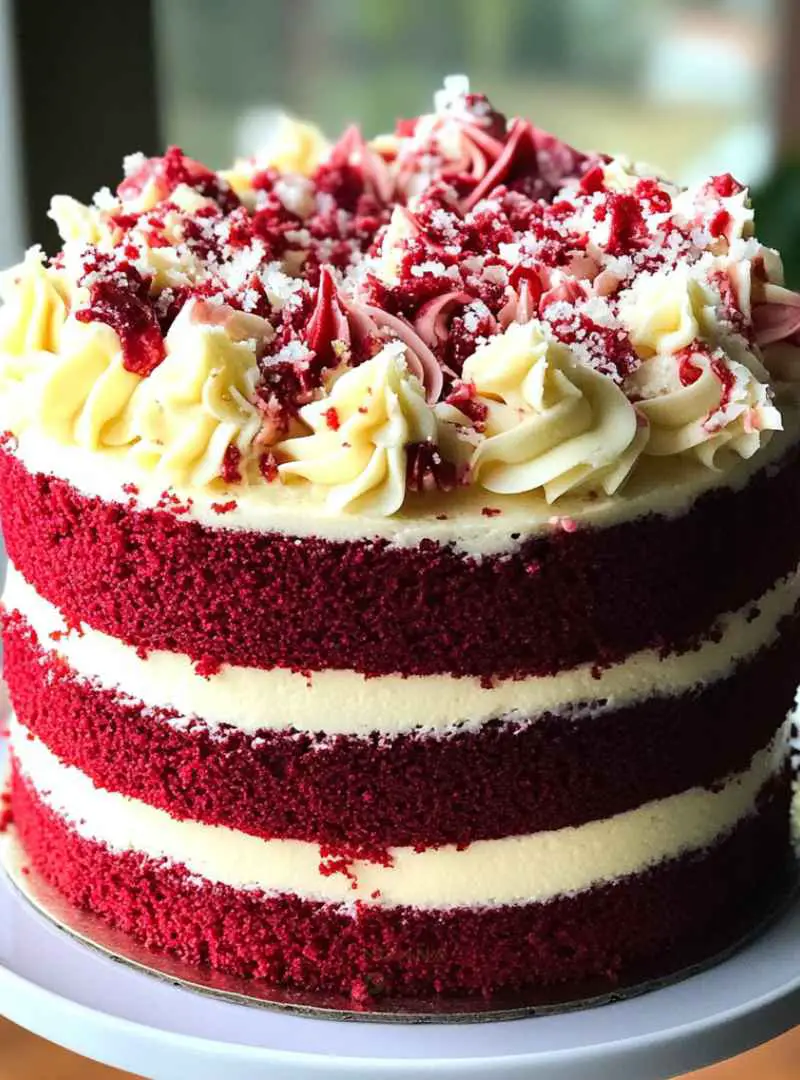
Once your cakes are completely cool, it’s time to assemble! Place one layer on a serving plate. Spread a generous amount of cream cheese frosting on top. Then, carefully place the second layer on top and frost the top and sides of the cake.
Decorate
For a romantic touch, you can decorate your cake with additional frosting swirls or colorful sprinkles. Get creative! This is your chance to make the cake as beautiful as it is delicious.
Now, your Valentines Day cake is ready to be enjoyed! It’s a delightful treat that will surely make your celebration of love even sweeter.
Variation of Valentines Day Cake
While the classic red velvet cake is a beloved choice for Valentine’s Day, there are many ways to switch things up! You can explore alternative flavors and decorations to make your cake unique. Here are some delightful variations to consider:
Alternative Flavors and Decorations
If you want to try something different, consider these flavor options:
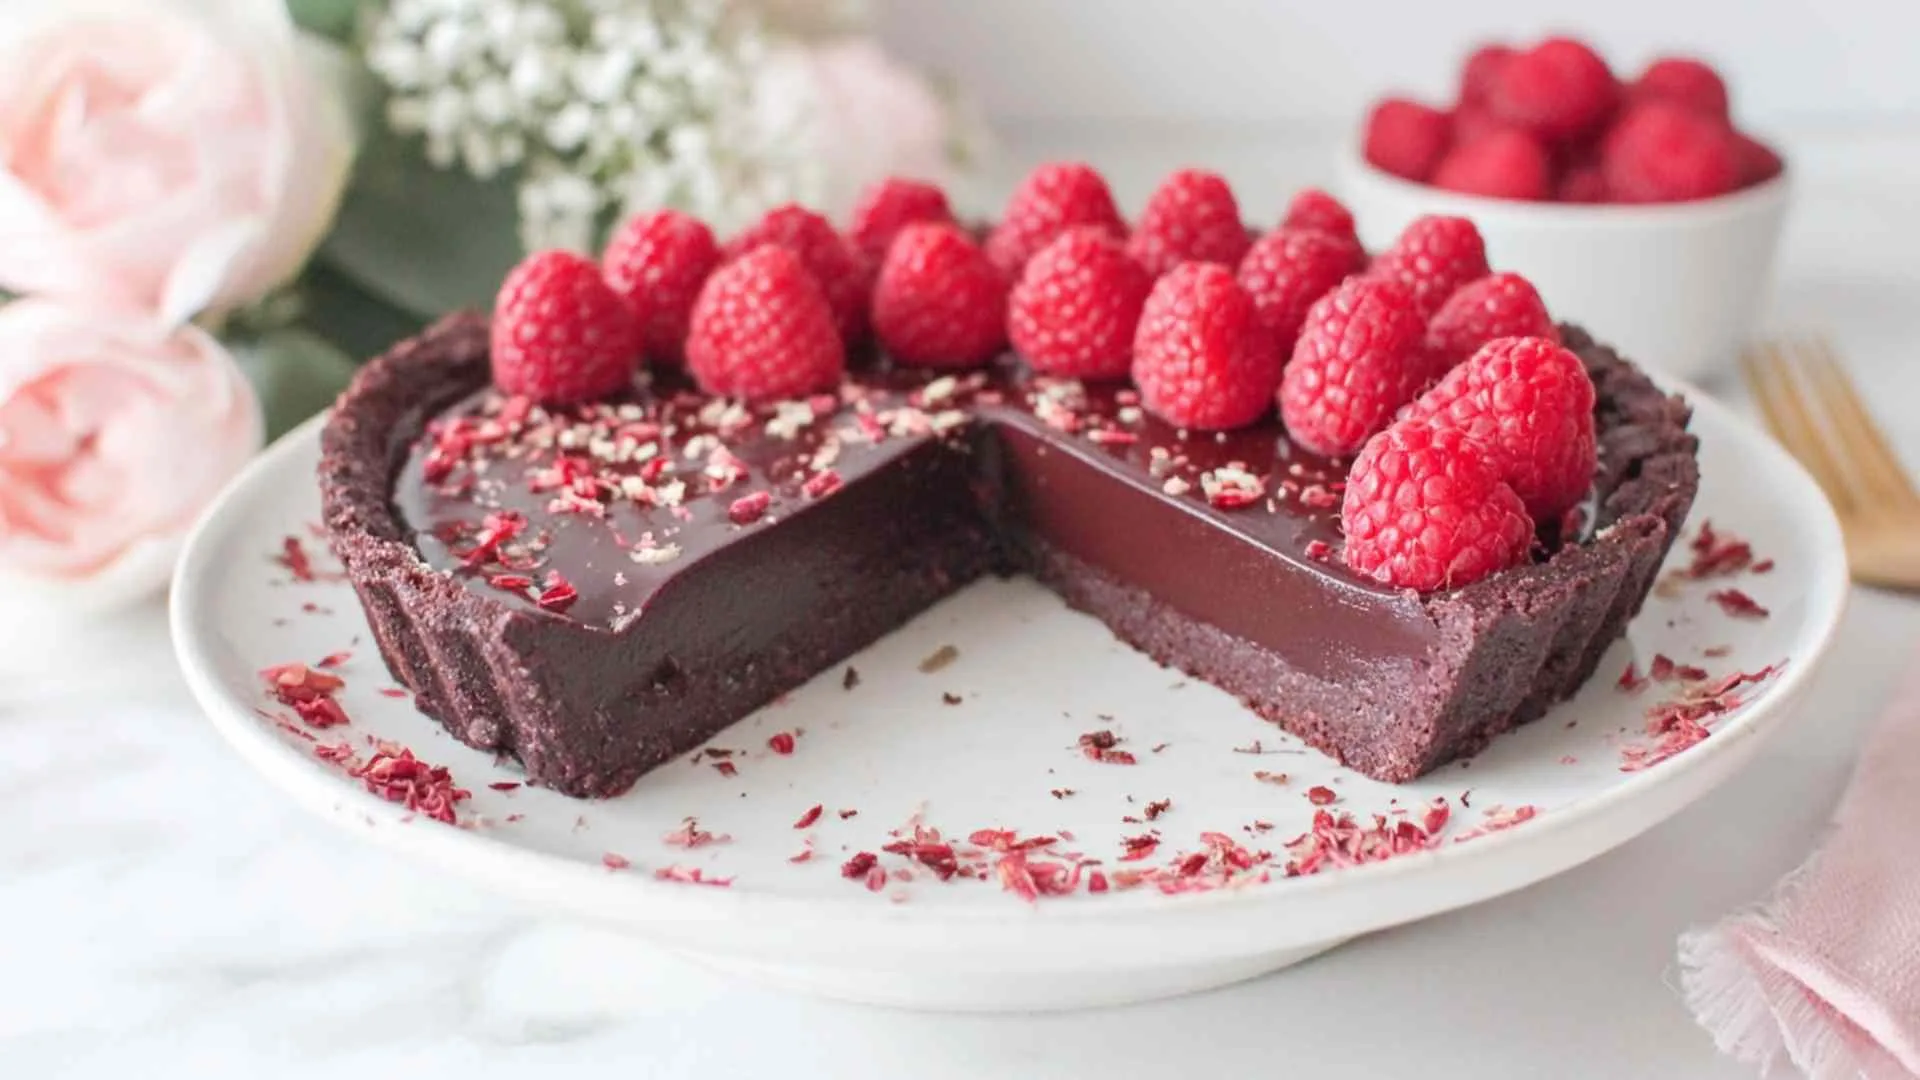
- Chocolate Cake: For chocolate lovers, a rich chocolate cake can be a perfect substitute. Use cocoa powder in the batter and pair it with a chocolate ganache frosting for an indulgent treat.
- Vanilla Cake: A light and fluffy vanilla cake can be a great base. You can add a hint of almond extract for a lovely twist. Top it with a classic buttercream frosting for a simple yet elegant finish.
- Strawberry Cake: Incorporate fresh strawberries into your batter for a fruity flavor. A strawberry cream cheese frosting will complement this cake beautifully, making it a refreshing option.
- Carrot Cake: For a healthier twist, try a moist carrot cake. Add spices like cinnamon and nutmeg, and top it with cream cheese frosting for a delightful combination.
When it comes to decorations, let your creativity shine! Here are some ideas:
- Fresh Fruits: Decorate your cake with fresh berries or slices of strawberries. They add a pop of color and a fresh taste.
- Edible Flowers: Use edible flowers like pansies or violets to give your cake a romantic and elegant look.
- Chocolate Shavings: Sprinkle chocolate shavings on top for a decadent touch. They add texture and richness to your cake.
- Heart-Shaped Sprinkles: Use heart-shaped sprinkles to enhance the Valentine’s Day theme. They are fun and festive!
These variations allow you to personalize your Valentines Day cake. Whether you stick with the classic red velvet or try a new flavor, your cake will surely be a hit!
Cooking Note for Valentines Day Cake
When it comes to baking your Valentines Day cake, a few cooking notes can make a big difference. These tips will help ensure your cake turns out perfectly every time. Let’s dive into some essential points to keep in mind!
Use Room Temperature Ingredients
For the best results, make sure your ingredients are at room temperature. This includes eggs, buttermilk, and cream cheese. Room temperature ingredients blend more easily, creating a smoother batter and frosting. It also helps the cake rise better, resulting in a fluffier texture.
Measure Ingredients Accurately
Accurate measurements are crucial in baking. Use measuring cups and spoons for dry ingredients and a liquid measuring cup for wet ingredients. Level off dry ingredients with a straight edge for precision. This ensures your cake has the right balance of flavors and textures.
Don’t Overmix the Batter
When combining the wet and dry ingredients, mix until just combined. Overmixing can lead to a dense cake. You want a light and airy texture, so be gentle when stirring. A few lumps are okay; they will bake out during cooking.
Check for Doneness
Every oven is different, so keep an eye on your cake as it bakes. Start checking for doneness a few minutes before the recommended baking time. Insert a toothpick into the center of the cake; if it comes out clean or with a few crumbs, your cake is ready!
Cool Completely Before Frosting
Allow your cake layers to cool completely before frosting. If the cake is warm, the frosting may melt and slide off. Cooling on wire racks helps air circulate around the cake, ensuring it cools evenly.
By following these cooking notes, you’ll set yourself up for success in creating a beautiful and delicious Valentines Day cake. Happy baking!
Serving Suggestions for Valentines Day Cake
Once your beautiful Valentines Day cake is ready, it’s time to think about how to serve it! Presentation can enhance the experience, making your cake even more special. Here are some delightful serving suggestions to consider:
Slice with Love
When it comes to serving, slice the cake into generous pieces. A good rule of thumb is to cut each layer into 12 slices. This way, everyone can enjoy a piece of the deliciousness! Use a sharp knife for clean cuts, and wipe the blade between slices for a neat presentation.
Pair with Fresh Fruits
Fresh fruits can elevate your cake’s flavor. Serve slices of your Valentines Day cake with a side of fresh strawberries, raspberries, or blueberries. The tartness of the berries complements the sweetness of the cake beautifully, creating a balanced dessert.
Add a Scoop of Ice Cream
For an extra indulgent treat, consider serving your cake with a scoop of vanilla or strawberry ice cream. The cold ice cream pairs wonderfully with the rich cream cheese frosting, creating a delightful contrast in temperature and texture.
Garnish with Mint Leaves
For a touch of elegance, garnish each slice with a fresh mint leaf. The vibrant green color adds a pop to your presentation and the mint provides a refreshing flavor that complements the sweetness of the cake.
Serve with a Drizzle of Sauce
Consider drizzling a sauce over the cake for added flavor. A chocolate ganache or raspberry sauce can enhance the overall taste. Simply warm the sauce slightly and drizzle it over the cake slices just before serving.
Make it a Celebration
To make the occasion even more festive, consider serving your cake on a decorative cake stand. Add some candles or fairy lights around the serving area to create a romantic atmosphere. This will surely impress your loved ones and make the celebration memorable!
With these serving suggestions, your Valentine’s Day cake will not only taste amazing but also look stunning on the table. Enjoy sharing this sweet treat with those you love!
Tips for Perfecting Your Valentines Day Cake
Creating the perfect Valentine’s Day cake is an art that combines technique, patience, and a sprinkle of love. Here are some valuable tips to help you achieve a cake that not only looks stunning but also tastes divine. Follow these suggestions to ensure your baking experience is smooth and successful!
Choose Quality Ingredients
Using high-quality ingredients can make a significant difference in the flavor and texture of your cake. Opt for fresh eggs, pure vanilla extract, and high-quality cocoa powder. These small choices can elevate your cake from good to extraordinary!
Prepare Your Pans Properly
To prevent sticking, it’s essential to prepare your cake pans correctly. Grease the pans with butter or cooking spray, then dust them with flour. This simple step ensures your cake layers come out smoothly, making assembly easier.
Use a Kitchen Scale
If you want to be precise, consider using a kitchen scale for measuring ingredients. This method can help you achieve consistent results every time. Weighing ingredients, especially flour, can prevent overpacking, which leads to a denser cake.
Experiment with Flavor Enhancements
Don’t hesitate to add a personal touch to your cake! Consider incorporating flavor enhancements like almond extract, orange zest, or even a splash of coffee. These additions can create a unique flavor profile that will surprise and delight your loved ones.
Practice Patience with Cooling
After baking, allow your cake layers to cool completely before frosting. This patience pays off, as it prevents the frosting from melting and sliding off. If you’re in a hurry, you can place the layers in the refrigerator for a quicker cool-down.
Use an Offset Spatula for Frosting
For a smooth and professional-looking finish, use an offset spatula to spread your cream cheese frosting. This tool allows for better control and helps you achieve even layers of frosting. It’s perfect for creating those beautiful swirls and designs!
Store Properly for Freshness
If you have leftover cake, store it properly to maintain its freshness. Wrap the cake tightly in plastic wrap and place it in an airtight container. This will keep it moist and delicious for days. You can also freeze slices for a later treat!
By following these tips, you’ll be well on your way to creating a Valentine’s Day cake that’s not only beautiful but also bursting with flavor. Enjoy the process, and remember that the best ingredient is always love!
Breakdown of Time for Valentine’s Day Cake
Understanding the time required for each step in making your Valentine’s Day cake can help you plan better. Here’s a detailed breakdown of the time you’ll need for preparation, cooking, and the total time involved in creating this delightful dessert.
Prep Time
The prep time for your Valentines Day cake is approximately 30 minutes. This includes gathering all your ingredients, measuring them accurately, and preparing the cake batter. Taking your time during this step ensures that everything is ready for a smooth baking process. Remember, a well-prepared kitchen makes for a more enjoyable baking experience!
Cooking Time
The cooking time for the cake itself is about 30 minutes. During this time, your cake layers will bake to perfection in the preheated oven. Keep an eye on them as they bake, and check for doneness a few minutes before the timer goes off. This will help you avoid overbaking and ensure a moist cake.
Total Time
In total, you can expect to spend about 1 hour on your Valentines Day cake. This includes both the prep and cooking times. However, don’t forget to factor in additional time for cooling the cake layers before frosting. Allowing the cakes to cool completely is crucial for achieving a beautiful finish with your cream cheese frosting.
By planning your time wisely, you can create a stunning Valentine’s Day cake without feeling rushed. Enjoy the process, and remember that the love you put into baking will shine through in every delicious bite!
Nutritional Information for Valentines Day Cake
Understanding the nutritional content of your Valentine’s Day cake can help you enjoy it mindfully. While this cake is a delightful treat, it’s good to know what you’re indulging in. Here’s a breakdown of the key nutritional components:
Calories
Each slice of this delicious red velvet cake contains approximately 350 calories. This number can vary based on the size of the slice and the amount of frosting used. While it’s a sweet indulgence, enjoying it in moderation is key to a balanced diet.
Protein
In terms of protein, each slice offers about 3 grams. The protein comes mainly from the eggs and cream cheese used in the recipe. While this isn’t a high-protein dessert, it does contribute to your daily intake when enjoyed as part of a balanced meal.
Sodium
Each slice of the cake contains around 300 mg of sodium. This amount is relatively moderate, but if you’re watching your sodium intake, it’s something to keep in mind. The sodium primarily comes from the baking soda and salt used in the cake batter.
Overall, while this Valentine’s Day cake is a treat, it’s important to enjoy it as part of a varied diet. Sharing it with loved ones can also make it feel even more special, allowing you to savor the flavors and the moments together!

FAQs about Valentines Day Cake
What is the best way to store leftover Valentine’s Day Cake?
To keep your leftover Valentine’s Day cake fresh, wrap it tightly in plastic wrap. Place it in an airtight container to prevent it from drying out. If you want to store it for a longer period, you can freeze individual slices. Just make sure to wrap them well to avoid freezer burn. When you’re ready to enjoy a slice, let it thaw in the refrigerator overnight for the best taste!
Can I make Valentines Day Cake ahead of time?
Absolutely! You can bake the cake layers a day or two in advance. Just make sure to cool them completely before wrapping them in plastic wrap. Store them in the refrigerator until you’re ready to frost and serve. This can save you time on the day of your celebration, allowing you to focus on enjoying the moment with your loved ones!
What can I use instead of buttermilk in the recipe?
If you don’t have buttermilk on hand, don’t worry! You can easily make a substitute. Simply mix 1 cup of milk with 1 tablespoon of white vinegar or lemon juice. Let it sit for about 5-10 minutes until it thickens slightly. This homemade buttermilk works perfectly in your Valentine’s Day cake, giving it that moist texture and tangy flavor!
How can I make a gluten-free version of Valentines Day Cake?
To create a gluten-free Valentine’s Day cake, you can substitute the all-purpose flour with a gluten-free flour blend. Make sure the blend contains xanthan gum, which helps mimic the texture of regular flour. Additionally, check that all other ingredients, like baking soda and powdered sugar, are gluten-free. This way, everyone can enjoy a slice of love on Valentine’s Day!
Conclusion
As Valentine’s Day approaches, the excitement of celebrating love fills the air. What better way to express your affection than with a homemade cake? Your Valentine’s Day cake, especially the delightful red velvet variety, is not just a dessert; it’s a heartfelt gesture. Each slice represents the love and care you put into creating something special for your loved ones.
By following the steps outlined in this article, you can craft a beautiful and delicious cake that will surely impress. From the rich flavors of the red velvet to the creamy frosting, every bite will be a reminder of the love shared on this special day. Remember, the joy of baking lies not only in the final product but also in the moments spent in the kitchen, creating memories with those you cherish.
So, gather your ingredients, put on your apron, and let your creativity flow. Whether you’re baking for a partner, friends, or family, your Valentine’s Day cake will be a sweet centerpiece for your celebration. Enjoy the process, and most importantly, enjoy sharing your creation with those you love. Happy baking, and may your Valentine’s Day be filled with sweetness and joy!

Valentine's Day Red Velvet Cake
Ingredients
Equipment
Method
-
Preheat your oven to 350°F (175°C). Grease and flour two 9-inch round cake pans.
-
In a large mixing bowl, sift together the flour, sugar, baking soda, salt, and cocoa powder.
-
In another bowl, whisk together the vegetable oil, buttermilk, eggs, red food coloring, vanilla extract, and white vinegar until well combined.
-
Gradually add the wet ingredients to the dry ingredients, stirring gently until just combined.
-
Divide the batter evenly between the prepared cake pans and smooth the tops.
-
Bake for 25-30 minutes, or until a toothpick inserted into the center comes out clean.
-
Allow the cakes to cool in the pans for 10 minutes, then transfer to wire racks to cool completely.
-
To make the frosting, beat together the softened butter and cream cheese until creamy.
-
Gradually add the powdered sugar, mixing until combined. Add vanilla extract and a pinch of salt, then beat until fluffy.
-
Once the cakes are completely cool, place one layer on a serving plate and spread a generous amount of frosting on top.
-
Place the second layer on top and frost the top and sides of the cake.
-
Decorate as desired and serve to your loved ones.