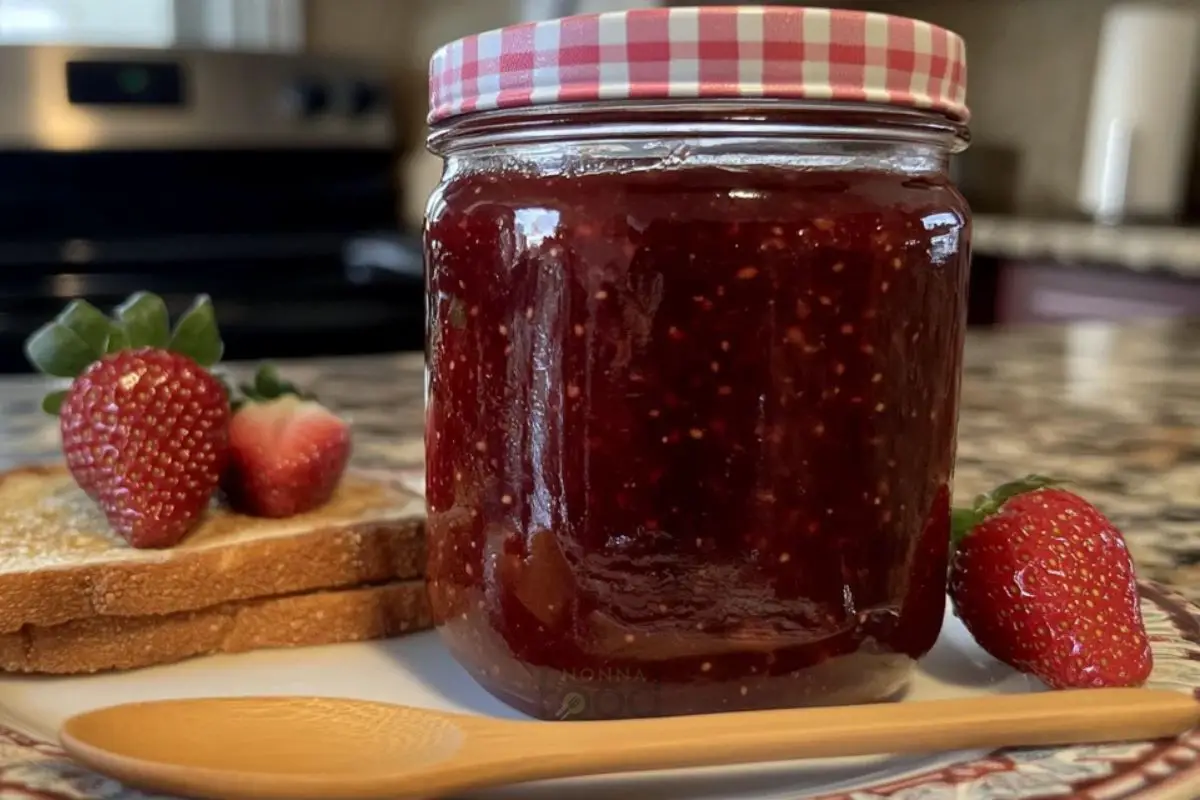
Strawberry Jam Recipe
The Joy of Homemade Strawberry Jam
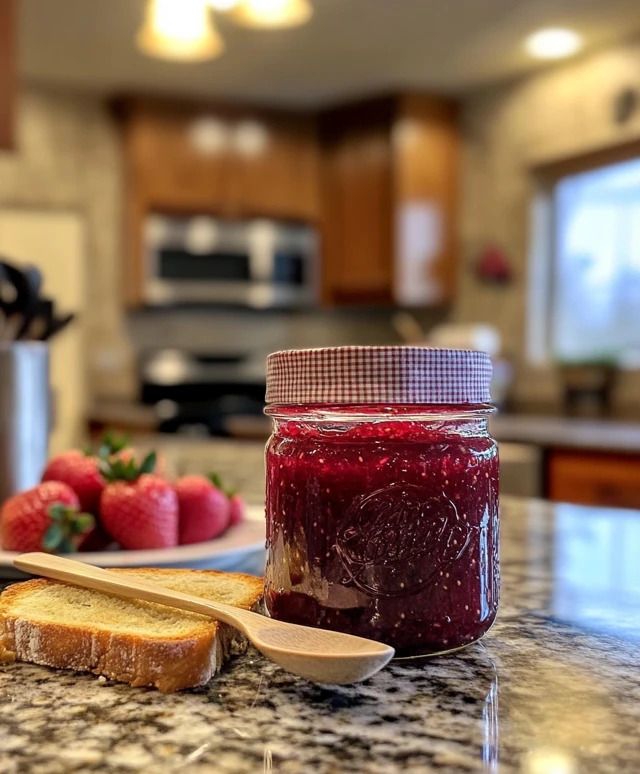
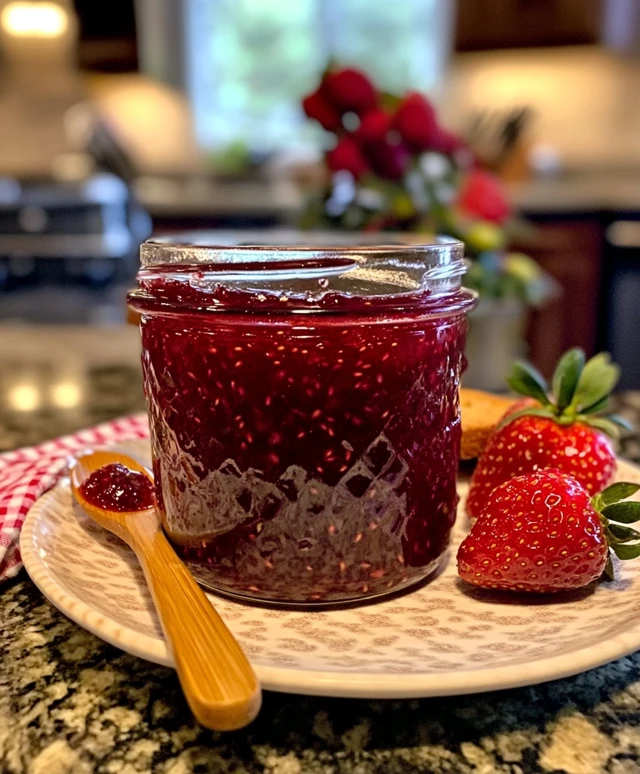
There’s something truly special about making your own strawberry jam. The sweet aroma of fresh strawberries fills your kitchen, creating a warm and inviting atmosphere. Plus, homemade strawberry jam is a delightful way to preserve the taste of summer all year round. With just a few simple ingredients, you can create a delicious spread that enhances your breakfast and snacks.
Imagine waking up to the smell of toast and the vibrant color of strawberry jam waiting for you. It’s not just a treat; it’s a memory in the making. Whether you’re spreading it on warm pancakes or dolloping it on yogurt, this jam adds a burst of flavor to any meal. Plus, making your own jam allows you to control the sweetness and ingredients, ensuring a healthier option for you and your family.
In this article, we’ll guide you through a simple strawberry jam recipe that’s perfect for beginners and seasoned cooks alike. You’ll learn how to prepare, cook, and can your jam, ensuring it’s ready to enjoy whenever you crave that fruity goodness. So, roll up your sleeves and get ready to dive into the delightful world of homemade strawberry jam!
Ingredients for Strawberry Jam Recipe
To create your very own strawberry jam, you’ll need a handful of fresh ingredients. Each one plays a vital role in bringing out the sweet, fruity flavor that makes this jam so delightful. Here’s what you’ll need:
- 2 pounds fresh strawberries: Make sure they are ripe and juicy for the best flavor. Look for bright red strawberries with a sweet aroma.
- 1/4 cup lemon juice: This adds a zesty kick and helps balance the sweetness of the strawberries. It also aids in preserving the jam.
- 1/4 teaspoon salt: A pinch of salt enhances the overall flavor of the jam, making the strawberries taste even sweeter.
- 4 cups granulated sugar: This is essential for sweetness and helps the jam to set properly. Adjust the amount if you prefer a less sweet jam.
- 1 package (1.75 oz) fruit pectin: This ingredient is crucial for thickening the jam. It helps achieve that perfect spreadable consistency.
Gathering these ingredients is the first step in your jam-making adventure. Fresh strawberries are the star of the show, so choose the best ones you can find. Once you have everything ready, you’ll be well on your way to creating a delicious strawberry jam that you can enjoy for months to come!
Step-by-Step Preparation of Strawberry Jam Recipe
Step 1: Preparing the Strawberries
Preparing the strawberries is the first and most important step in making your strawberry jam. Start by cleaning the strawberries thoroughly. Rinse them under cold water to remove any dirt or pesticides. After rinsing, hull the strawberries by removing the green tops. This step is crucial as it ensures that only the sweet, juicy fruit is used in your jam.
Next, slice the strawberries into smaller pieces. You can choose to slice them into halves or quarters, depending on your preference. If you like a chunkier jam, leave some larger pieces. For a smoother texture, mash the strawberries with a potato masher or fork until you reach your desired consistency. This process releases the natural juices, which will enhance the flavor of your jam.
Step 2: Measuring Ingredients
Once your strawberries are prepared, it’s time to measure the other ingredients. Accurate measurements are key to achieving the perfect jam. Start by measuring out 1/4 cup of lemon juice. This will add a refreshing tang and help preserve the jam. Next, measure 1/4 teaspoon of salt. This small amount will enhance the sweetness of the strawberries.
Now, it’s time to measure the sugar. You’ll need 4 cups of granulated sugar. This may seem like a lot, but sugar is essential for the jam to set properly. Lastly, grab your package of fruit pectin. This ingredient is crucial for thickening the jam and giving it that perfect spreadable consistency.
Step 3: Cooking the Jam Mixture
With all your ingredients measured, it’s time to cook the jam. In a large pot, combine the mashed strawberries, lemon juice, and salt. Stir the mixture well to ensure everything is evenly combined. Next, gradually add the granulated sugar and fruit pectin. Stir continuously until the sugar and pectin are fully dissolved.
Now, place the pot over medium heat. Bring the mixture to a boil while stirring constantly. This step is important to prevent the jam from sticking to the bottom of the pot. Once the mixture reaches a rolling boil, continue to cook for about 10-15 minutes. You’ll notice the mixture thickening as it cooks, which is a sign that your jam is coming together beautifully.
Step 4: Testing for Doneness
To ensure your jam is ready, you’ll need to test for doneness. One simple method is the spoon test. Take a spoonful of the jam and let it cool for a minute. Then, run your finger through the jam on the spoon. If it holds its shape and doesn’t run back together, your jam is ready to be canned. If it’s still too runny, continue cooking for a few more minutes and test again.
Step 5: Canning the Strawberry Jam
Once your jam has reached the perfect consistency, it’s time to can it. First, prepare your canning jars and lids by sterilizing them. Boil the jars and lids in water for about 10 minutes to kill any bacteria. After sterilizing, carefully remove the jars and let them cool slightly.
Now, pour the hot jam into the sterilized jars, leaving about 1/4 inch of headspace at the top. This space is important for sealing. Wipe the rims of the jars with a clean cloth to remove any residue. Next, place the sterilized lids on the jars and screw on the metal bands until they are fingertip-tight.
Finally, process the jars in a boiling water bath for 5-10 minutes. This step ensures that the jars are sealed properly. The water should cover the jars by at least an inch. Once done, remove the jars and let them cool on a clean towel or cooling rack. Check the seals by pressing down in the center of each lid. If it pops back, it’s not sealed properly. Store your sealed jars in a cool, dark place, and enjoy your homemade strawberry jam!

Variations of Strawberry Jam Recipe
Adding Other Fruits to Your Strawberry Jam
One of the best things about making strawberry jam is the opportunity to get creative! You can easily enhance your jam by adding other fruits. Mixing strawberries with different fruits not only adds unique flavors but also brings a delightful twist to your spread.
For instance, consider adding blueberries for a sweet and tangy combination. Simply mash the blueberries along with the strawberries. You can also try raspberries for a tart kick. The vibrant colors of these fruits will make your jam visually appealing, too!
If you want a tropical flair, mix in some mango or pineapple. These fruits will give your jam a refreshing taste that’s perfect for summer. Just remember to adjust the sugar level based on the sweetness of the added fruits. This way, you’ll create a deliciously balanced jam that everyone will love!
Experimenting with Flavors and Spices
Another fun way to personalize your strawberry jam is by experimenting with flavors and spices. Adding a hint of vanilla extract can give your jam a warm, comforting taste. Just a teaspoon will do the trick! You can also try adding a pinch of cinnamon or nutmeg for a cozy, spiced flavor that’s perfect for fall.
If you’re feeling adventurous, consider adding a splash of balsamic vinegar. This will create a sophisticated flavor profile that pairs beautifully with cheese and crackers. For a zesty twist, a bit of ginger can add a refreshing kick to your jam.
Don’t be afraid to mix and match! The beauty of homemade strawberry jam is that you can tailor it to your taste. Just remember to keep track of your additions so you can recreate your favorite flavors in the future. Enjoy the process of experimenting, and you might just discover your new favorite jam!
Cooking Note for Strawberry Jam Recipe
When making your strawberry jam, there are a few important cooking notes to keep in mind. These tips will help ensure that your jam turns out perfectly every time. First, always use fresh, ripe strawberries. The quality of your fruit directly affects the flavor of your jam. Look for strawberries that are bright red and fragrant, as they will provide the best taste.
Next, pay attention to the cooking temperature. It’s essential to bring the mixture to a full rolling boil. This means that the bubbles should not stop rising even when you stir the mixture. A proper boil helps the jam to set correctly. If the mixture doesn’t boil vigorously, it may not thicken as desired.
Additionally, be mindful of the timing. Cooking the jam for too long can lead to a thick, overly sticky texture. On the other hand, not cooking it long enough can result in a runny jam. Use the spoon test mentioned earlier to check for doneness. This simple method will help you achieve the perfect consistency.
Lastly, remember to process your jars in a boiling water bath. This step is crucial for sealing the jars properly and ensuring the longevity of your jam. If you skip this step, your jam may spoil quickly. By following these cooking notes, you’ll create a delicious strawberry jam that you can enjoy for months to come!
Serving Suggestions for Strawberry Jam Recipe
Pairing Strawberry Jam with Breakfast Foods
Strawberry jam is a versatile spread that can elevate your breakfast experience. One of the most popular ways to enjoy it is on warm, toasted bread. The combination of crispy toast and sweet jam creates a delightful morning treat. You can also spread it on bagels or English muffins for a delicious twist.
If you’re a pancake lover, try adding a generous dollop of strawberry jam on top of your fluffy pancakes. The sweet and fruity flavor pairs perfectly with maple syrup, making your breakfast even more enjoyable. For a fun variation, mix the jam into your pancake batter for a fruity surprise in every bite!
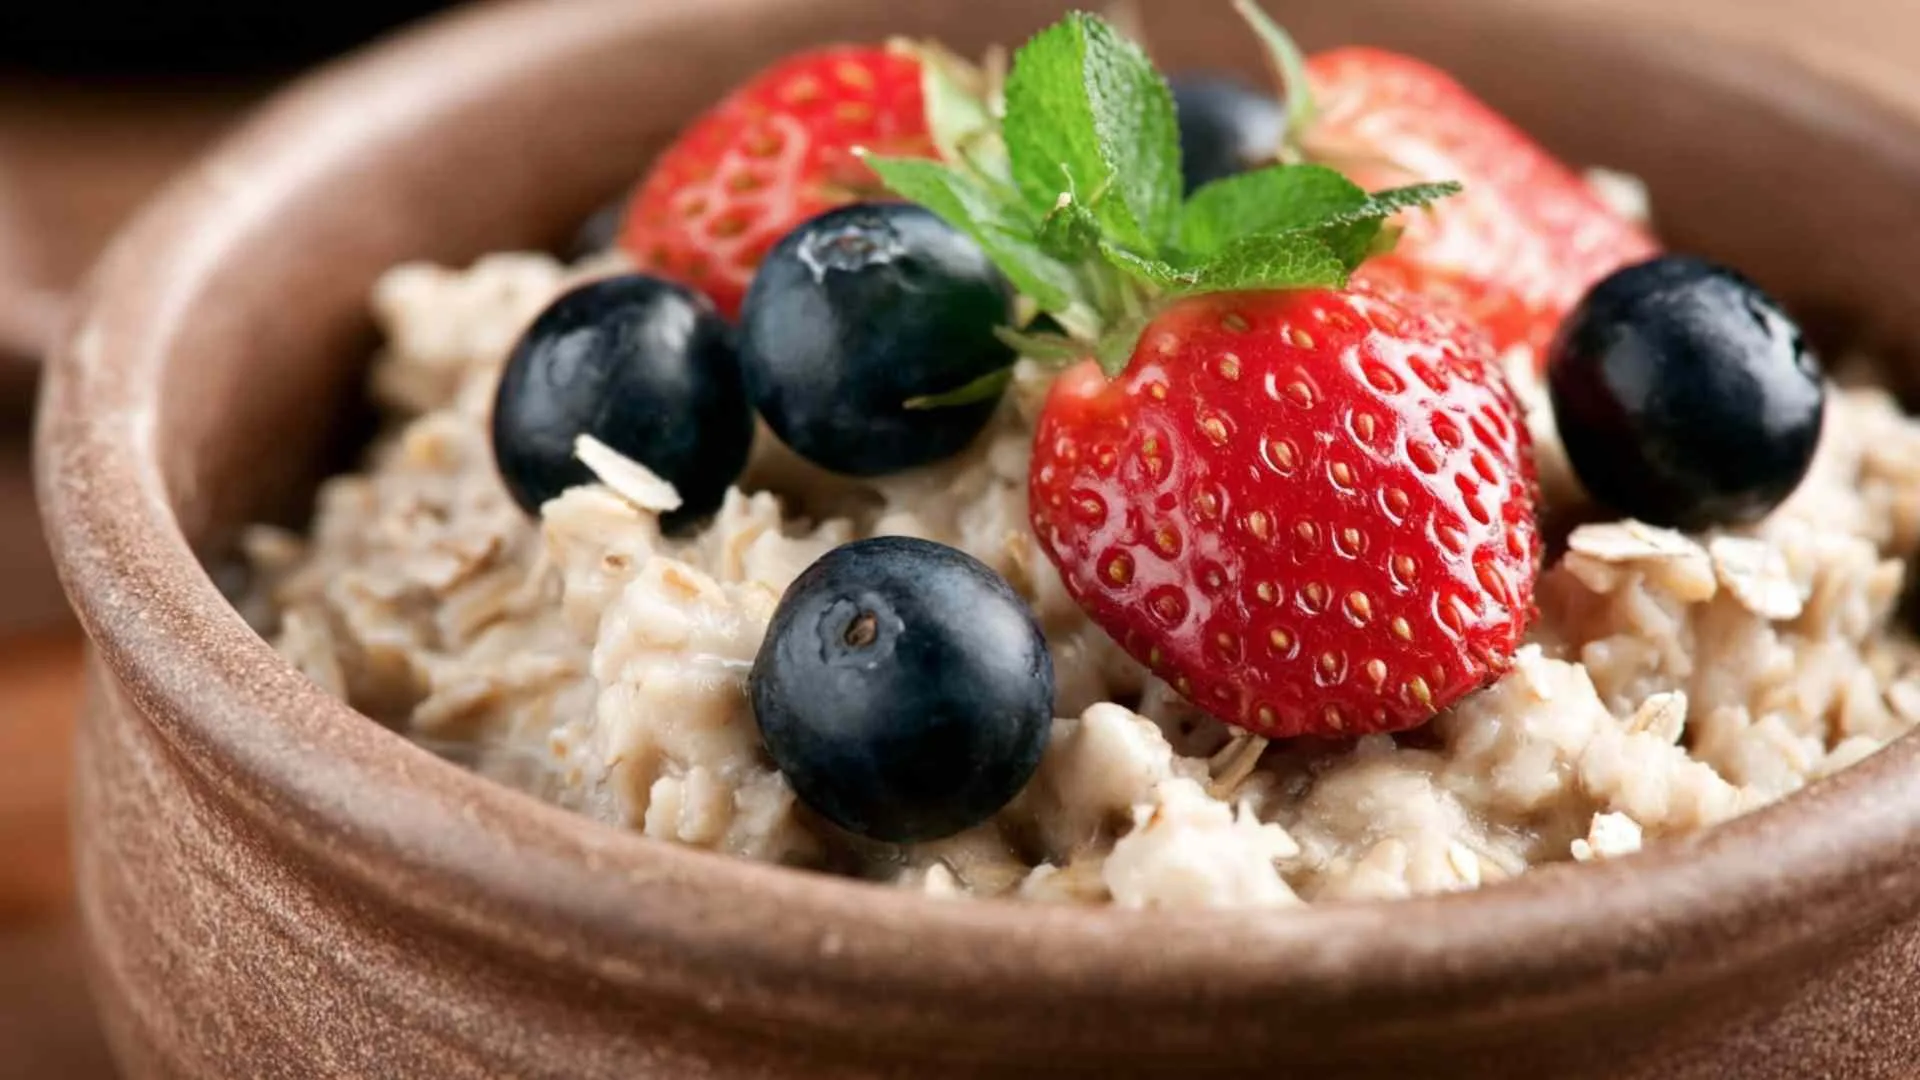
Another great option is to use strawberry jam as a topping for yogurt or oatmeal. Simply swirl a spoonful into your bowl for added sweetness and flavor. This not only enhances the taste but also adds a beautiful pop of color to your breakfast. You can even create a parfait by layering yogurt, granola, and strawberry jam for a nutritious and visually appealing meal.
Lastly, consider using strawberry jam in smoothies. Blend it with your favorite fruits, yogurt, and a splash of milk for a refreshing drink. The jam adds a natural sweetness that complements the other ingredients perfectly. With these serving suggestions, you can enjoy your homemade strawberry jam in various delicious ways!
Creative Uses for Strawberry Jam in Desserts
Strawberry jam isn’t just for breakfast; it can also be a star ingredient in many desserts! One delightful way to use it is in cakes. You can layer strawberry jam between cake layers for a burst of flavor. It adds moisture and sweetness, making your cake even more irresistible.
Another creative use is in cookies. Try making thumbprint cookies by filling the center with strawberry jam before baking. The result is a sweet treat that’s perfect for sharing. You can also use the jam as a filling for pastries or tarts, adding a fruity touch to your baked goods.
If you love ice cream, consider swirling strawberry jam into your favorite flavor. This creates a beautiful marbled effect and adds a fruity punch. You can also use it as a topping for ice cream sundaes, along with whipped cream and fresh strawberries for a delightful dessert.
Lastly, don’t forget about cheesecakes! Strawberry jam can be drizzled on top of a cheesecake for a stunning presentation and added flavor. The sweet and tangy jam complements the creamy texture of the cheesecake beautifully. With these creative uses, your homemade strawberry jam will shine in your dessert creations!
Tips for Perfecting Your Strawberry Jam Recipe
Making strawberry jam can be a fun and rewarding experience. However, there are a few tips that can help you perfect your strawberry jam recipe. These simple suggestions will ensure that your jam turns out delicious every time!
First, always choose the freshest strawberries. Ripe, juicy strawberries will give your jam the best flavor. Look for berries that are bright red and fragrant. Avoid any that are overripe or have blemishes, as they can affect the taste of your jam.
Next, consider the sweetness. If you prefer a less sweet jam, you can reduce the amount of sugar. Just remember that sugar not only sweetens the jam but also helps it set. You might need to adjust the cooking time if you change the sugar amount.
When measuring your ingredients, be precise. Accurate measurements are key to achieving the right consistency. Use a kitchen scale for the strawberries if possible, as this can help you get the exact amount needed for your recipe.
Another important tip is to keep stirring while cooking. This prevents the jam from sticking to the bottom of the pot and burning. Stirring also helps to evenly distribute the heat, ensuring that your jam cooks uniformly.
Don’t forget to test for doneness! Use the spoon test mentioned earlier to check if your jam has thickened properly. If it’s not ready, continue cooking and testing until you achieve the desired consistency.
Lastly, be patient during the canning process. Make sure to follow the water bath method carefully. This step is crucial for sealing your jars properly and ensuring your jam lasts for months. By following these tips, you’ll create a strawberry jam that’s not only delicious but also perfectly preserved!
Breakdown of Time for Strawberry Jam Recipe
Prep Time
Preparing your ingredients is the first step in making strawberry jam. This includes washing, hulling, and slicing the strawberries. You’ll also need to measure out the lemon juice, salt, sugar, and fruit pectin. Overall, you can expect to spend about 15 minutes on prep work. This time allows you to get everything ready for the cooking process, ensuring a smooth jam-making experience.
Cooking Time
Once your ingredients are prepped, it’s time to cook the jam. The cooking process involves combining the ingredients, bringing the mixture to a boil, and allowing it to thicken. This step typically takes around 20 minutes. During this time, you’ll need to stir constantly to prevent sticking and ensure even cooking. Keep an eye on the mixture as it thickens, and don’t forget to test for doneness!
Total Time
In total, you’ll spend about 35 minutes making your strawberry jam. This includes both the prep and cooking times. It’s a quick and rewarding process that results in a delicious homemade spread. Once you’ve completed the cooking and canning steps, you’ll have jars of strawberry jam ready to enjoy. So, gather your ingredients and get started on this delightful jam-making adventure!
Nutritional Information for Strawberry Jam Recipe
Calories
When it comes to enjoying your homemade strawberry jam, it’s good to know the nutritional content. Each tablespoon of strawberry jam contains approximately 50 calories. This makes it a sweet treat that can fit into your daily diet without too much guilt. However, keep in mind that the calorie count can vary slightly based on the amount of sugar used and any additional ingredients you may add.
Protein
Strawberry jam is not a significant source of protein. In fact, each tablespoon typically contains less than 1 gram of protein. While it’s not a protein powerhouse, it does provide a burst of flavor and sweetness that can enhance your meals. To balance your breakfast, consider pairing your jam with protein-rich foods like yogurt or nut butter.
Sodium
In terms of sodium content, homemade strawberry jam is quite low. Each tablespoon contains about 5 milligrams of sodium, primarily from the small amount of salt added during cooking. This makes it a heart-healthy option for those watching their sodium intake. Enjoy your strawberry jam without worrying about excess salt!
FAQs about Strawberry Jam Recipe
How long does homemade strawberry jam last?
Homemade strawberry jam can last for quite a while when stored properly. If you’ve canned your jam using the water bath method, it can last up to 1 year in a cool, dark place. Once opened, store it in the refrigerator, where it will stay fresh for about 2-3 weeks. Always check for any signs of spoilage, such as off smells or mold, before consuming.
Can I use frozen strawberries for this strawberry jam recipe?
Yes, you can absolutely use frozen strawberries for your strawberry jam recipe! Just make sure to thaw them completely and drain any excess liquid before mashing. Frozen strawberries can be just as flavorful as fresh ones, making them a great option, especially when fresh strawberries are out of season. Keep in mind that the texture may be slightly different, but the taste will still be delicious!
What is the best way to store strawberry jam?
The best way to store strawberry jam is in sterilized glass jars with tight-fitting lids. After canning, keep the jars in a cool, dark place, like a pantry or cupboard. Once opened, transfer the jar to the refrigerator. Always use a clean spoon to scoop out the jam to prevent contamination. This will help your jam stay fresh and tasty for as long as possible!
How can I tell if my strawberry jam has set properly?
To check if your strawberry jam has set properly, you can use the spoon test. Take a spoonful of the hot jam and let it cool for a minute. Then, run your finger through the jam on the spoon. If it holds its shape and doesn’t run back together, your jam is set! If it’s still too runny, continue cooking for a few more minutes and test again. This simple method will help you achieve that perfect, spreadable consistency.
Conclusion on Strawberry Jam Recipe
In conclusion, making your own strawberry jam is a rewarding and enjoyable experience. With just a few simple ingredients and steps, you can create a delicious spread that captures the essence of summer. Whether you enjoy it on toast, pancakes, or in desserts, homemade strawberry jam adds a delightful touch to any meal.
Throughout this article, we’ve explored the joy of crafting your own jam, the essential ingredients, and the step-by-step process to ensure success. We also discussed exciting variations, serving suggestions, and tips for perfecting your recipe. Remember, the key to a great strawberry jam lies in using fresh, ripe strawberries and paying attention to cooking times and techniques.
As you embark on your jam-making journey, don’t hesitate to experiment with flavors and fruits. The possibilities are endless! You can create unique combinations that suit your taste and impress your family and friends. Plus, the satisfaction of enjoying a homemade treat is unmatched.
So, gather your ingredients, roll up your sleeves, and dive into the delightful world of strawberry jam. With each jar you make, you’ll not only preserve the sweet taste of strawberries but also create lasting memories with every bite. Happy jam-making!
Homemade Strawberry Jam
Ingredients
Equipment
Method
-
Clean the strawberries thoroughly under cold water, hull them, and slice into smaller pieces.
-
Measure out the lemon juice, salt, sugar, and fruit pectin.
-
In a large pot, combine the mashed strawberries, lemon juice, and salt. Stir well.
-
Gradually add the granulated sugar and fruit pectin, stirring continuously until dissolved.
-
Place the pot over medium heat and bring the mixture to a rolling boil, stirring constantly for about 10-15 minutes.
-
Test for doneness using the spoon test; if it holds its shape, it's ready to be canned.
-
Sterilize canning jars and lids by boiling them for 10 minutes.
-
Pour the hot jam into the sterilized jars, leaving about 1/4 inch of headspace, and wipe the rims clean.
-
Seal the jars with sterilized lids and process in a boiling water bath for 5-10 minutes.
-
Remove the jars and let them cool on a clean towel or cooling rack. Check seals before storing.